Recording Presentations with Keynote
Recording a slideshow with audio presentation in Keynote is fairly simple and does not require any additional software. Here are the steps.
After completing your slide show, select the show or hide document and audio options button in the upper right-hand corner of the window
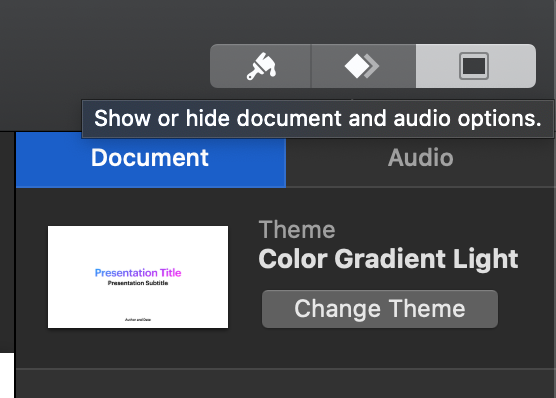
Select the Audio tab and click the Record button
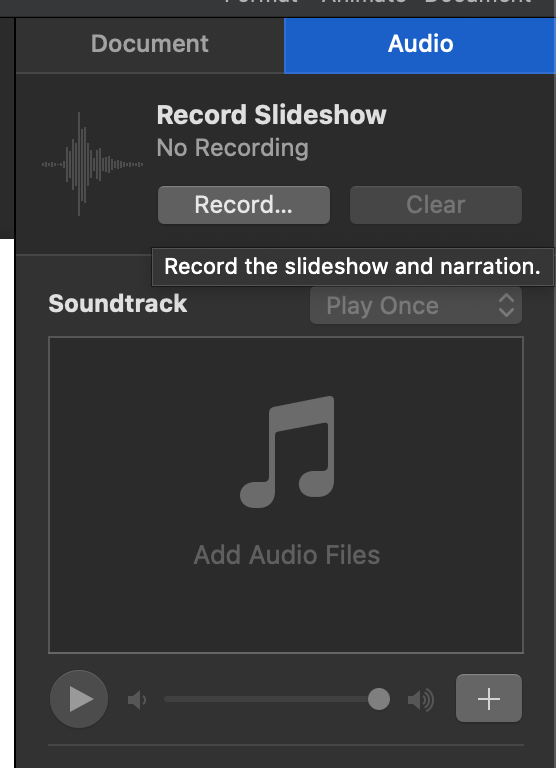
This brings you to a presentation screen that shows options to make a Recording
Make sure the mute microphone button is grayed out and you see an audio level when you talk or audio will not be recorded


Click the red record button and you will see a three second countdown after which your slides and audio are being recorded


As you talk, use the forward and back arrow keys to navigate through your slide show
When you are finished, click the red record button again to stop recording

On the bottom of the screen there is a navigation bar that you can drag to see your slides and/or trash the recording

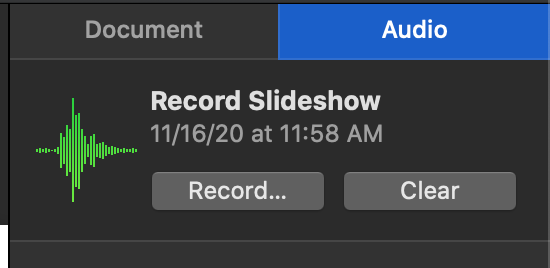
If you wish to see the recording, click the play button or to see it full screen, select the escape key to bring you back to keynote's navigator view. The green highlighted waveform indicates there is a recording
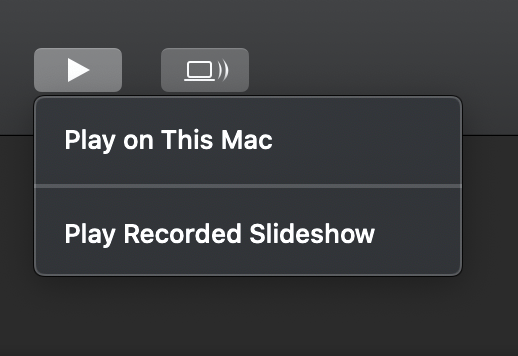
On the top of the window is a play button. Click it and choose Play Recorded Slideshow
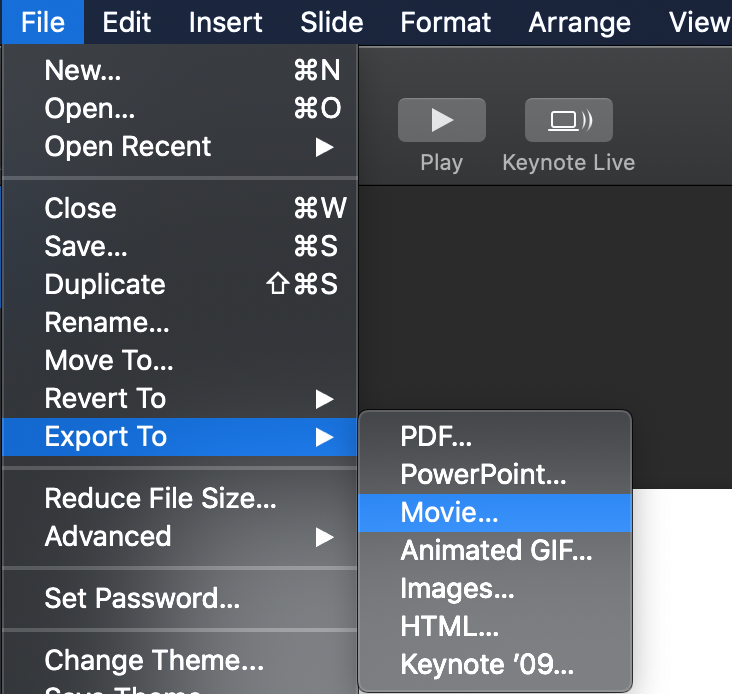
If you are happy with the recording go to File> Export To> Movie
Then save it as a Slideshow Recording
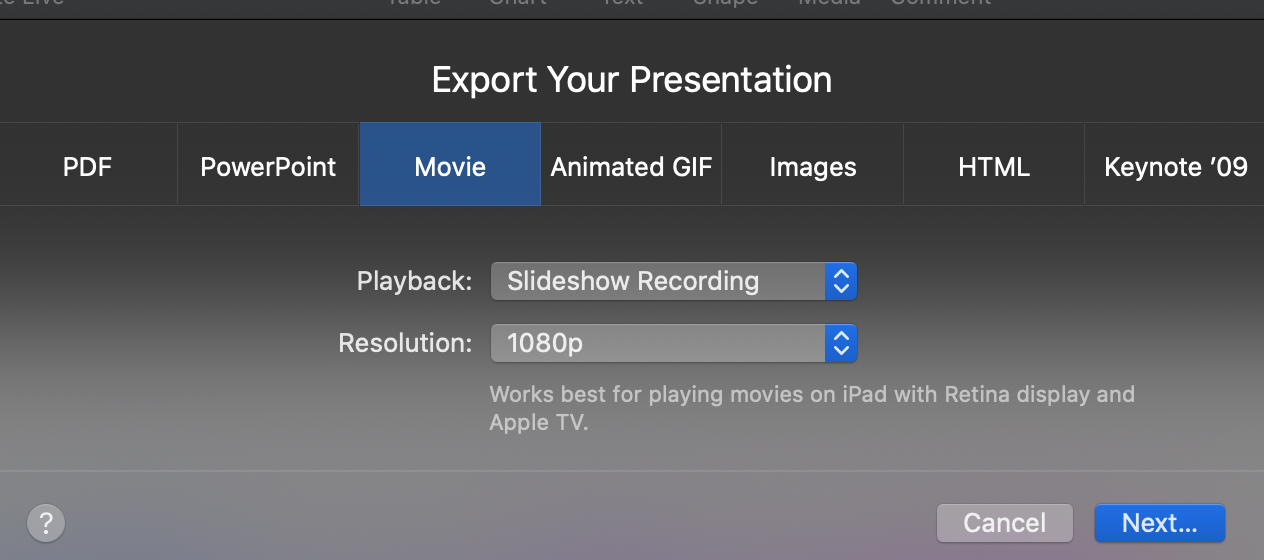
Keynote saves the movie as a .m4v file which can be viewed on many computers. An example follows:
If you want to view some YouTube videos demonstrating this procedure and a way to include a video of you giving the talk, check out these videos. If including a video of yourself, additional software is required.