Trimming a video using Quicktime or the native Photos app on Windows 10
Trimming the beginning or end of a video is very easy to do on either a PC or a Mac, using applications that are likely already installed on your machine. Here is how to do it.
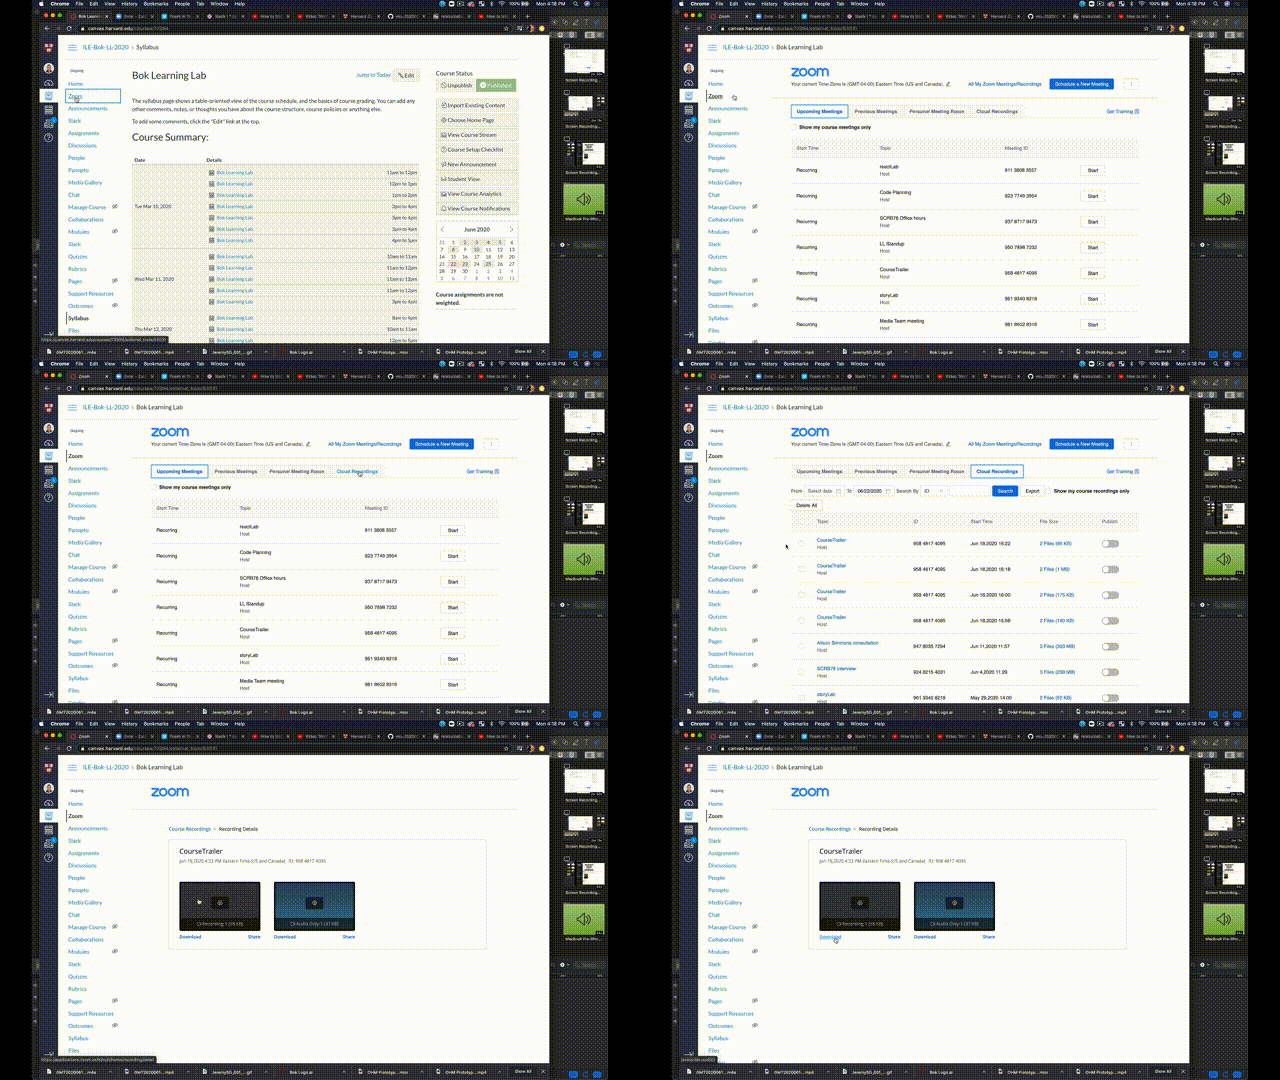
If you recorded through Zoom, first you'll need to download your video from Canvas:
Click on "Zoom"
Click on "Cloud Recordings"
Click on the correct recording
Click the "Download" icon associated with that file
Trimming on a Mac using Quicktime Player
Here is a video walk-through of this process
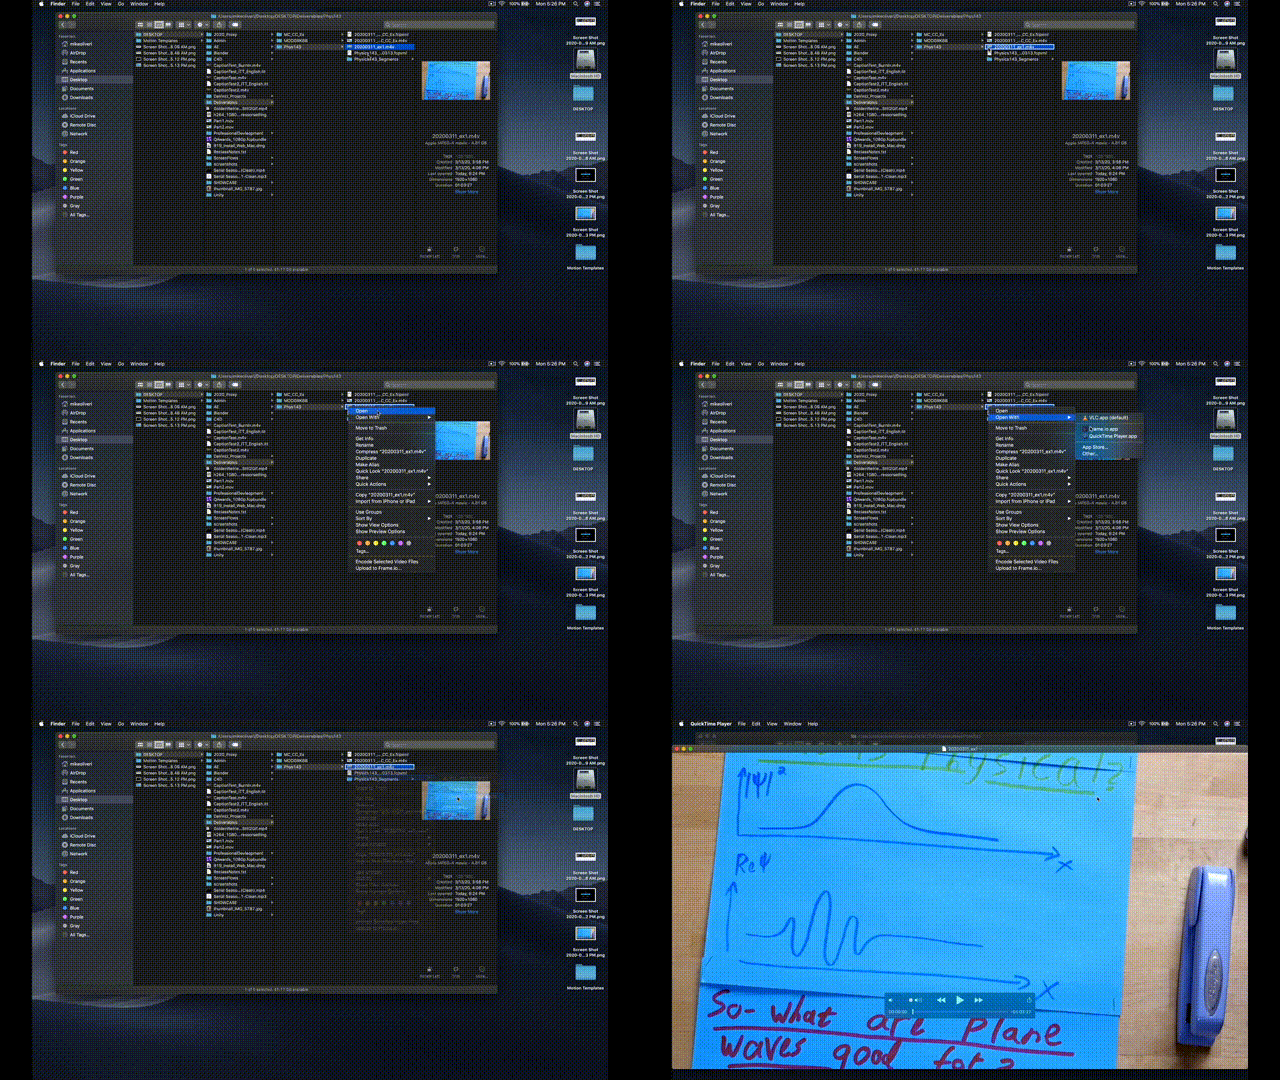
- Right click on file, and open with Quicktime
- Once Quicktime opens, select "Edit" > "Trim" (or command + 'T')
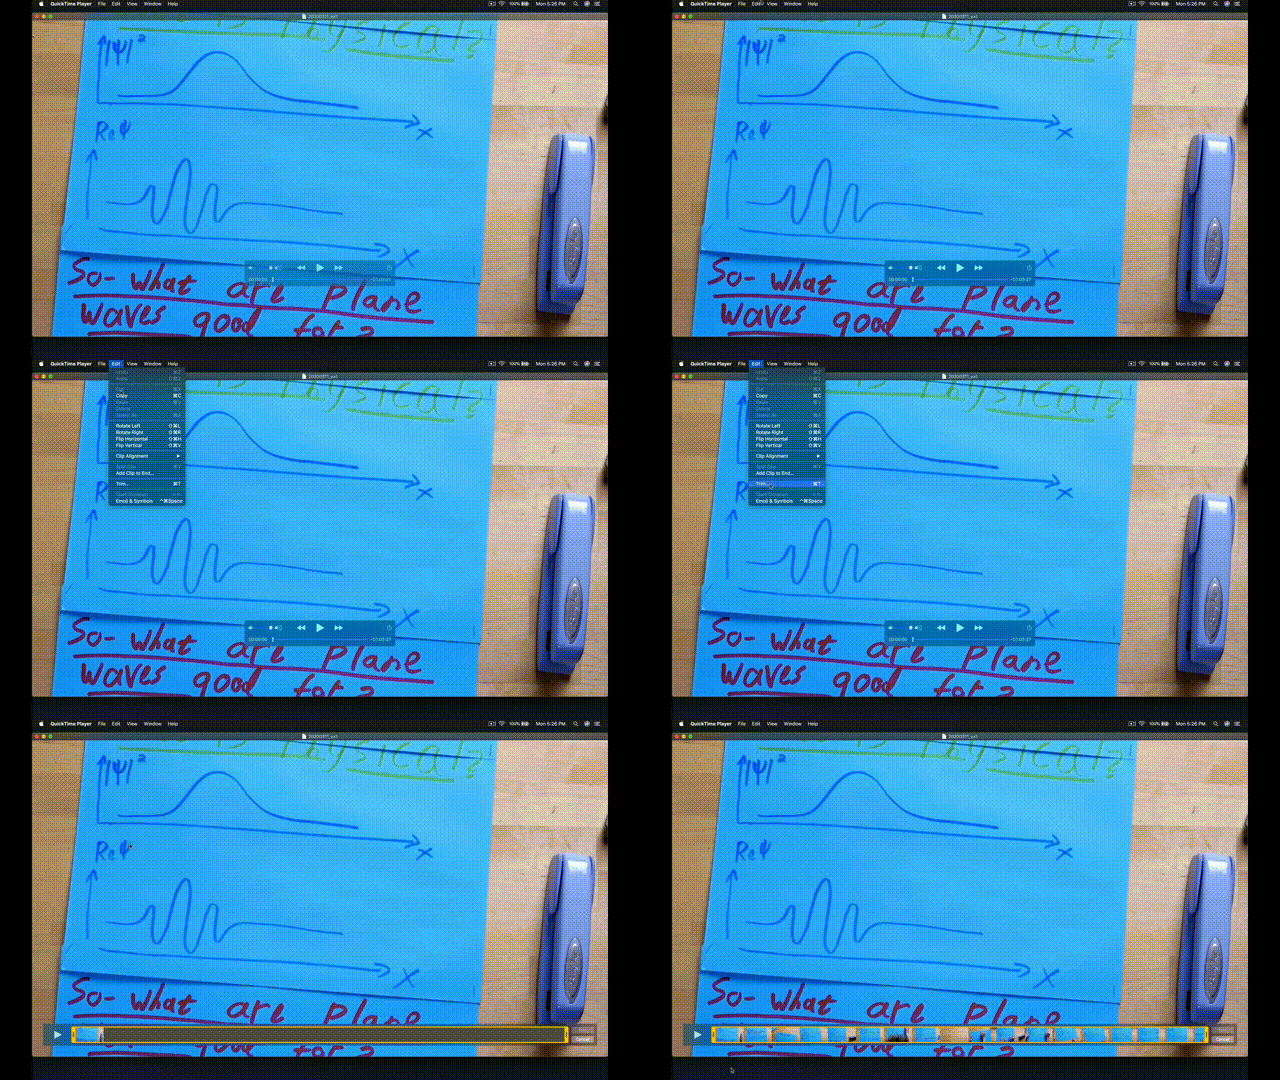
- Use the yellow handles at the bottom of the screen to trim the desired beginning and end points of the video
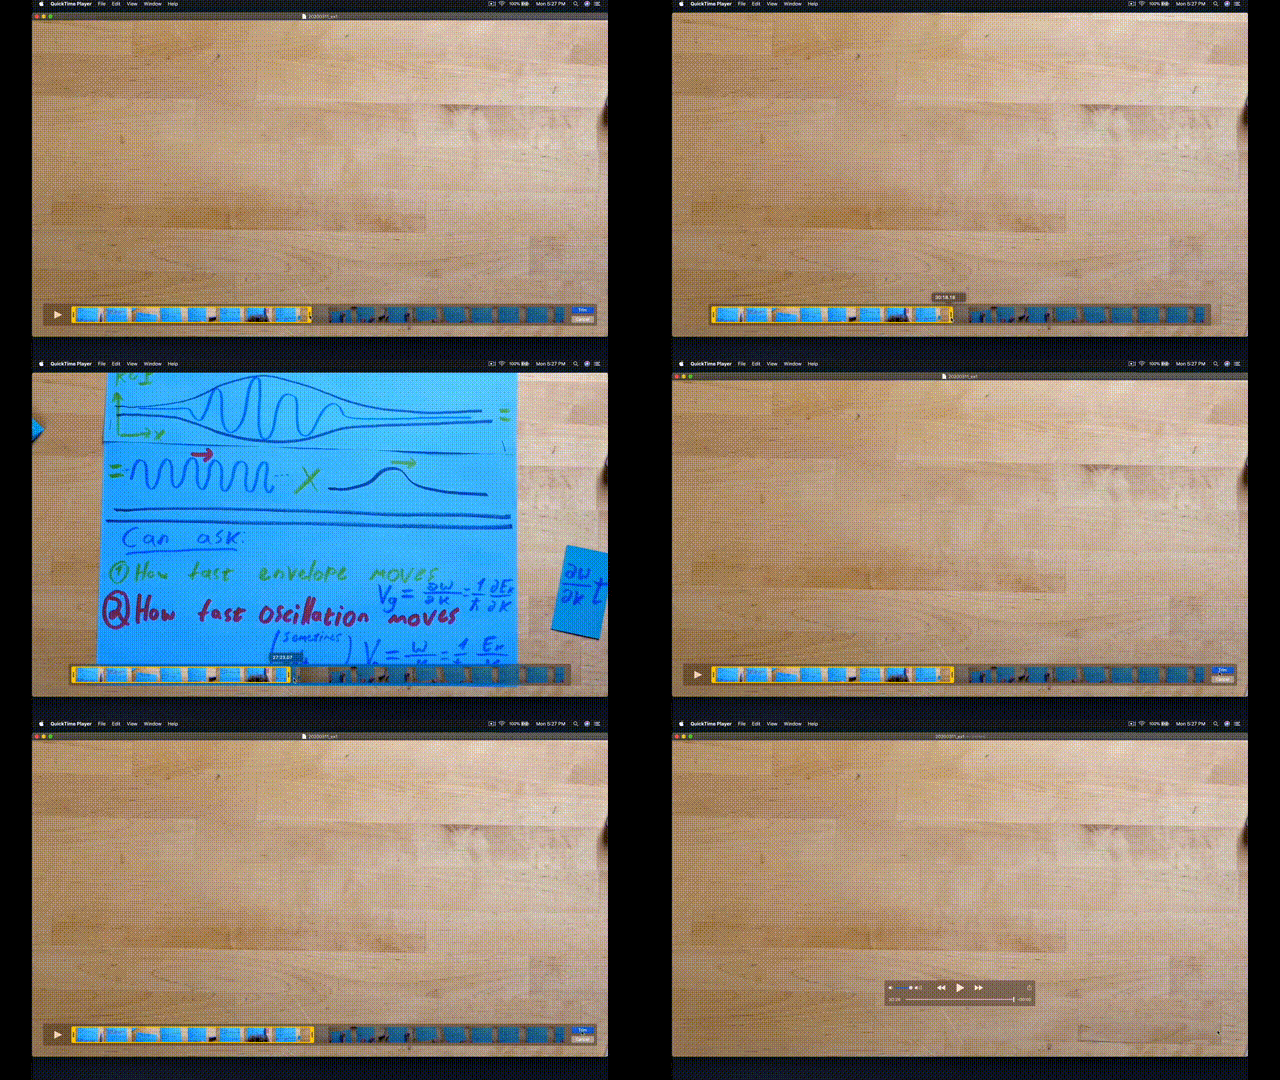
- Now that the file is trimmed, it's ready to export:
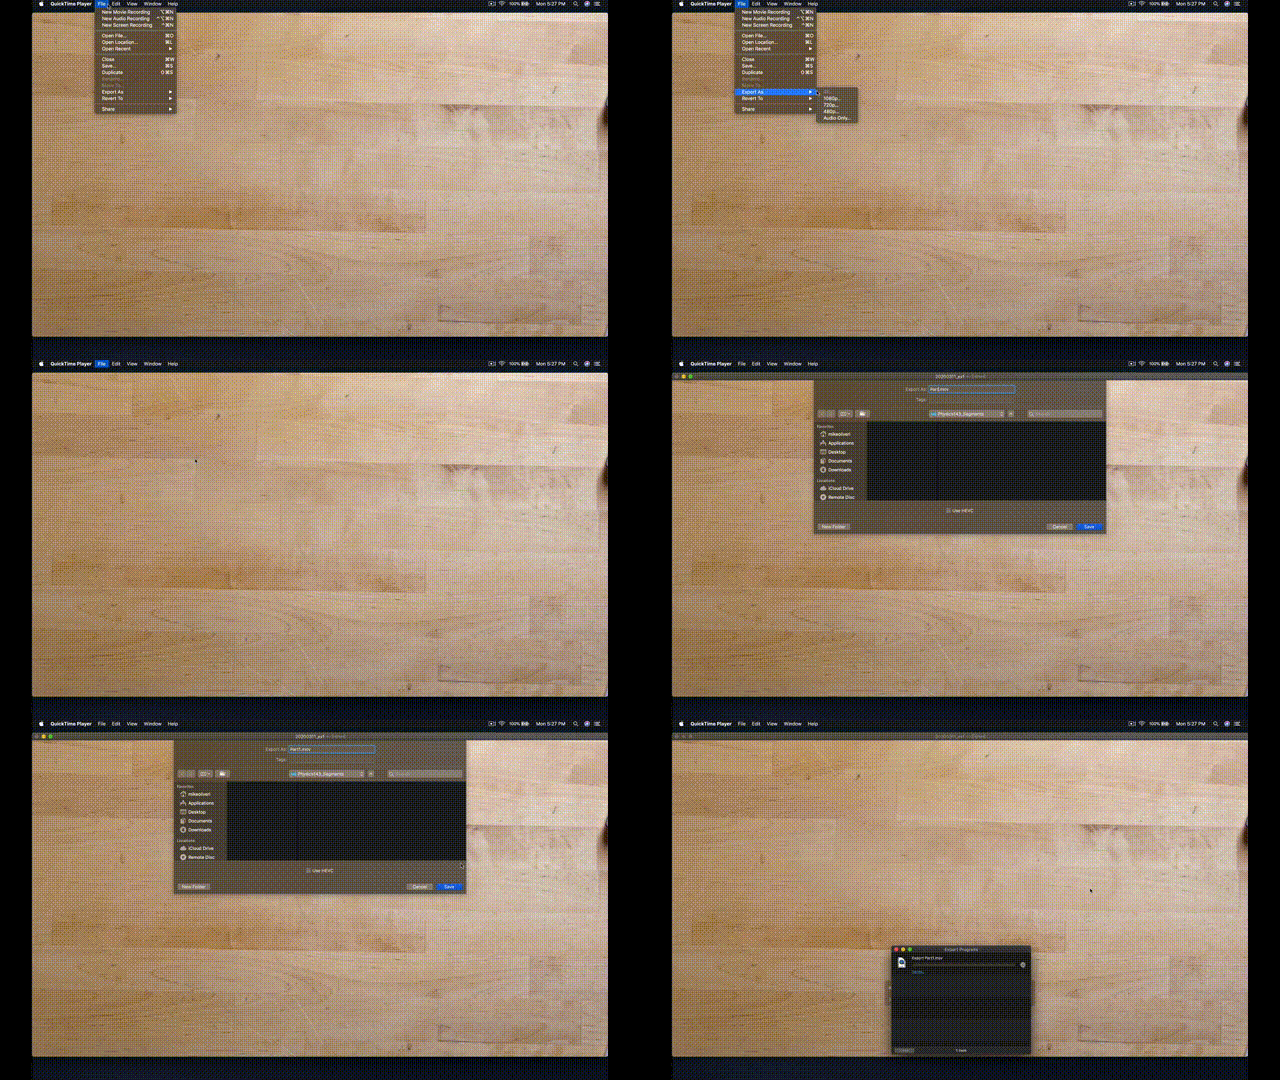
- "File" > "Export As" > "1080p" (or desired resolution)
Trimming on a PC using the native Photos app
Here is a video walk-through of this process
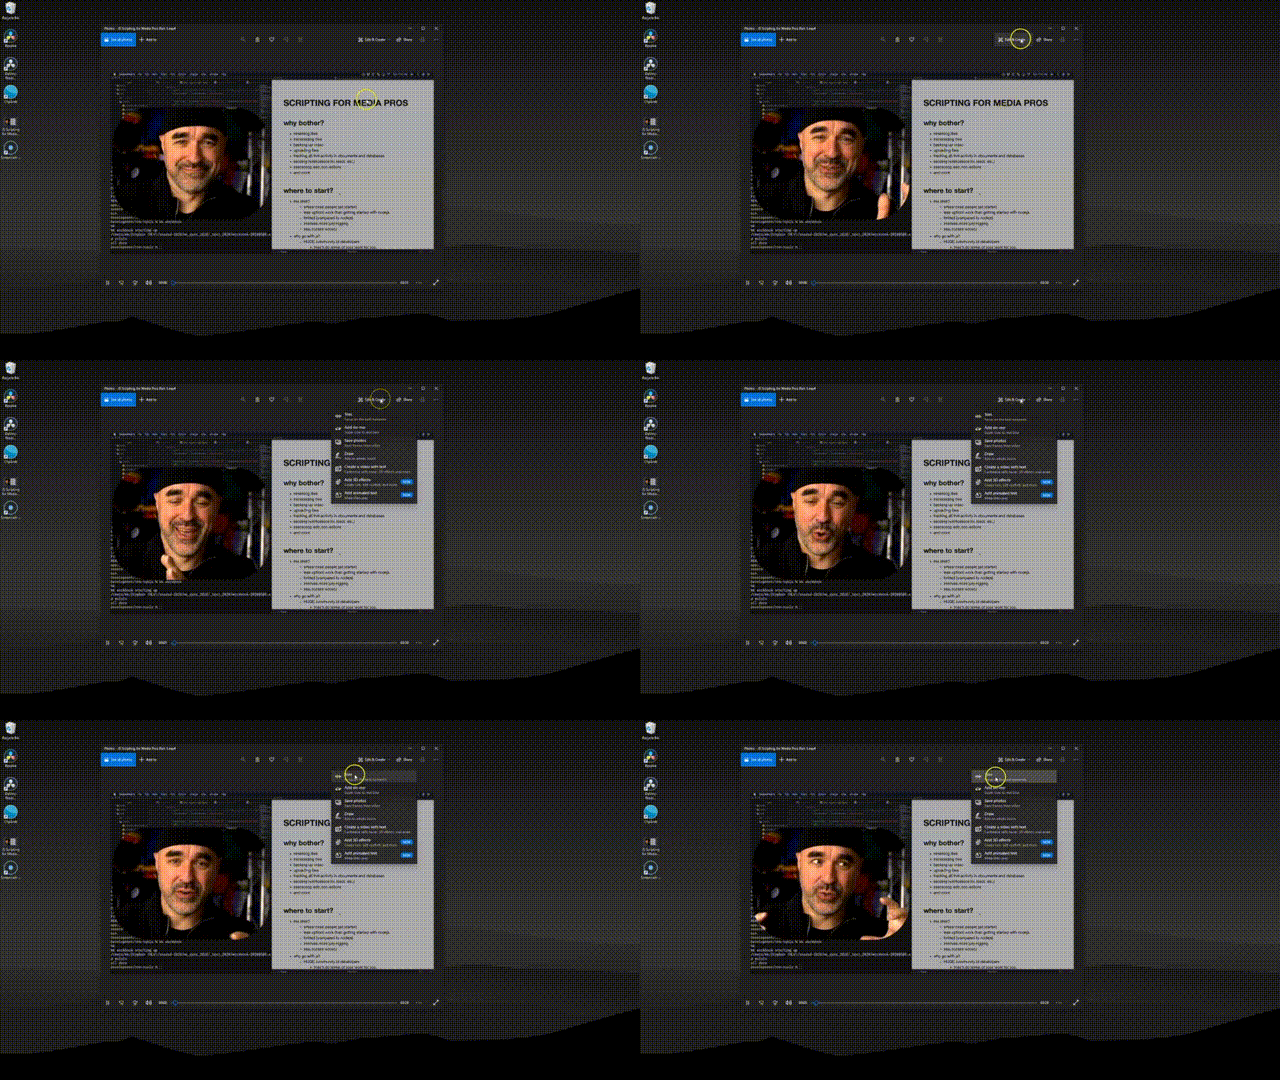
- Right click your video file and navigate to “Open with”, and select “Photos”

- Select “Edit and Create” in the top right hand corner, and choose “Trim”
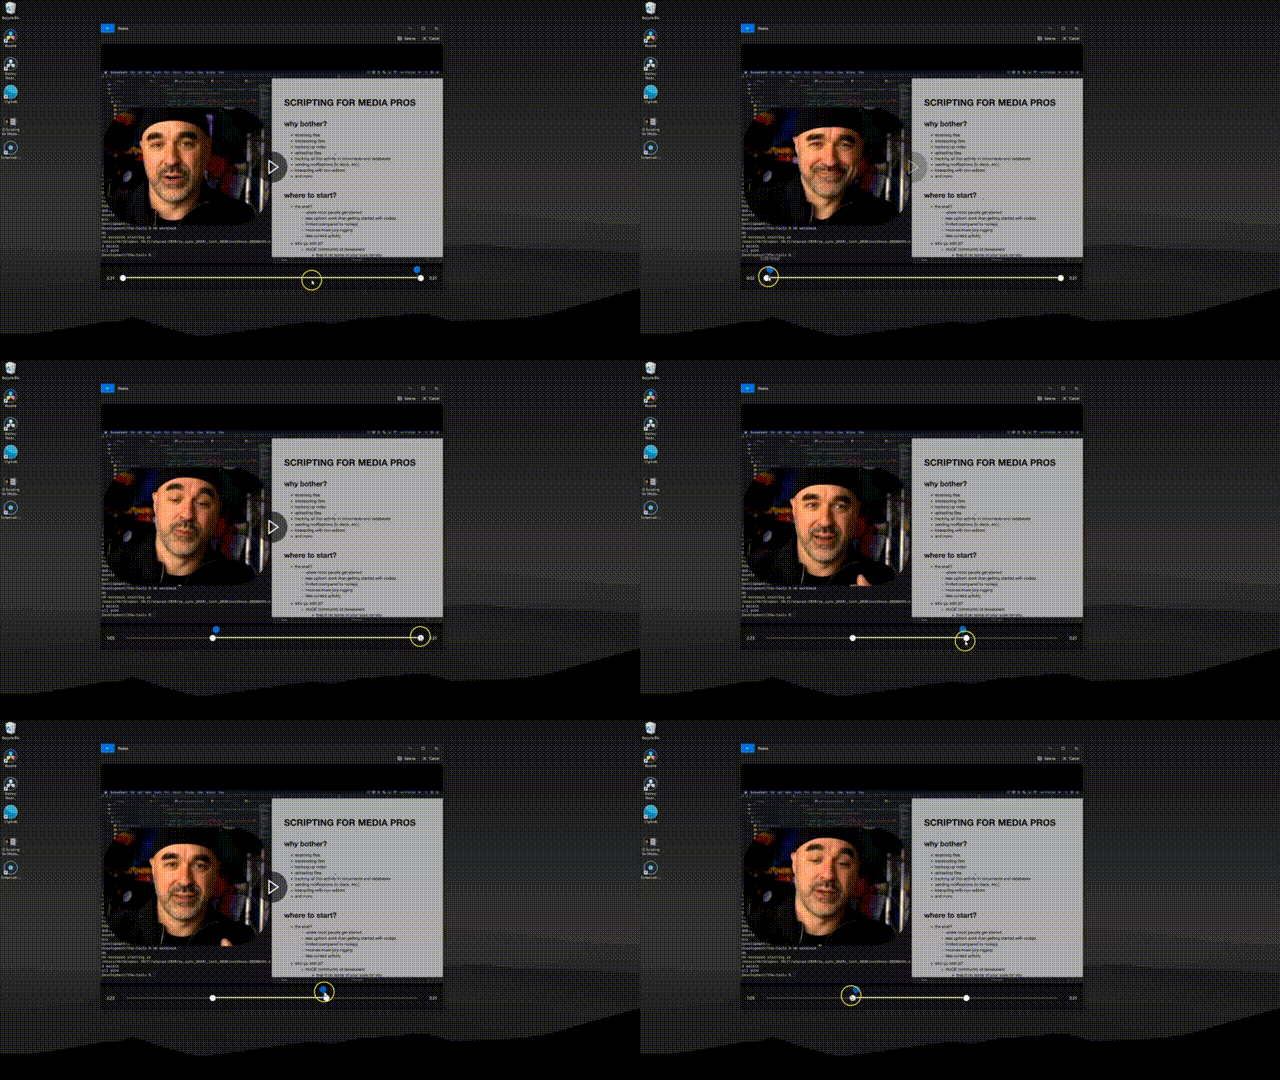
- This will give two handles at the beginning and end of the video. You can drag these to where you’d ideally like the video to start and end.
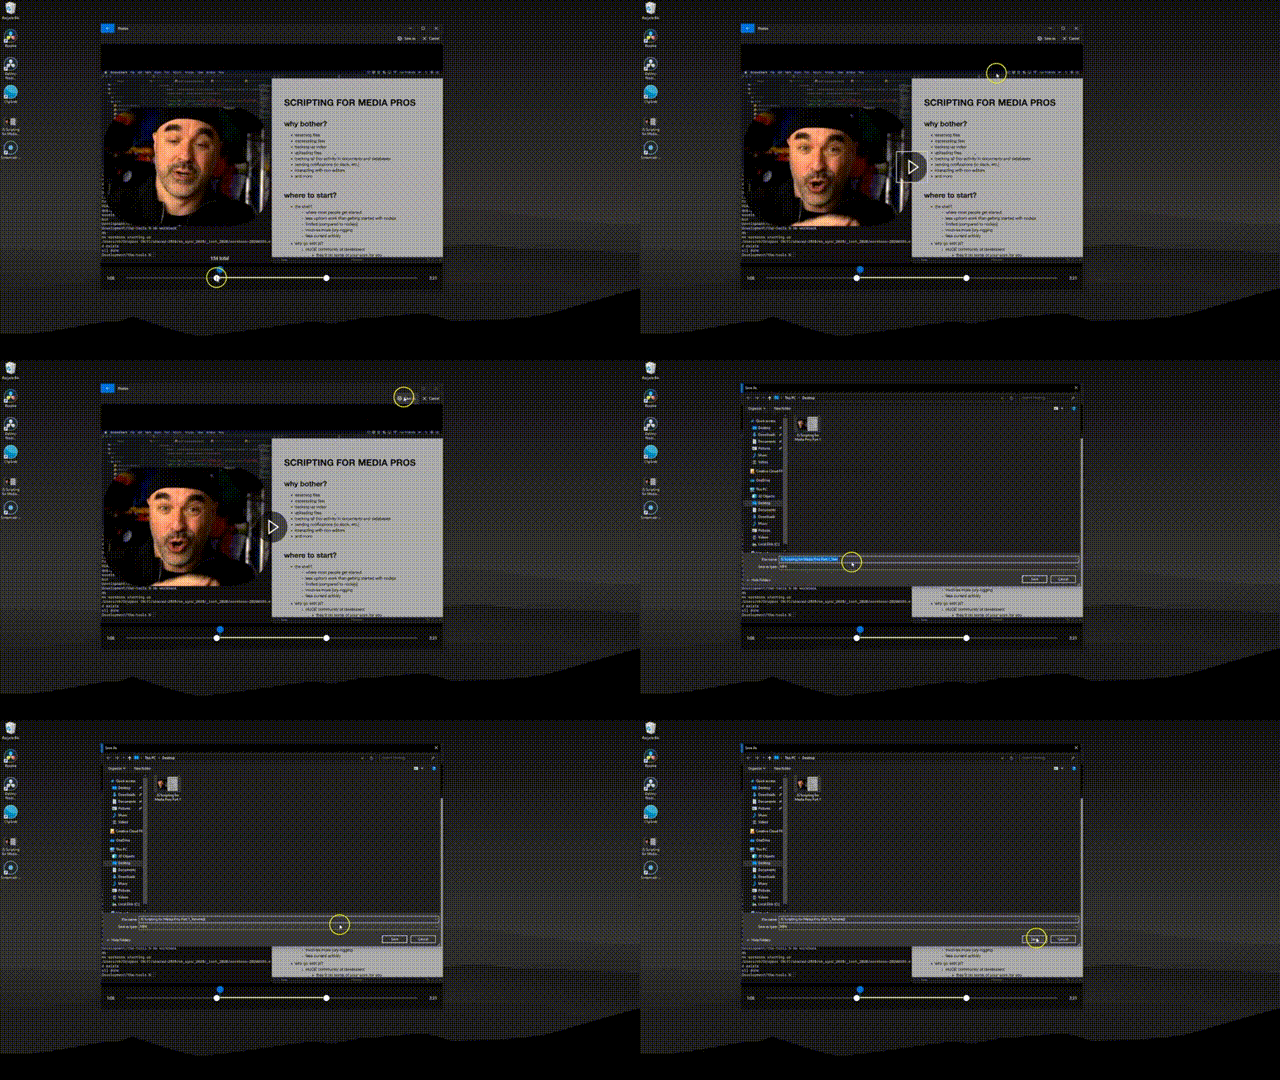
- Once you’ve selected the range you’re hoping to show, hit “Save As” in the top right hand corner, and choose a location to save it.
- You are now ready to upload your video.
Editing out a section from the middle of your video
In addition to being able to trim your video from the beginning and end, there may be instances when you want to edit out a small section from the middle of your video. This can also be done very easily in Quicktime Player, and here is a quick video walkthrough on how to do that