Tips for Capturing Video and Audio on Zoom
Optimize your Zoom Settings
There are loads of settings under the hood on how to optimize your Zoom session recordings. This section will guide you through how to turn them on. Alternatively, here is a short video walk-through as well.
- Start by going to harvard.zoom.us.
- Click Settings in the panel on the left, then click Recording.
That will open a big panel that looks like this:
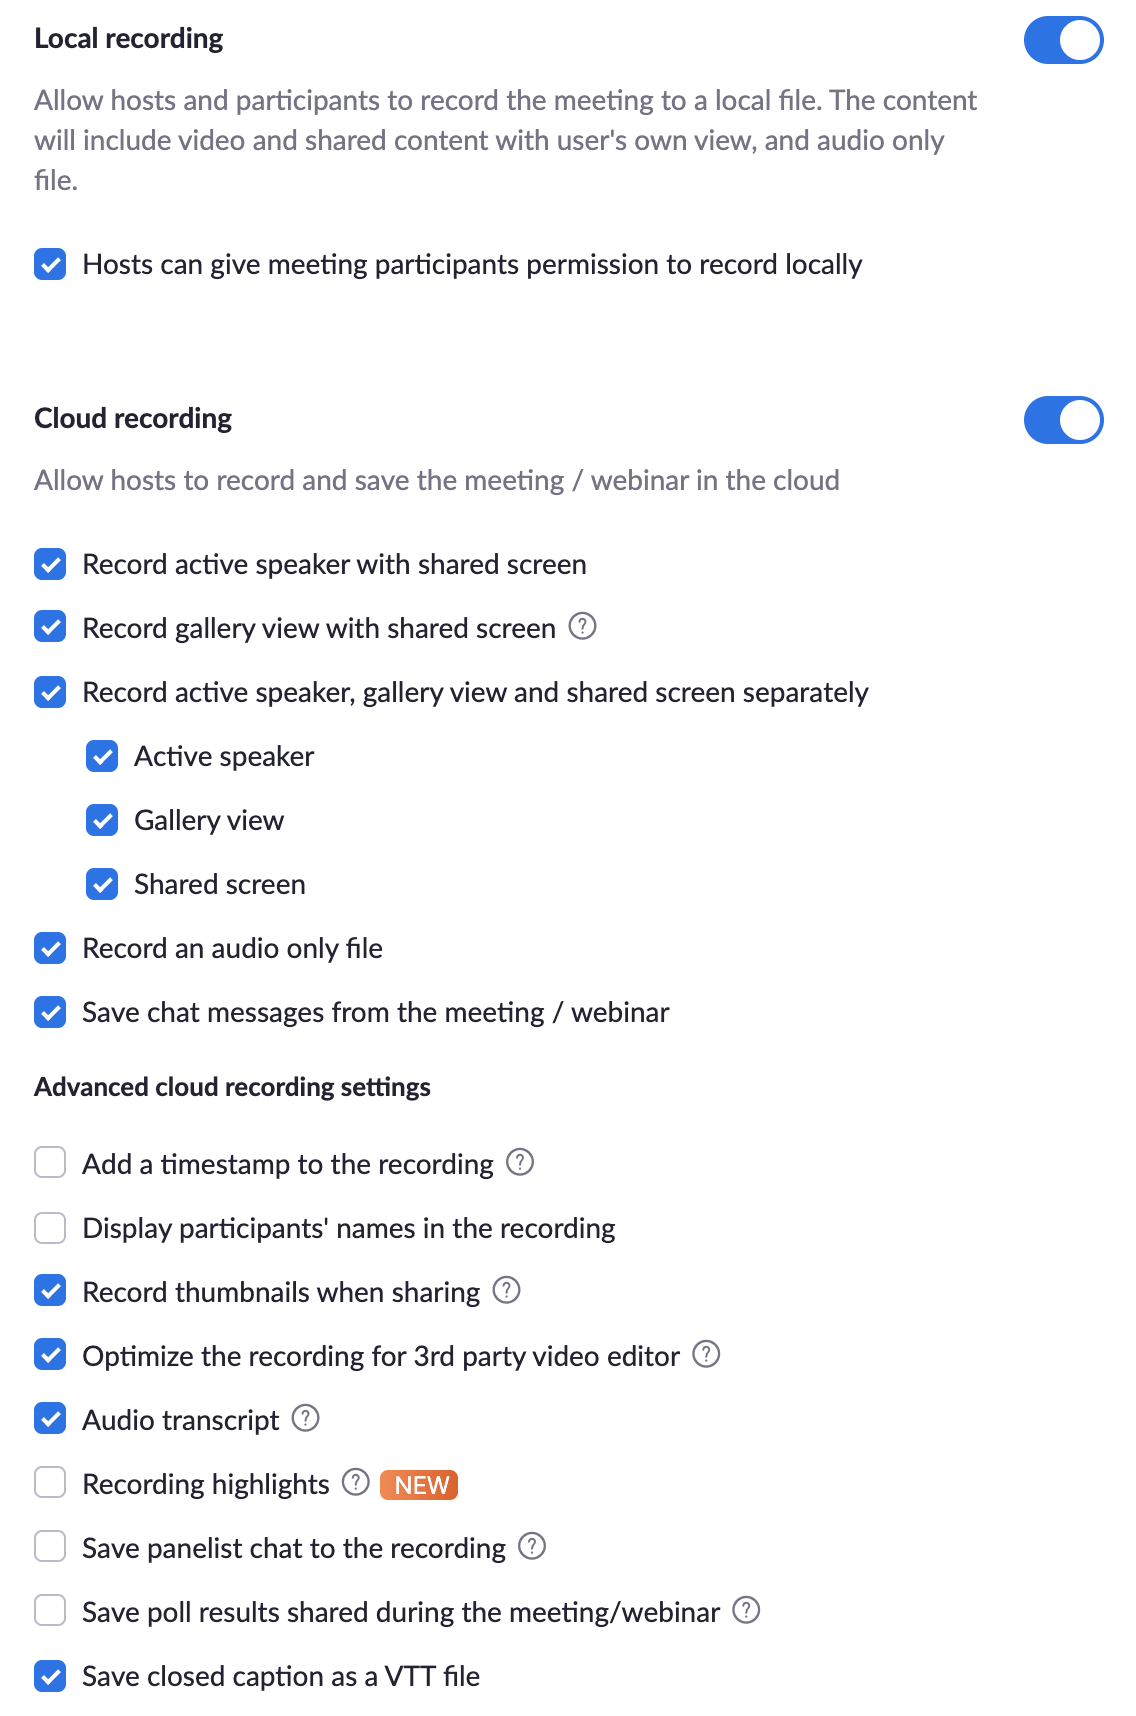
- You're going to want to go wild clicking all of these boxes except "Display participants' names in the recording" and "Add a timestamp to the recording". This will make sure you have all of the possible recordings for any meeting you are hosting.
For accessibility's sake, here's a typed list of all of the options you'll want to select:
Cloud recording
- Allow hosts to record and save the meeting / webinar in the cloud (yes)
- Record active speaker with shared screen (yes)
- Record gallery view with shared screen (yes)
- Record active speaker, gallery view and shared screen separately (yes)
- Active speaker (yes)
- Gallery view (yes)
- Shared screen (yes)
- Active speaker (yes)
- Record an audio only file (yes)
- Save chat messages from the meeting / webinar (yes)
Advanced cloud recording settings
- Add a timestamp to the recording (NO)
- Display participants' names in the recording (NO)
- Record thumbnails when sharing (yes)
- Optimize the recording for 3rd party video editor (yes)
- Audio transcript (yes)
- Save panelist chat to the recording (no)
Recording to the Cloud
Once you've configured all of your settings, start up a meeting to record in by opening up Zoom and New Meeting. Once you're in, select Record on the Cloud and deliver your presentation.
What if you're not the host?
If you'd like to record a meeting that you are not the host of, you'll need to request permission to do so. Before recording you will want to open your settings (click the arrow next to your video and go to video settings) and enter the Recording tab. You will want to select Optimize for 3rd party video editor and Record video during screen sharing.
Finding your Footage
Once you've finished recording, Zoom will send you a confirmation email once your footage is ready to view and download. (Note that this might take a few minutes to a few hours depending on the length of your recording.) You'll get an email with the subject Cloud Recording - Zoom Meeting is now available with a link to view and download your footage when it's ready.
Audio considerations
Tips for recording clean audio with any equipment.
1. Quiet
Choose a quiet environment to record in. If your surroundings are really noisy, try to record at a quieter time.
If you're hearing noise in your recording, the most common white-noise culprits are refrigerators, air conditioners/heaters, overhead lights (only if they buzz/hum), and open windows.
2. Cozy
You might notice that singing in your shower sounds different than singing in your living room. Sound has the tendency to bounce around and each room will have a surprisingly different tone to it, so if you have several choices, we'd recommend a test recording in each location, just to see if anything stands out about one or another. Look for a room that has the least reflective surfaces.
3. Close
The easiest way to improve recording quality is to get close to your microphone. This means using headphones with a built in microphone or getting closer to your laptop or recording device.