Creating Anime Style Speedline backgrounds
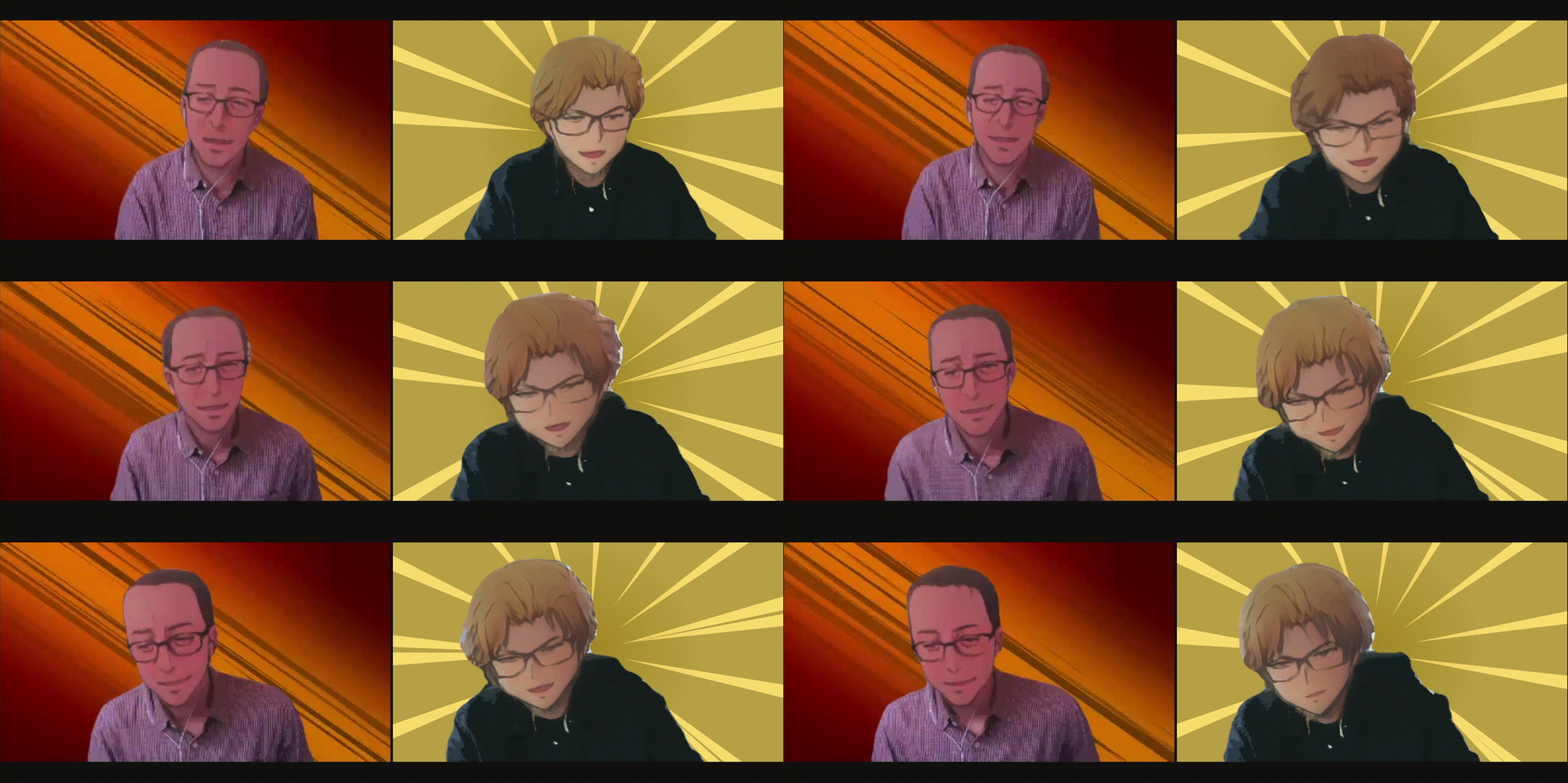
This will outline two different styles of speedlines, the first will be the radial(top right) and the second will be horizontal/diagonal(top left).
Radial Speedlines
To start off with the radial lines, you'll want to bring a Solid Layer in as your backdrop, the color doesn't really matter. Layer > New > Solid
Then select Effect > Generate > Gradient Ramp
In the Effect Control panel
- First, change Ramp Shape to Radial Ramp
- Next, change the Start Color and End Color to be your backdrop, this works best if they're the same color, but different values
- Finally, drag the Center Point of the gradient to the center of the screen(the icon will look like a circle with a plus in the center of the gradient, in your Composition)
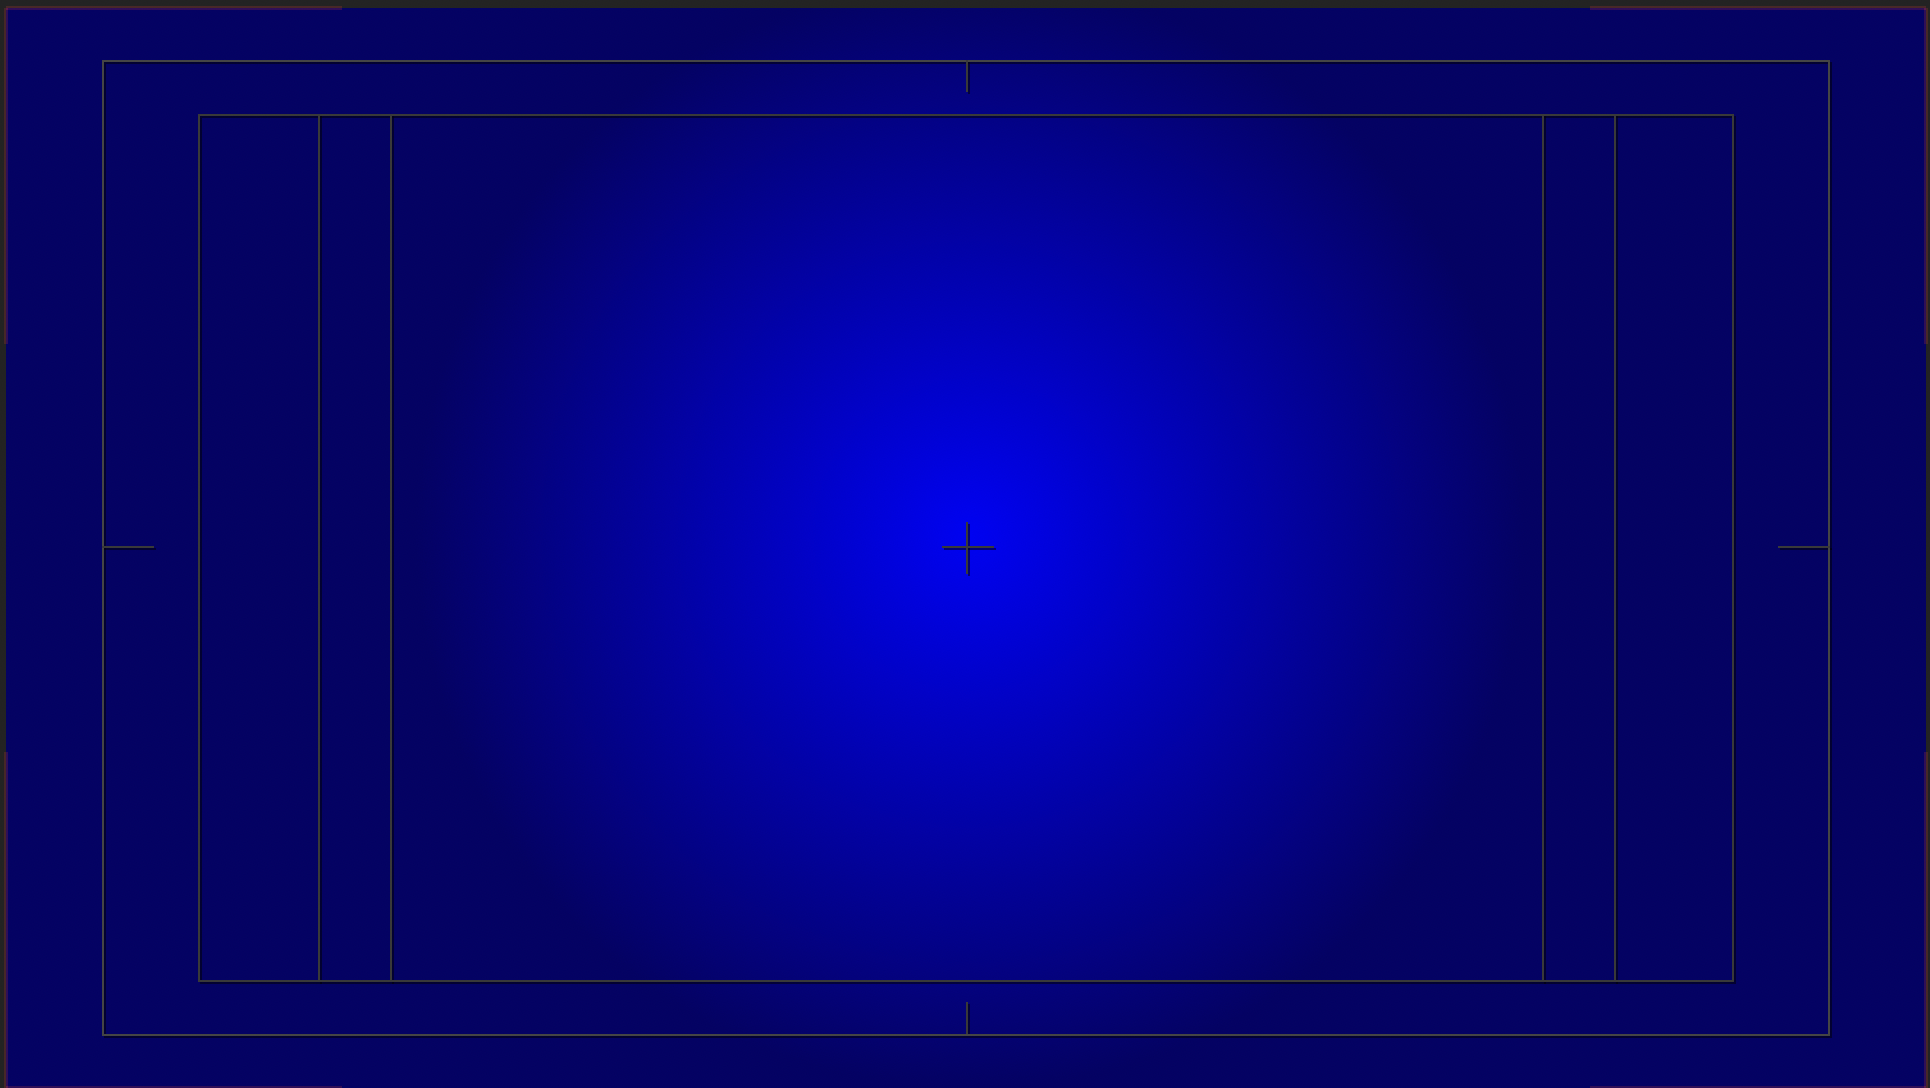
Next, select Layer > New > Shape Layer and choose the Pen Tool(G) and draw a narrow triangle with the point originating at the center point of the screen(This is best achieved if you enable the Title and Action Safe Guides on bottom of the Composition panel)
Effect > Generate > Fill will allow you to choose a color for this, either hue or value contrast works well.
Next, in your Layer Panel, drop down the Shape Layer and select to highlight the Contents section. Press Add and choose Repeater from this list.
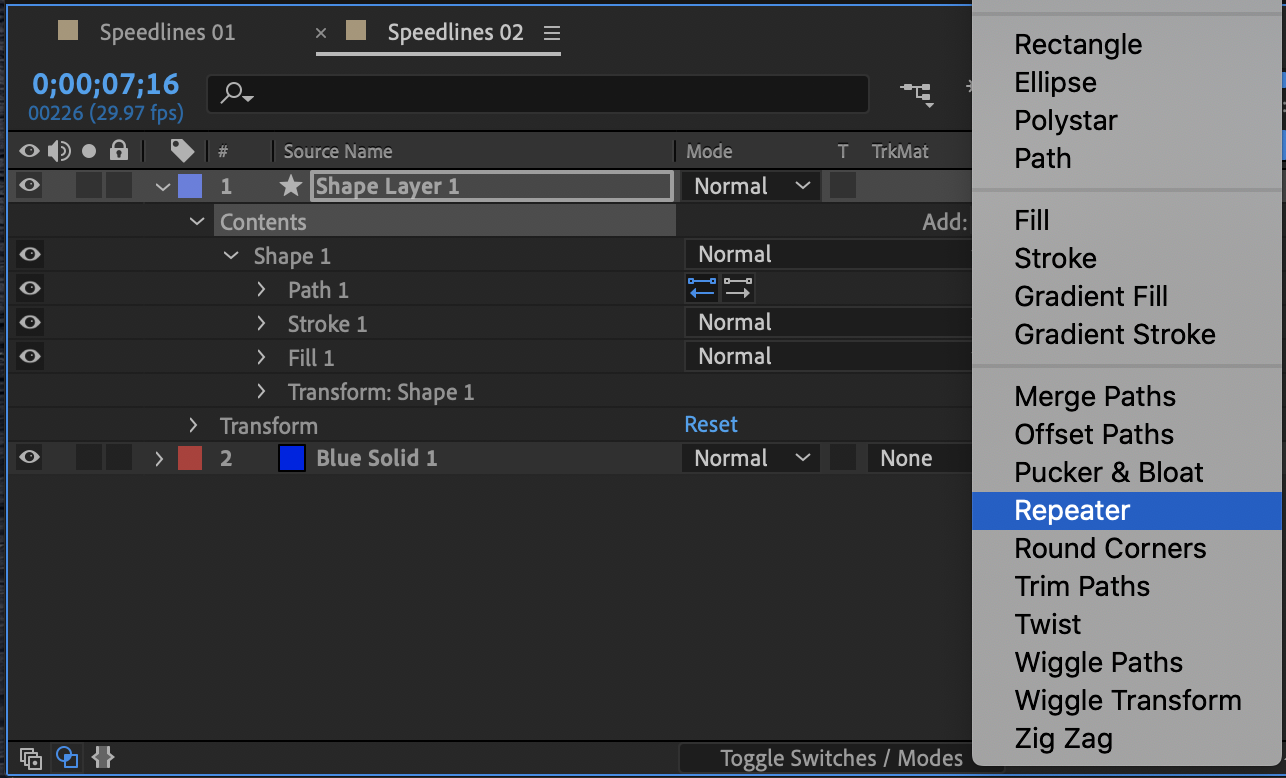
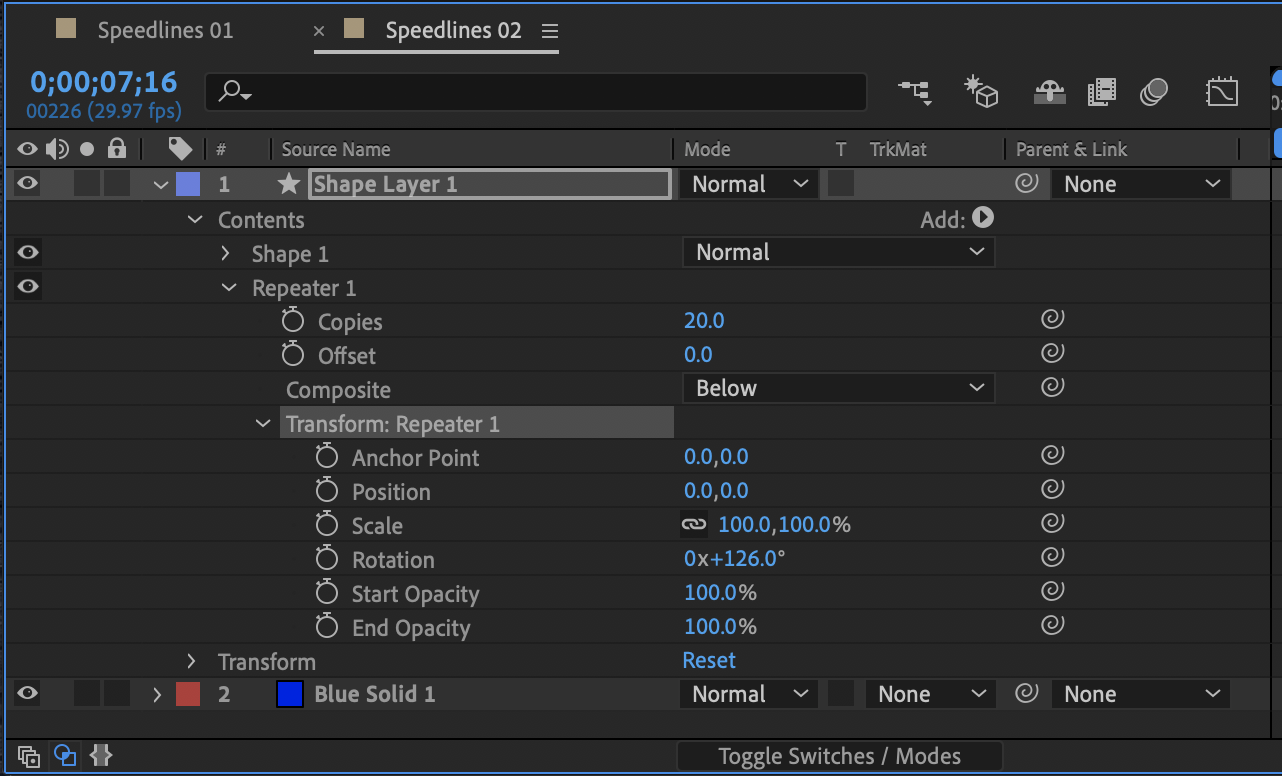
Open up Repeater and Transform: Repeater in your Layers Panel.
Change Position to 0.0,0.0
Change Copies to ~20(or so)
And now you can grab and drag the Rotation until it looks relatively even(126 seems to be a good range).
Scroll up to find expand Shape 1 and Transform: Shape 1, it's also good to collapse Repeater now, for easier organization.
- From here, grab the Position X axis(x,y) and drag it until your triangles form a circle roughly the size of your gradient center - 312,0 seems to work fairly well.
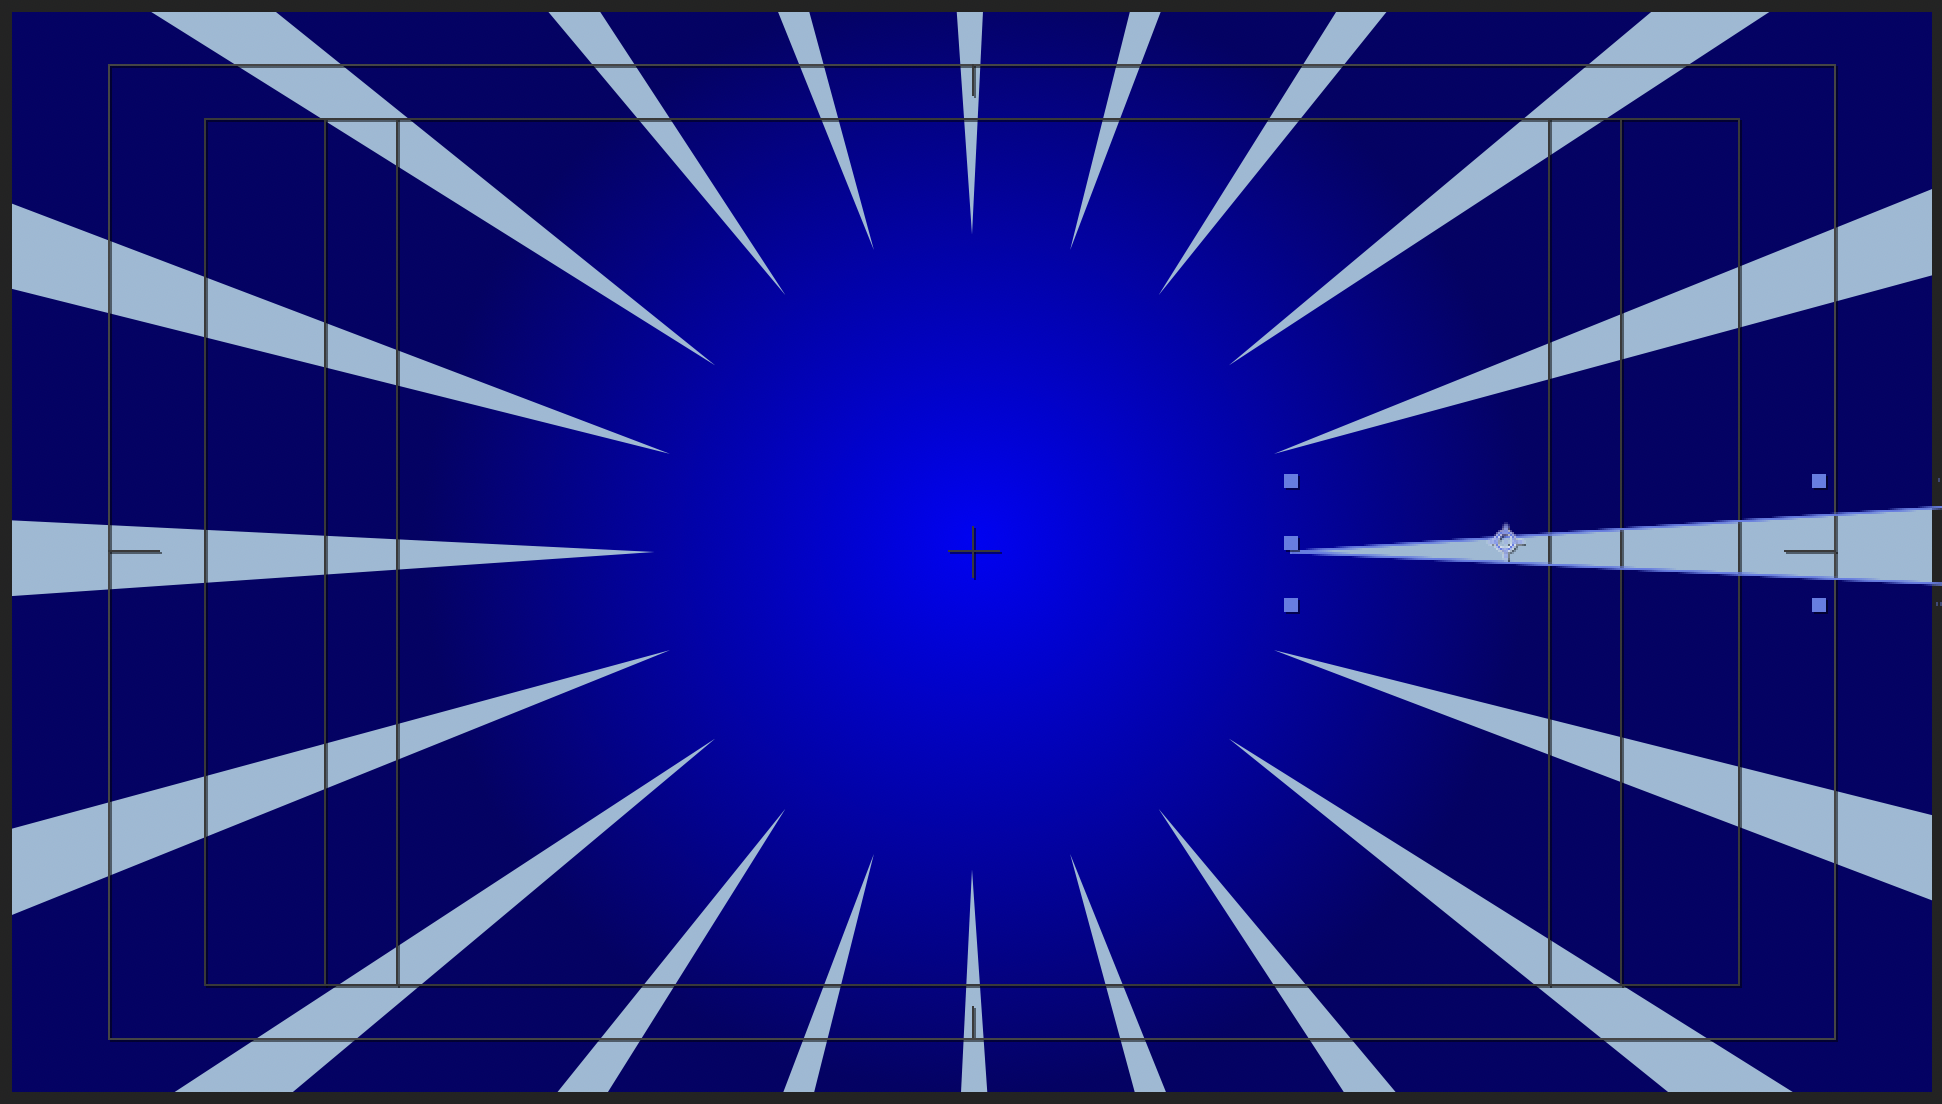
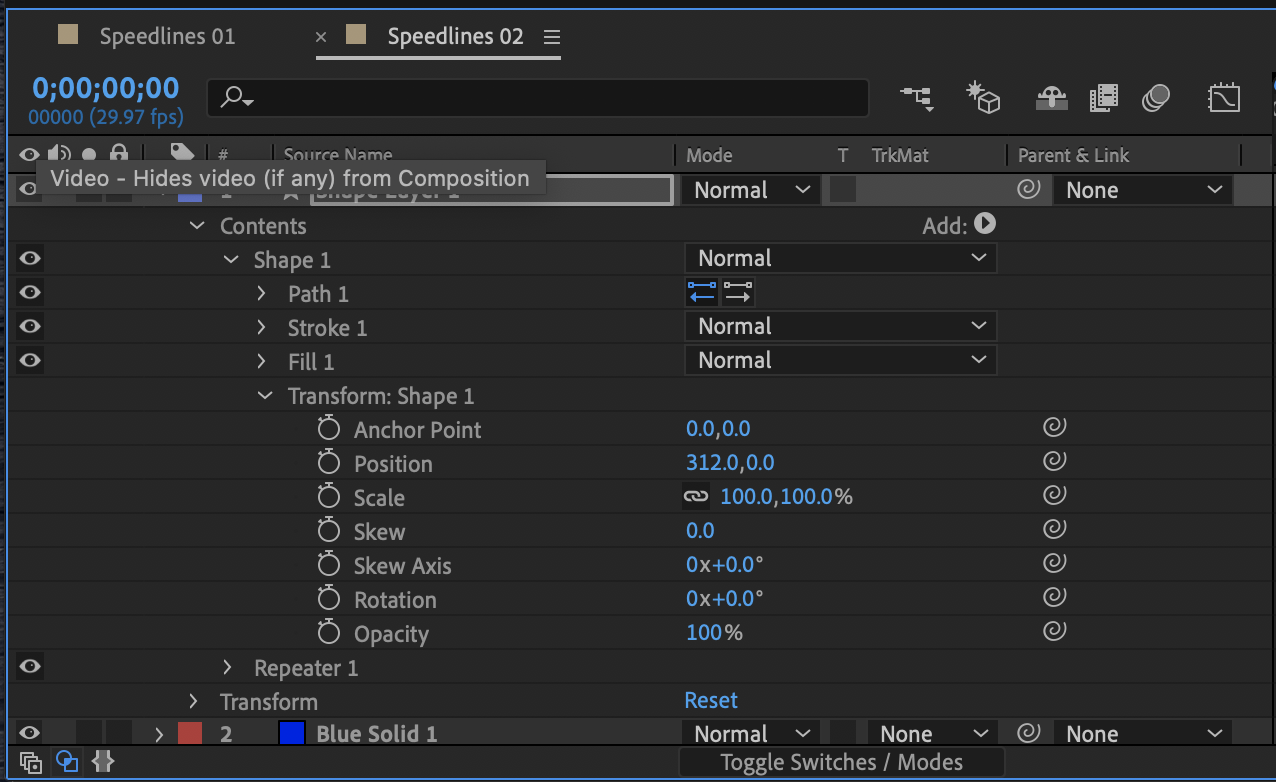
Now select Contents and hit Add and find Wiggle Transform in the list
Grab Wiggle Transform in the hierarchy and drag it below Repeater
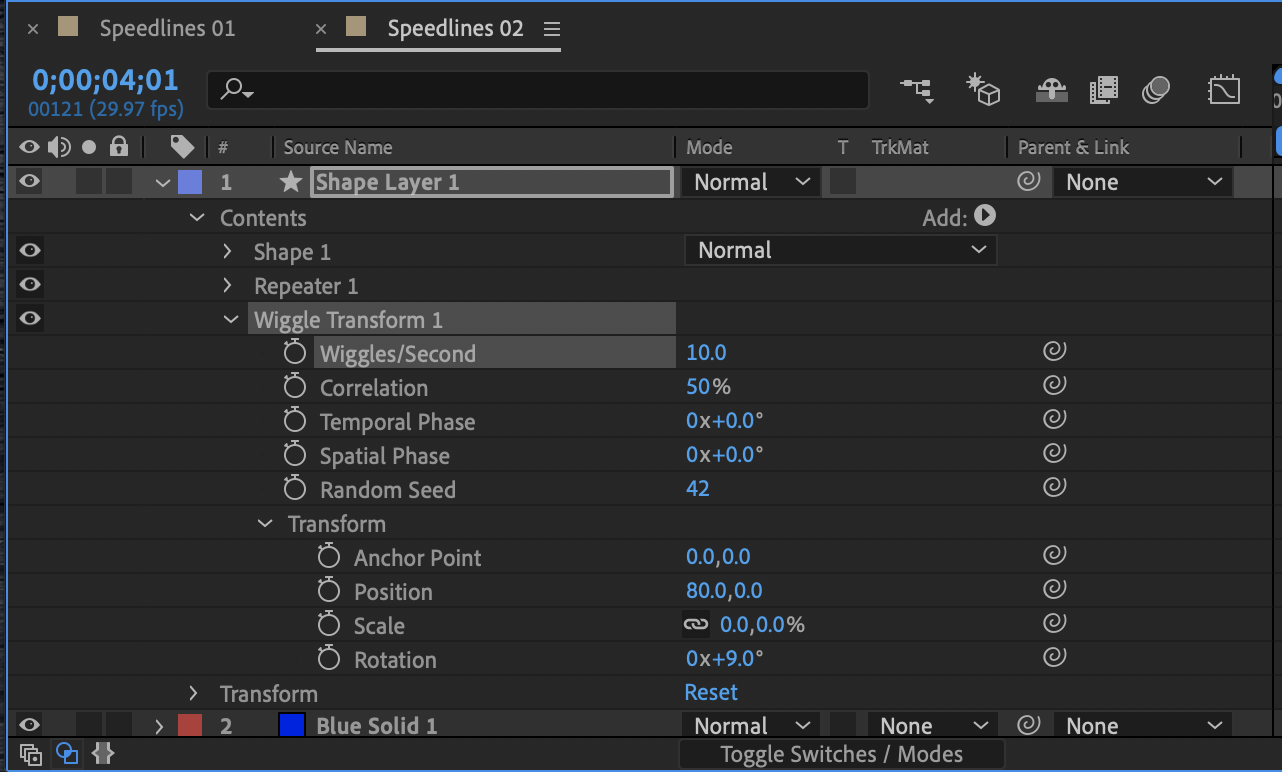
Open up Wiggle Transform and Transform within that
Change the Position X axis to around 80,0
Change the Rotation to roughly 9 degrees
Change the Wiggles/Second to around 10
From here, you should have something that roughly looks like this!
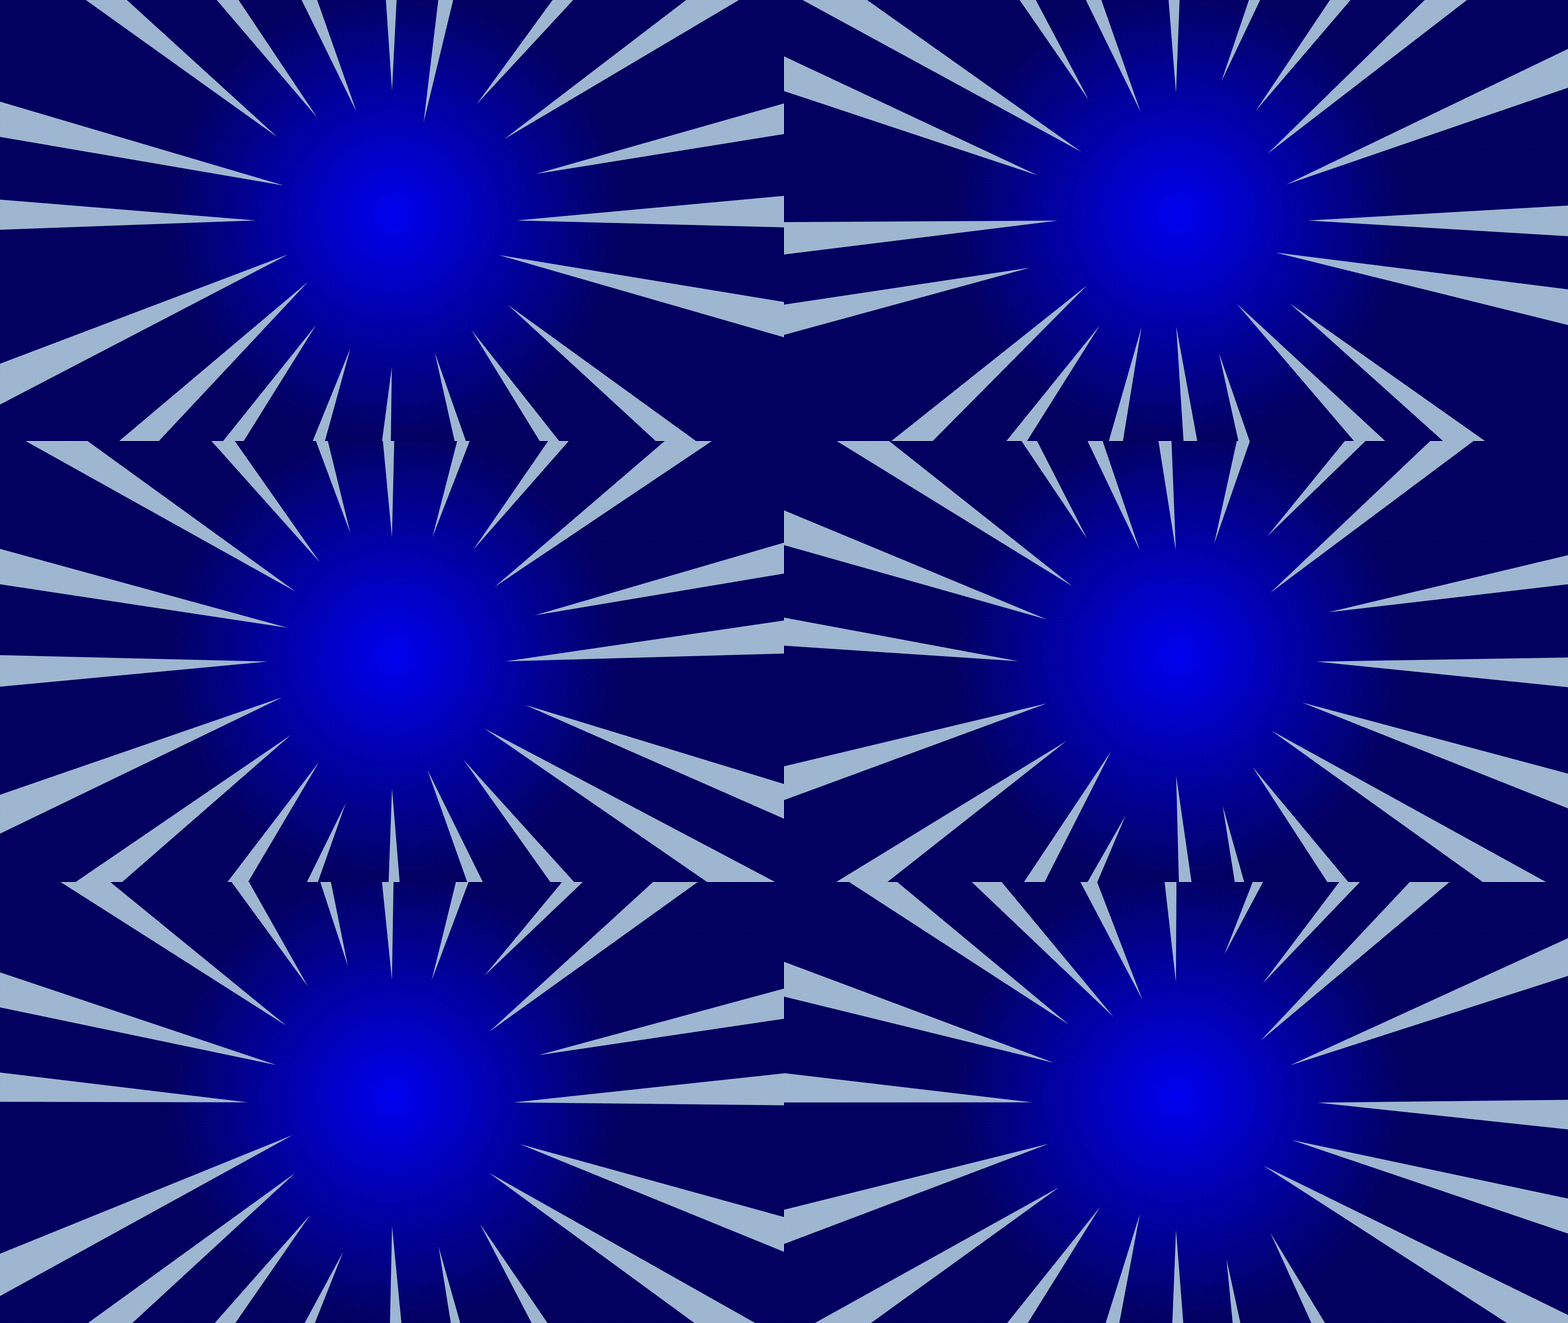
You can run back through the variables to change the dynamics of how the triangle move, as well as the Fill effects to change the colors as needed.
Horizontal speedlines
Next up is how to achieve this look, this is fairly similar, except instead of using a triangle shape and randomizing that movement, we'll be modifying a generated effect to achieve the illusion of motion.
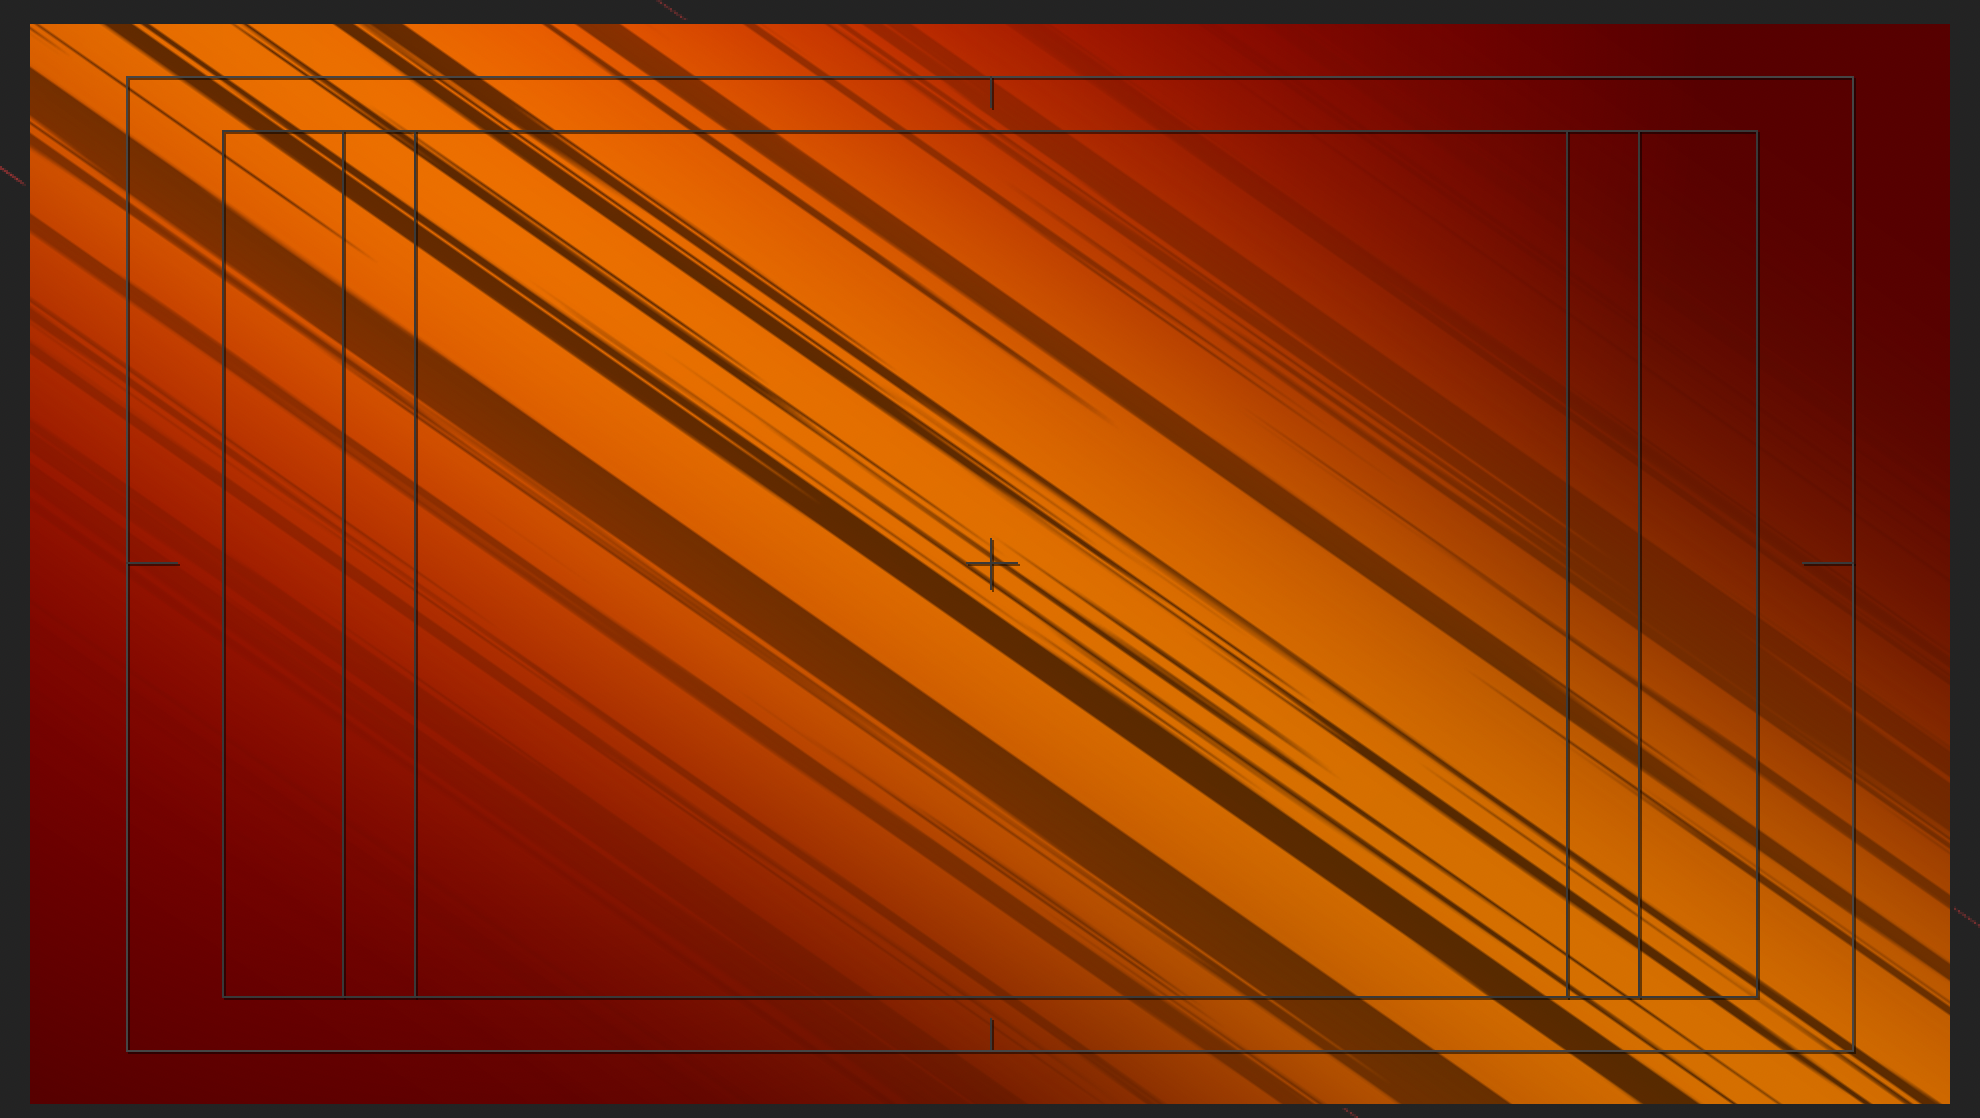
First off, you'll want to bring a Solid Layer in as your backdrop, the color doesn't really matter. Layer > New > Solid Select and hit Enter to rename "Background"
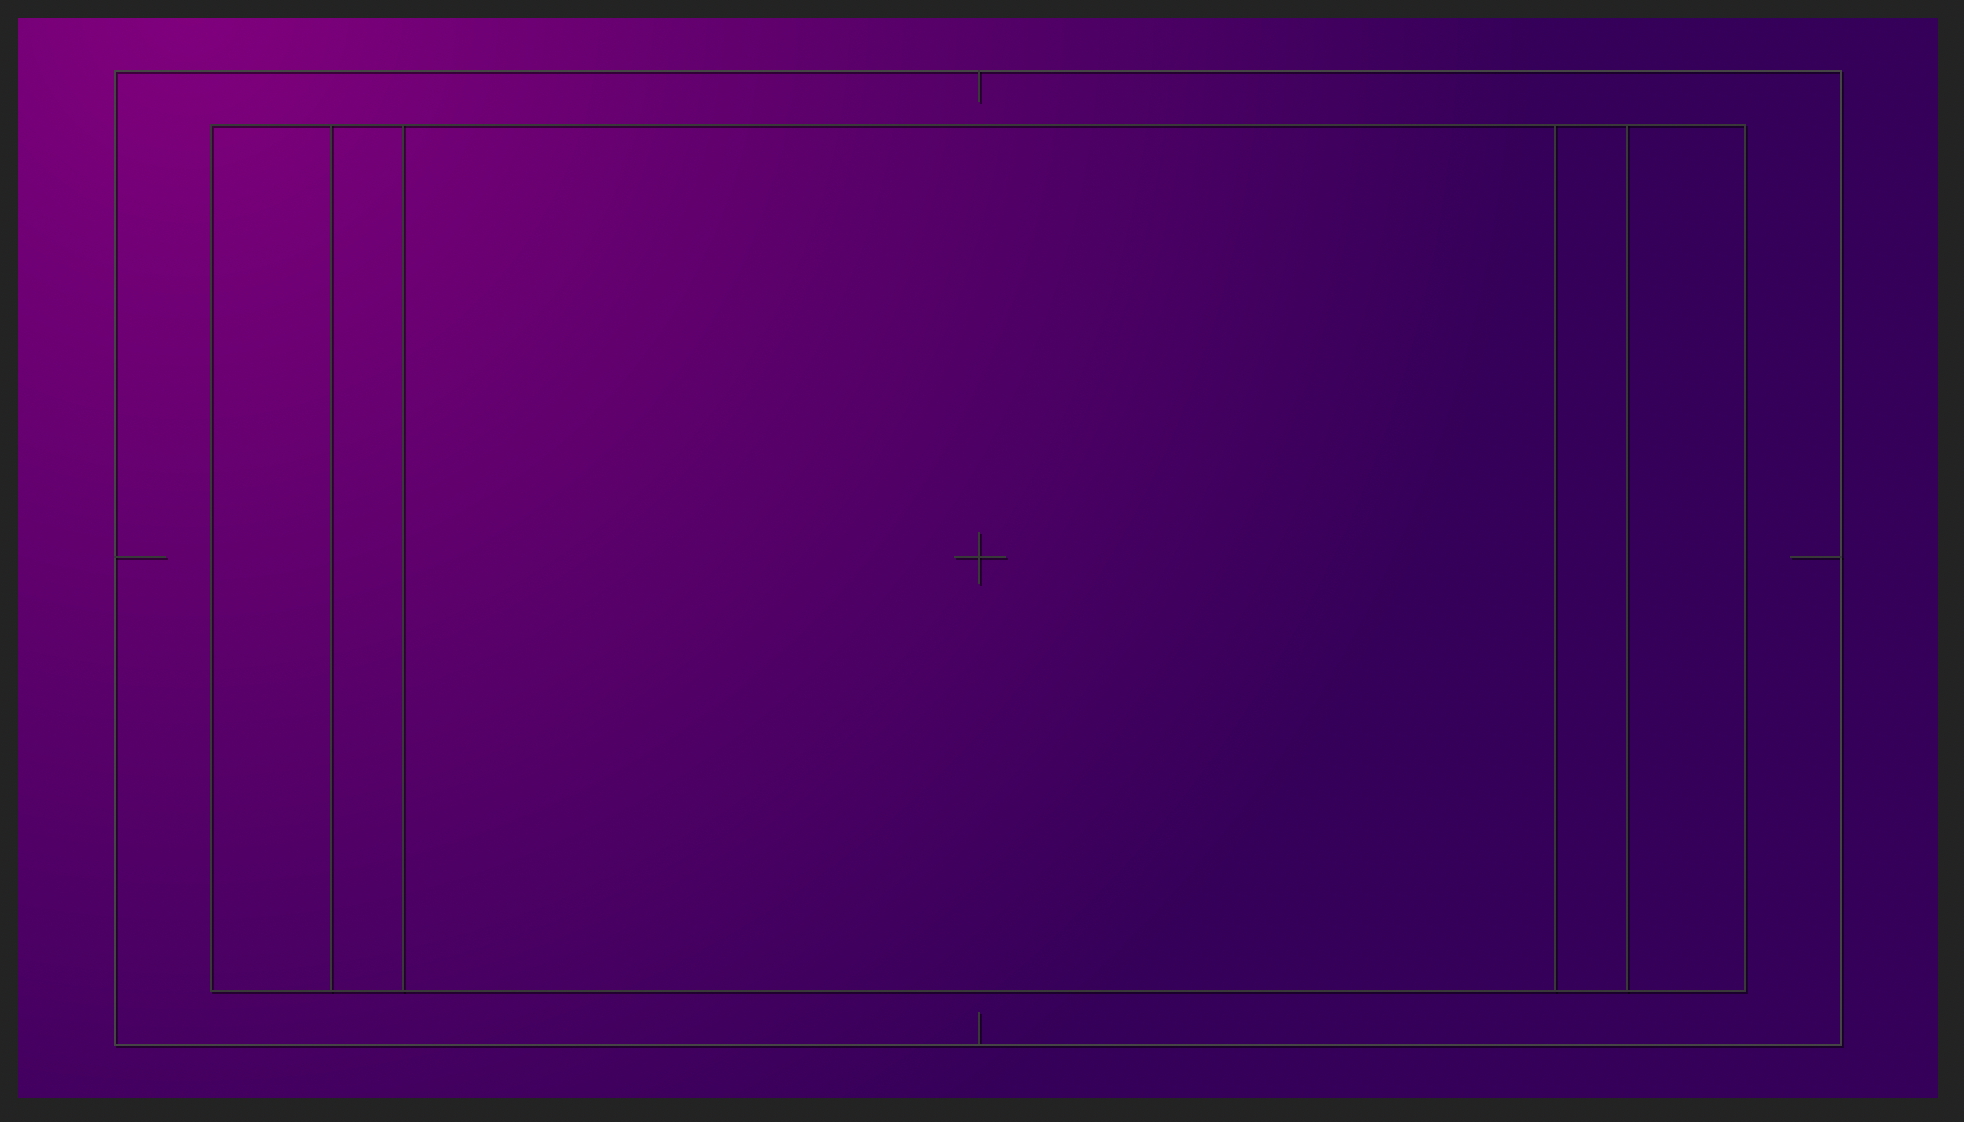
Then select Effect > Generate > Gradient Ramp
In the Effect Control panel
- First, change Ramp Shape to Radial Ramp
- Next, change the Start Color and End Color to be your backdrop, this works best if they're the same color, but different values
- And drag the center point of the gradient into one corner of your composition(the icon will look like a circle with a plus in the center of the gradient, in your Composition).
Next up select Layer > New > Solid Select and hit Enter to rename "Light"
Expand the Transform elements of your new Solid Layer and Rotate the new rectangle to around 35 degrees
Then change the Scale to around 200%
Select your Light Layer and choose the Rectangle Tool(Q) and draw a long, narrow stripe diagonally through the Composition
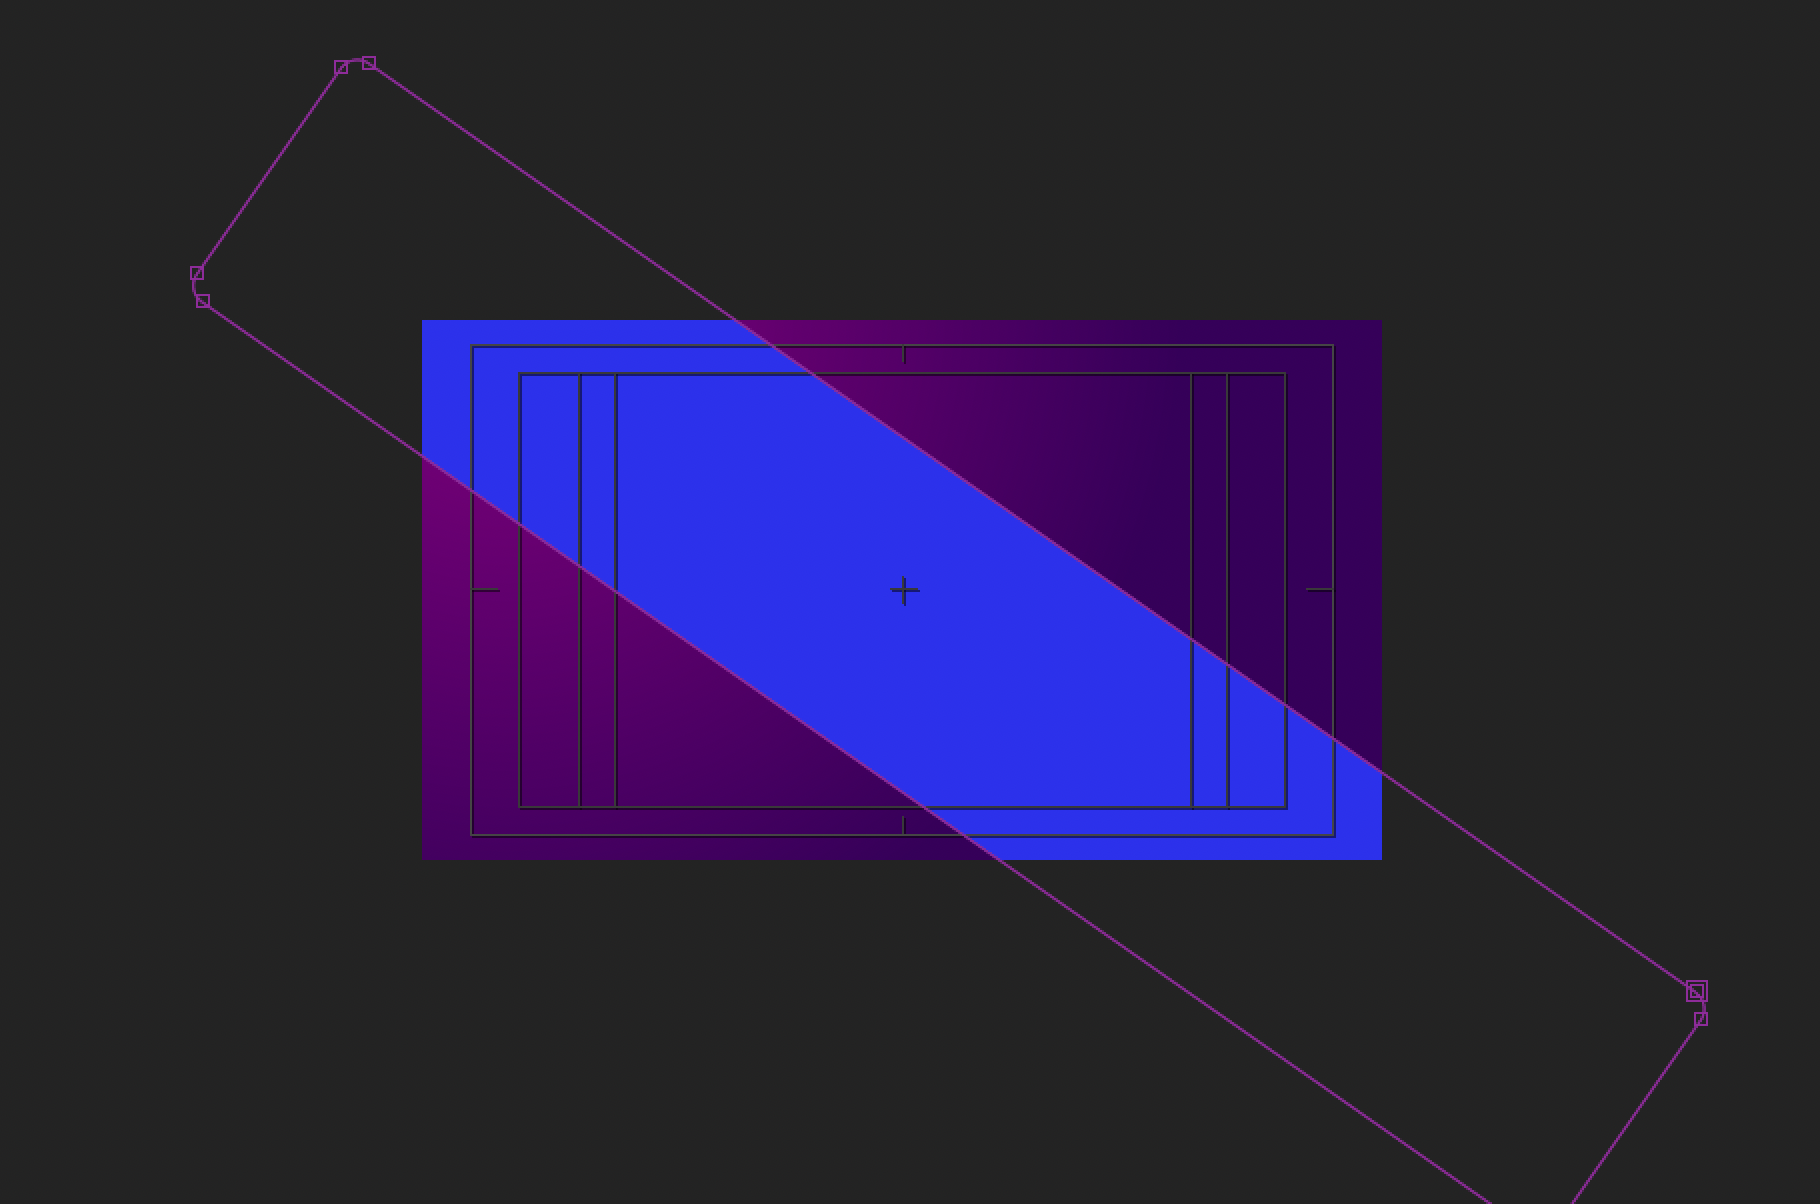
Expand out Mask 1 in your Light Layer and change the Mask Feather to around 250,250
At this point, you'll likely have an opinion about your color choices, if you'd like to change this, you can Effect > Generate > Fill which will give you control over the color in the Effect Control Panel
Next up, you'll want to Select your Light Layer and duplicate it(Cmd+D) Select this new layer and hit Enter to rename "Shadows 01"
Next to Shadows 01, under Mode, change this from "Normal" to Multiply
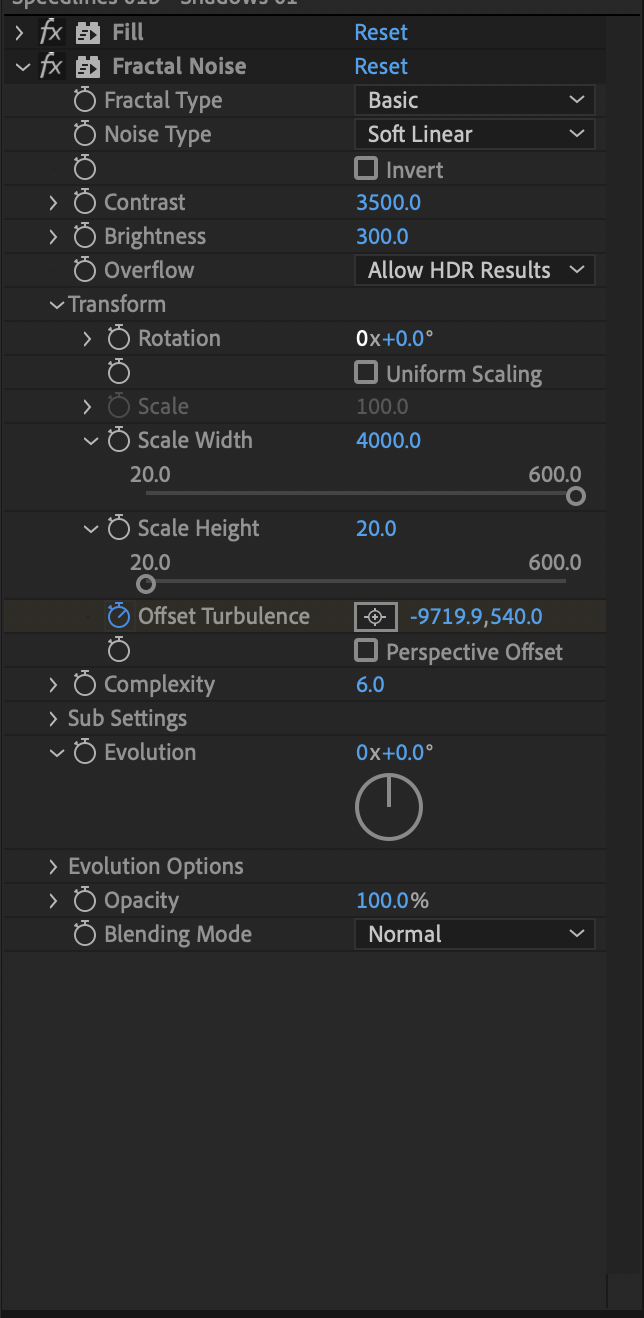
With Shadows 01 selected, Effect > Noise and Grain > Fractal Noise
In the Effect Control panel, expand Transform and uncheck Uniform Scaling
Next, set Scale Width to 4000 and Scale Height to 20
Set your Contrast to 3500 and your Brightness to 300
Finally, we're ready to animate this!
Set your playhead at the beginning of your sequence
In the Effect Control panel, hit the Stopwatch icon next to Offset Turbulence and change the values to -1100,540
Set your playhead at the end of your sequence
And set your Offset Turbulence to 960,540
Now, you should have a very simple Horizontal Speedline effect!
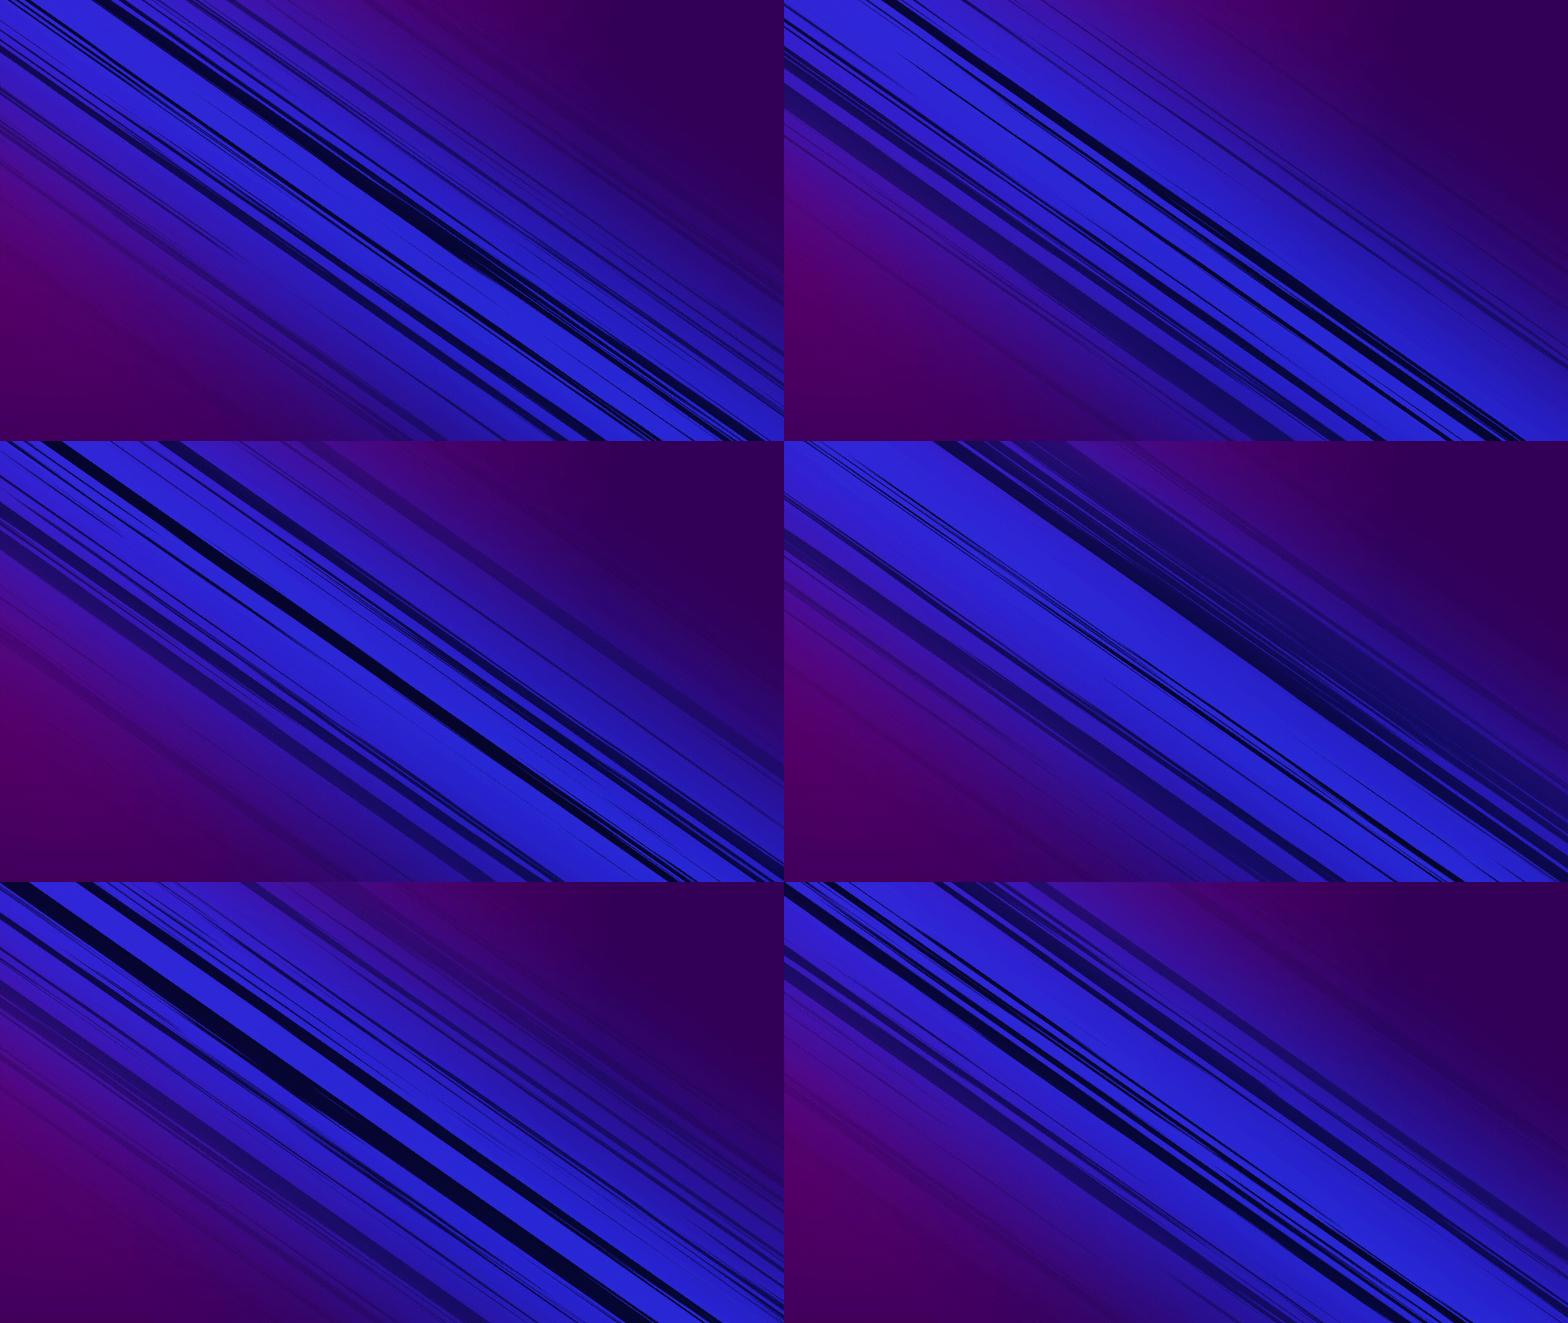
For bonus points, you can duplicate your Shadows 01 and rename it Highlights 01, and change the Mode from Multiply to Screen -- This will give it a bright center beam that compliments the dark lines nicely