CREATING A PODCAST IN GARAGEBAND

Downloading and installing the software
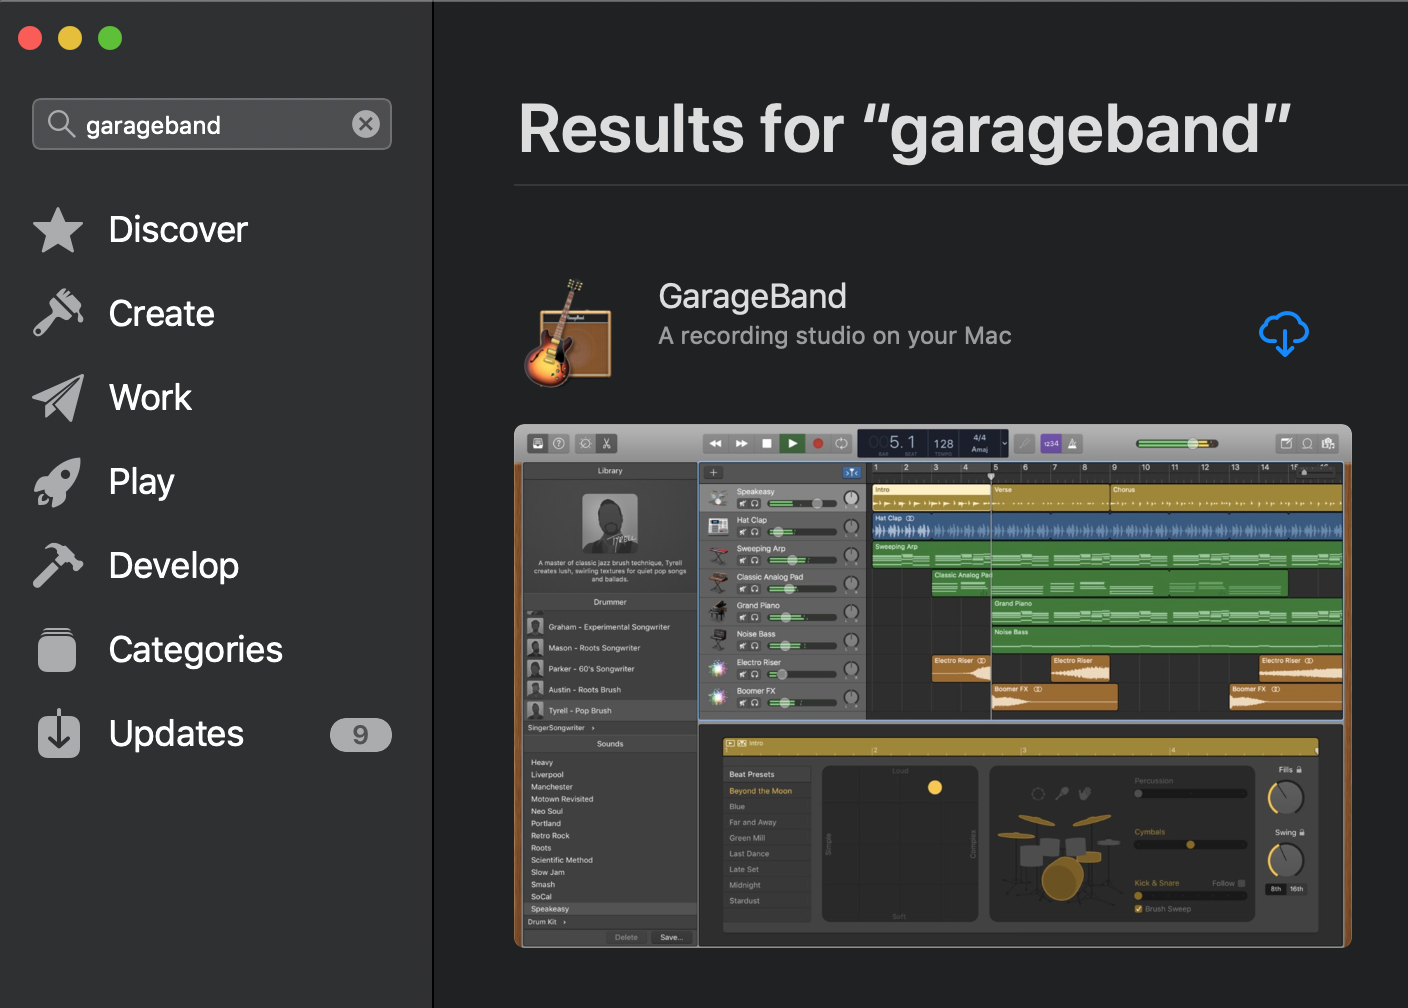
GarageBand is available for free from the Mac App Store
- Navigate to and open the App store on your Apple device

- Type "garageband" in the search bar, and once found, download the application

- Once downloaded, we're ready to start working inside the application
Setting up your project
Open the application, and open up a new “Empty Project.”
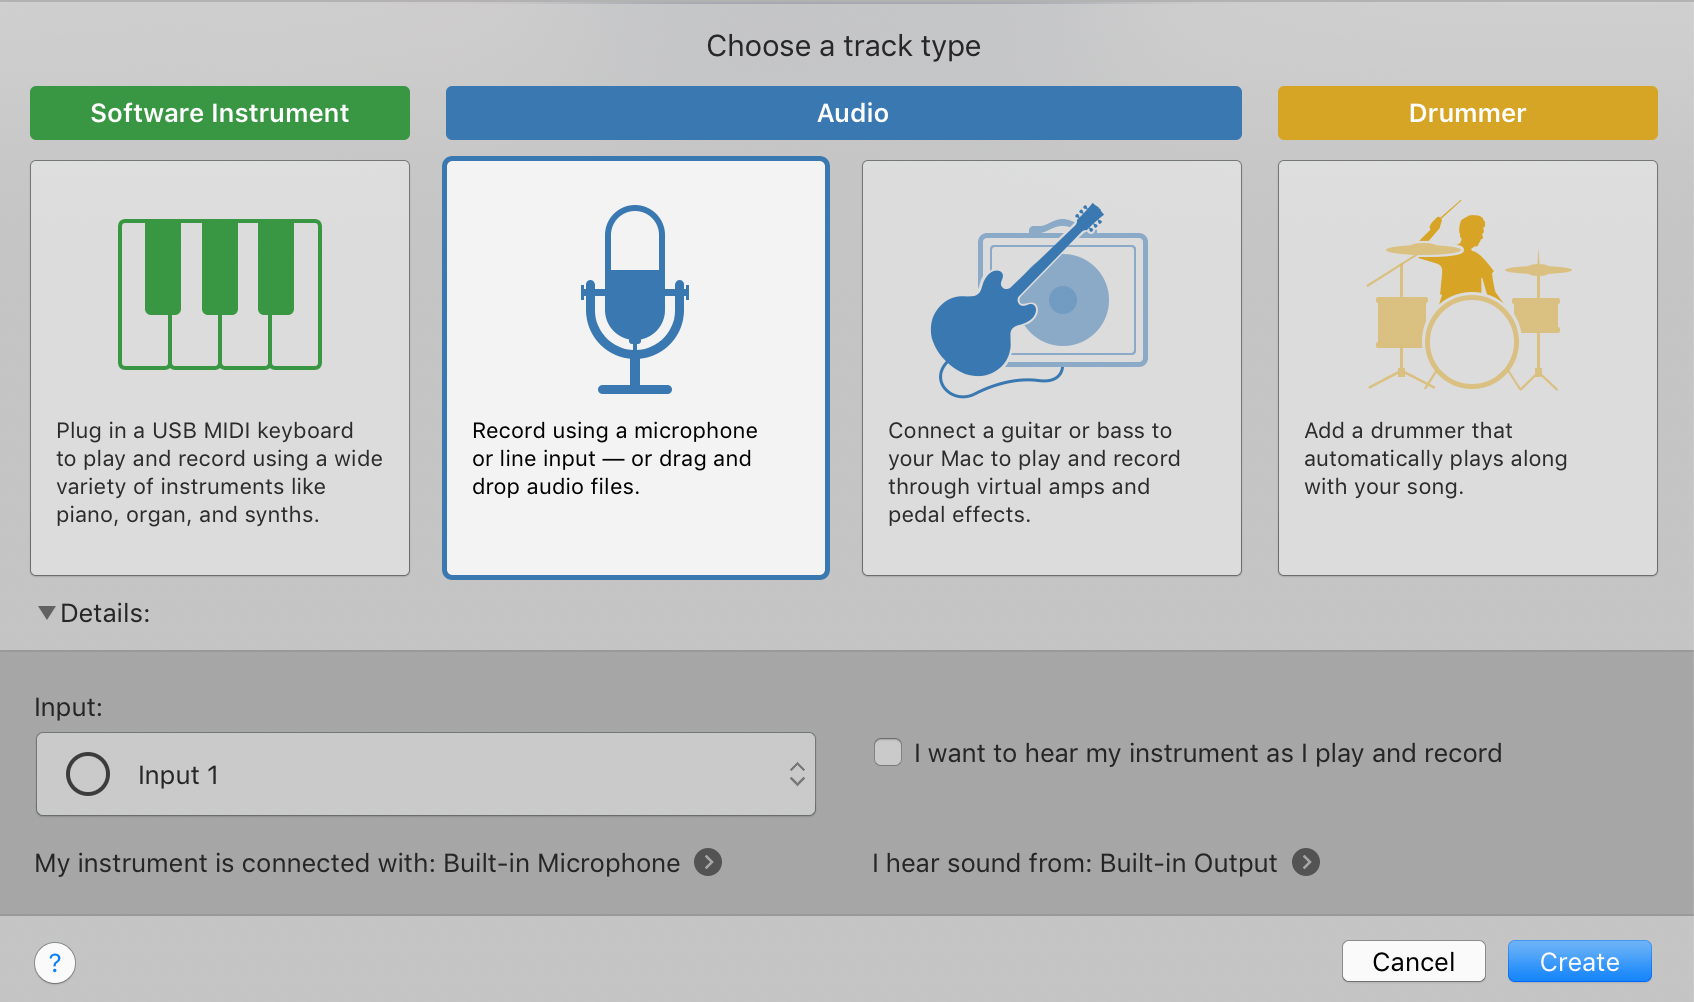
You will then see a second screen that asks your track type. Under the 'Audio' tab. select the microphone. This will allow you to record directly into GarageBand, as well as permit you to import external audio files.

- Once the project opens, deselect the "1234" (Count-in) & Metronome (click track) icons

Recording directly into GarageBand
- If you would like to record directly into GarageBand, simply click on the red, circular, record button at the top of the screen, and begin talking!
- NOTE: You may need to adjust your input settings to produce an audio signal. To customize these settings, click on the following and adjust your settings to suit your setup:
- GarageBand
- Preferences
- Audio/Midi
- NOTE: You may need to adjust your input settings to produce an audio signal. To customize these settings, click on the following and adjust your settings to suit your setup:

Importing external audio into GarageBand
Bringing in external audio into your GarageBand project is as easy as dragging an audio file from your Desktop, into the timeline in GarageBand. GarageBand will make a track for the audio file, if one is not already created for it.

Moving clips around in the timeline
Click on your clip, and move it to where you'd like it to be positioned in the timeline

Manipulating audio
Global volume control
- Click on the volume slider, and drag to the left or right, depending on whether you want the audio louder or softer
Ducking/fading Audio
- You can also perform very meticulous volume control on specific portions of your audio by using the Automation feature in GarageBand
- Click 'a' to toggle the Automation function, or click 'Mix' > 'Show Automation'
- Hold 'Command' and click on the beginning point in the timeline that you want to be manipulated
- While holding 'Command' click on the ending point in the timeline, and drag the points up (louder) or down (softer) to achieve the desired volume adjustment
- You can also perform very meticulous volume control on specific portions of your audio by using the Automation feature in GarageBand

- Splitting audio clips
- If you would like to split an audio clip that you have into two or more parts, click on the track and clip that you would like to split, and position the playhead where you want the split to occur
- Click 'Command' + 'T' at the same time, and you will generate two clips that you can then manipulate and adjust independently

Here is a visual diagram to help you think about some of the structural elements that are often a part of a typical podcast

Sharing your finished Mix
After you've added all of your audio elements, and mixed them according to your preference, you are ready to export.
Go to the 'Share' menu and choose 'Export Song to Disc'. Name your podcast and choose an audio format: AAC or AIFF for full quality, and MP3 for slightly lower quality but more manageable file size. You can share your audio on sites like SoundCloud, services like iTunes, or create an RSS (Really Simple Syndication) feed of your own, so listeners can find and subscribe to your podcast.