How to use Automator to batch rename a large number of files
Automator is a powerful application that can automate many processes on your Mac. This brief resource is intended to demonstrate how you can rename a large number of files according to your own preferences and needs.
To start, open the application 'Automator' on your Mac.
Once open, click 'File' and then 'New'.

When the program opens, a dialog box will appear. Click 'Workflow' and then 'Choose'.

Next, on the left side of the application window, select 'Files & Folders', and then double-click 'Get Specified Finder Items'.

After that, double-click 'Rename Finder Items'.

Another dialogue box will appear after this. Decide if you would like Finder to Add a 'Copy Finder Items' action that will retain a copy of your original files. For this demonstration, we are selecting 'Don't Add'.

This is how the application window will look once you double-click 'Rename Finder Items', and then 'Don't Add'.

Customizing how your files will be renamed
For the purpose of this tutorial, the type of image files that we will be renaming are by an artist named 'Timothy Cole', and they are 'Prints' of the original medium which is 'Wood Engraving'.
We want all three of these pieces of information to be contained in every image file that we have (11 in all), so we are going to set our actions so that we have renamed files that appear as:
'TimothyCole_Print_WoodEngraving_001.jpg', 'TimothyCole_Print_WoodEngraving_002.jpg',
and so on throughout the remaining images.
(Again, you can feel free to customize your naming conventions to suit your needs and preferences.)
To initiate this formula for renaming our files, click on the drop-down menu that says 'Add Date or Time' and select 'Make Sequential'.

Next select the 'new name' radio button, and copy & paste in the name of your folder containing the images, which we have already named as 'TimothyCole_Print_WoodEngraving'.

After this, we need to set the manner in which the files will be incremented. Since you may be renaming a large number of files, we want to make all numbers '3' digits long, as seen here:

As well, to match the naming structure above ('TimothyCole_Print_WoodEngraving_001.jpg'), we need to have the incremented numbers separated by an 'underscore' (rather than a 'dash'), so select 'underscore' in the drop-down menu named 'separated by'.
Once you've done that, you can see the example filename in the dialogue box.

Now we just need to add the files into the top action item box, named 'Get Specified Finder Items', like so:

Once all the files have been successfully added to the 'Get Specified Finder Items' dialogue box, we are ready to 'Run' the automation.
Select 'Run' in the top right of the Automator application window, and the program will initiate.
You should then see a log at the bottom of the application window that confirms the success of your automation.
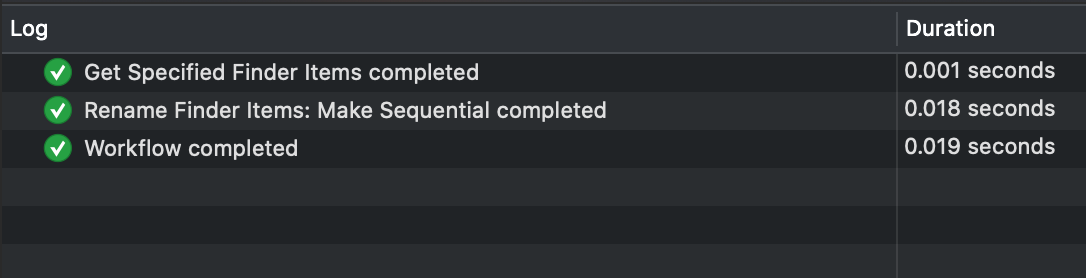
And then we can now go back to our 'TimothyCole_Print_WoodEngraving' folder and see that our files have now been correctly renamed. Success!!

Bonus points challenge!!
The above set of instructions will work perfectly well if you have only 1 folder of items that you would like to be renamed.
However, what if you had a series of folders nested inside a larger parent folder that all contain images that you want renamed? And in addition, you would like the names of the parent and child folders to be written into the files themselves?
If so, the filenames would then look something like:
'ParentFolderName_ChildFolderName1_001.jpg' 'ParentFolderName_ChildFolderName1_002.jpg'
and so on
Here is the folder structure that we will use for this challenge, and note that the files have not been renamed yet in any highly consistent manner:

To do this, we are going to create what is called a 'Quick Action'. A 'Quick Action' initiates a service that will perform the renaming operation of nested folders and files without even having to open the Automator application!
To start, open 'Automator'. Once open, click 'File' and then 'New'.
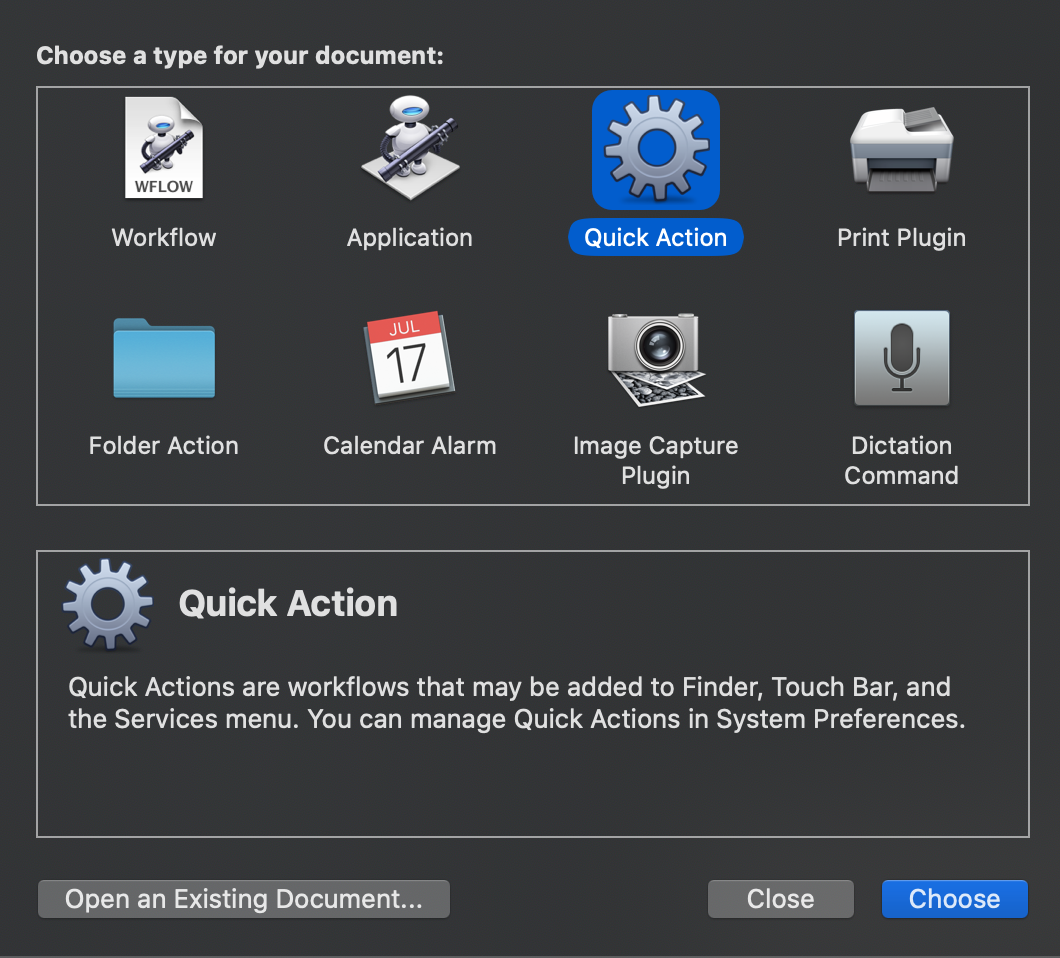
When a dialogue box appears, instead of 'Workflow', select 'Quick Action', and then 'Choose'.
After clicking 'Quick Action', another dialogue box will appear that we need to customize a bit. In the dropdown that says 'Workflow receives current', select 'files or folders', and in the 'in' dropdown select 'Finder'.

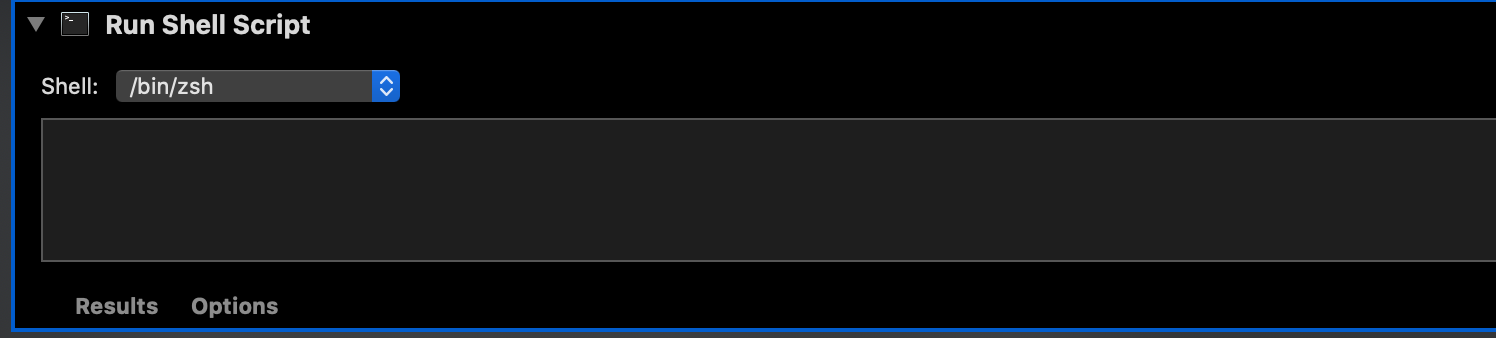
Now scroll down the list of available 'Actions' on the left part of the application window and double-click 'Run Shell Script'. This is what that will look like:

Inside the 'Shell' drop-down menu of the 'Run Shell Script' dialogue box, select '/bin/zsh' if your operating system is on Catalina, Big Sur (or newer). If you are on an older operating system, select '/bin/bash'.
Since the computer for this demonstration is on Catalina, we are going to select '/bin/zsh'.
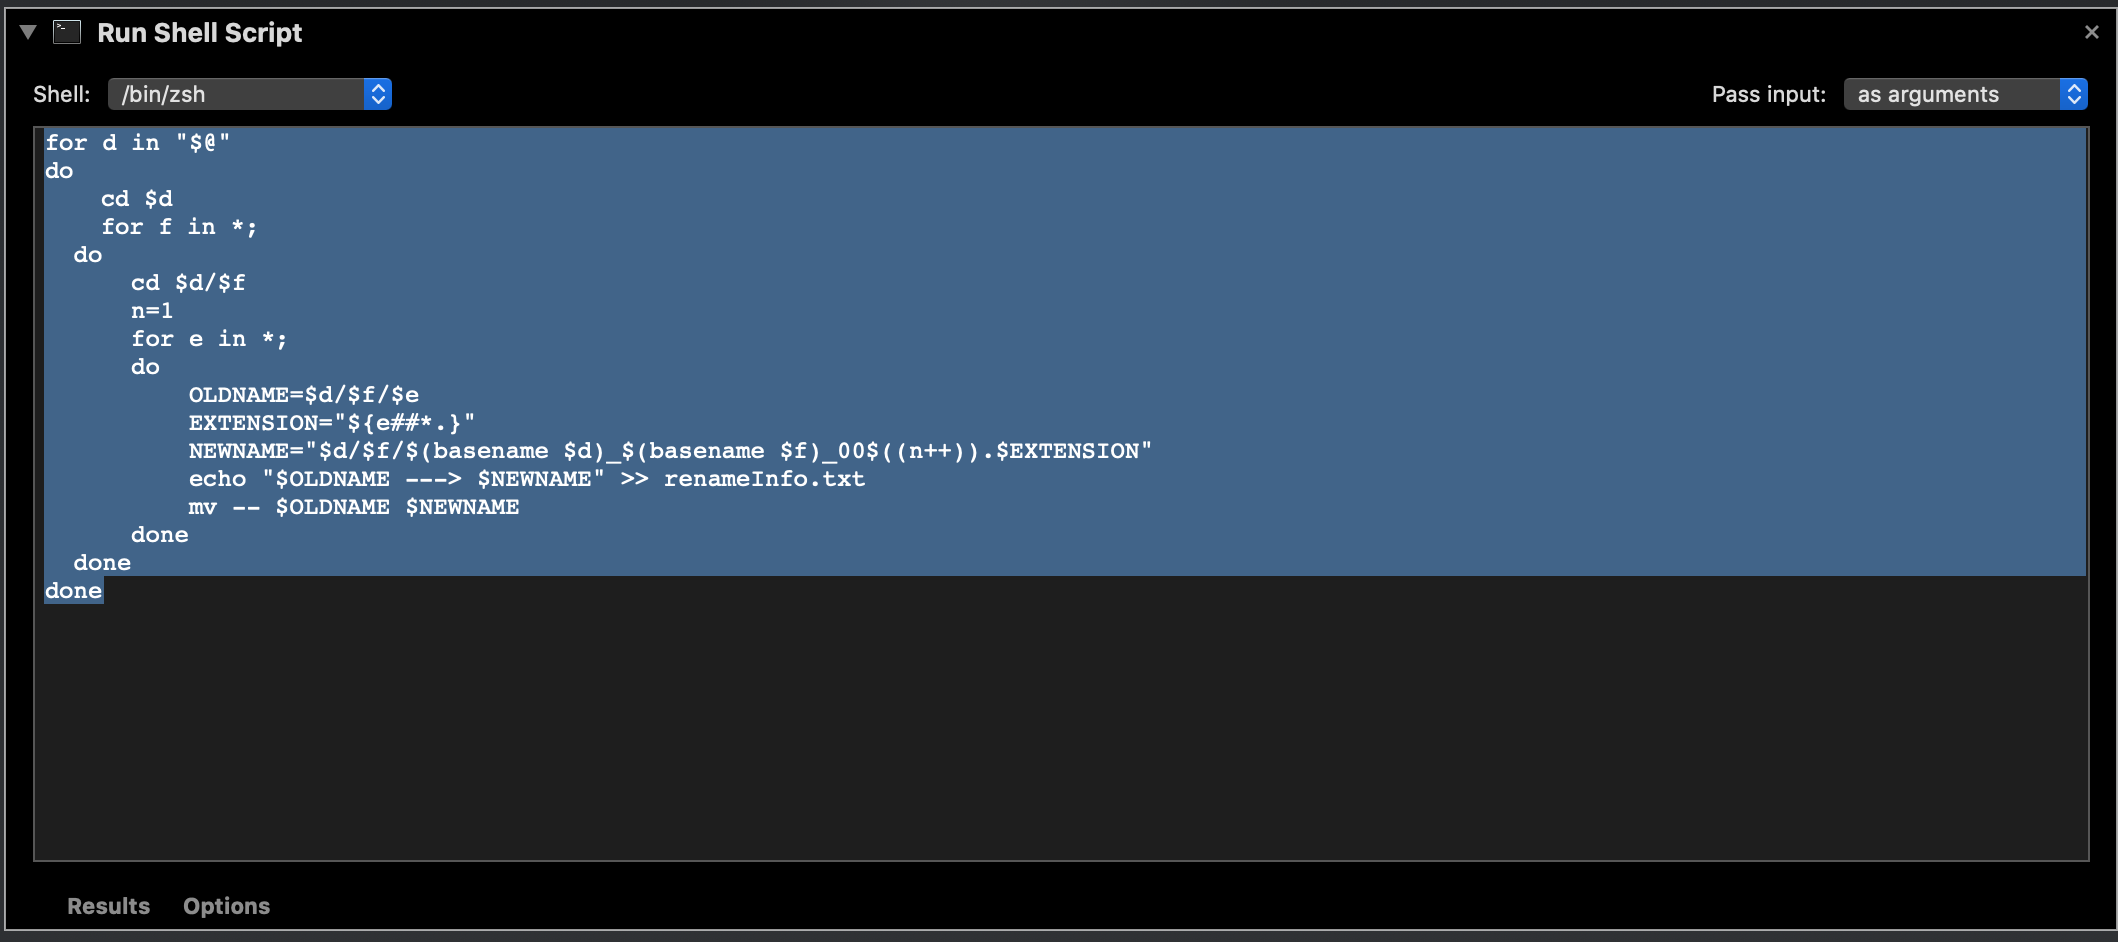
Now we just need to paste the correct code into the window below, and we should be in great shape. Here is the code for you to copy and paste inside the 'Run Shell Script' window:
for d in "$@"
do
    cd $d
    for f in *;
  do
      cd $d/$f
      n=1
      for e in *;
      do
          OLDNAME=$d/$f/$e
          EXTENSION="${e##*.}"
          NEWNAME="$d/$f/$(basename $d)_$(basename $f)_00$((n++)).$EXTENSION"
          echo "$OLDNAME ---> $NEWNAME" >> renameInfo.txt
          mv -- $OLDNAME $NEWNAME
      done
  done
done
That will look like this in Automator:
Now we are ready to give this Quick Action a try!
Make sure to save your Quick Action by selecting 'File', 'Save' and then rename your Quick Action something that you will remember (e.g., 'Rename', 'BatchRename', etc.).
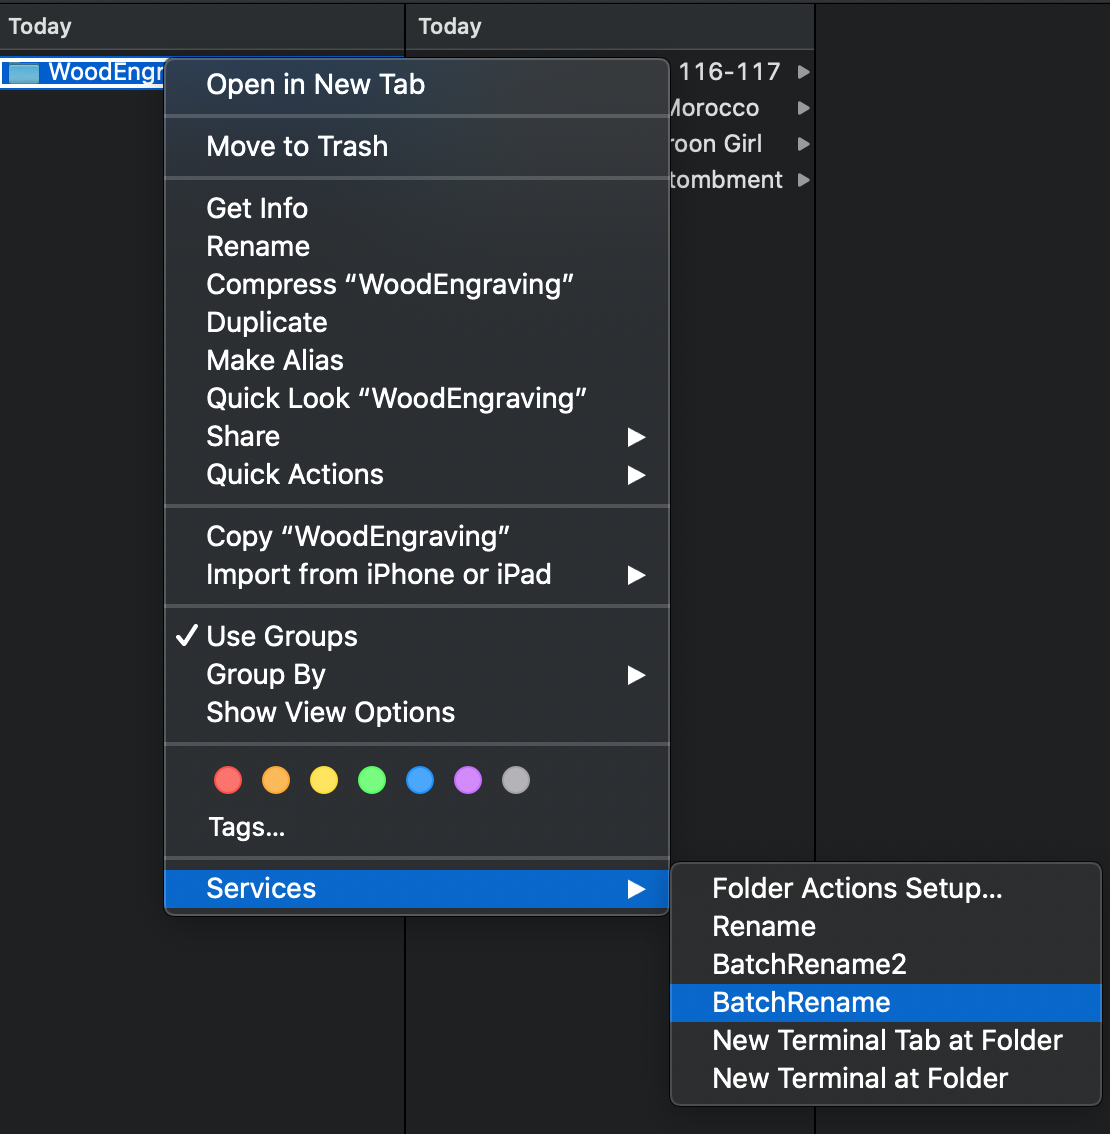
Now navigate over to the folder that you want to rename. Right-click (or control-click) the folder, scroll down to 'Services', and find the item that matches your saved Quick Action. Select that Service.
The service operation will run very quickly, and once completed you should see that your files have been renamed in the way that we had intended:
'ParentFolderName'
'ChildFolderName1'
'001.jpg' (incremented for each file)
All concatenated together and separated by underscores.
Here is how that looks once completed:
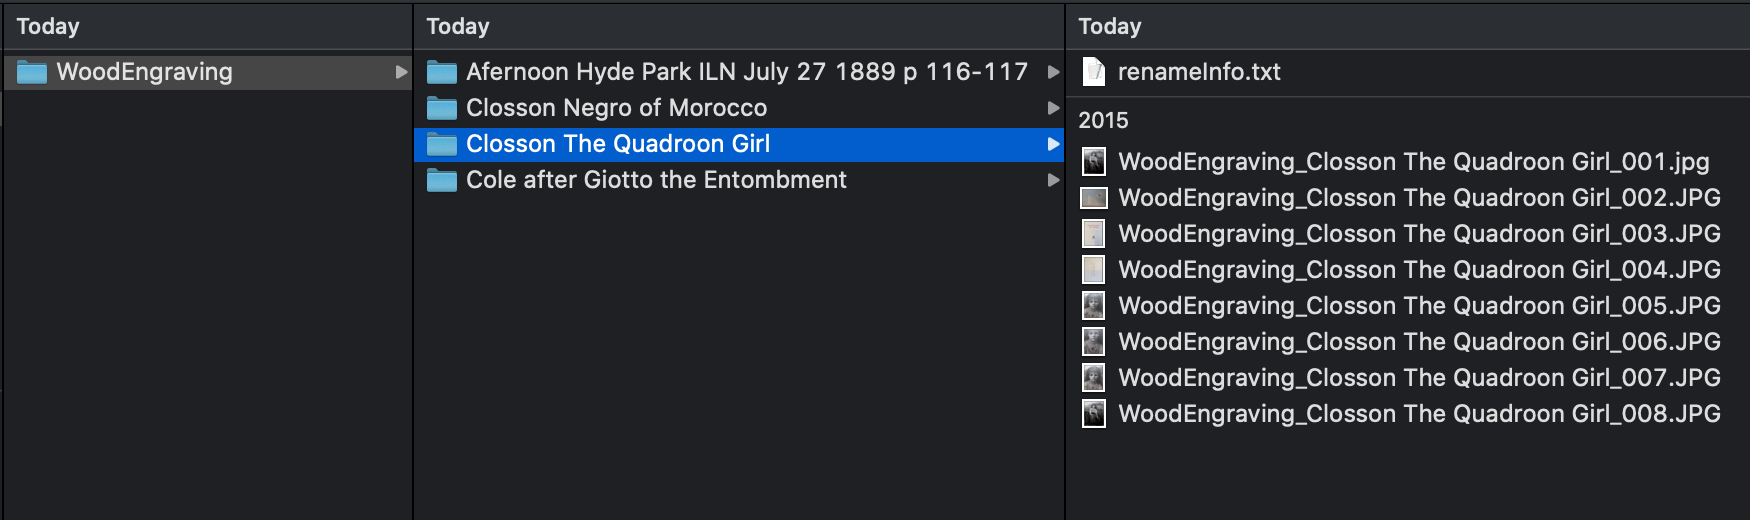
In addition, you will see inside each child folder a 'renameinfo.txt' file that tells you what the original filenames "were," as well as what they are renamed "to" once the Quick Action is performed.
Double success!! Good luck in your renaming adventures, and stay organized out there.