How to quickly key out green screen footage in After Effects

Using green screen footage, we are going to perform a few quick moves to achieve this anime running effect! Let's get started.
(If you would like to use the media in this tutorial, download these two media files to your desktop.)
- Open After Effects, create & name a new composition, and drag your green screen footage into the clip layer menu
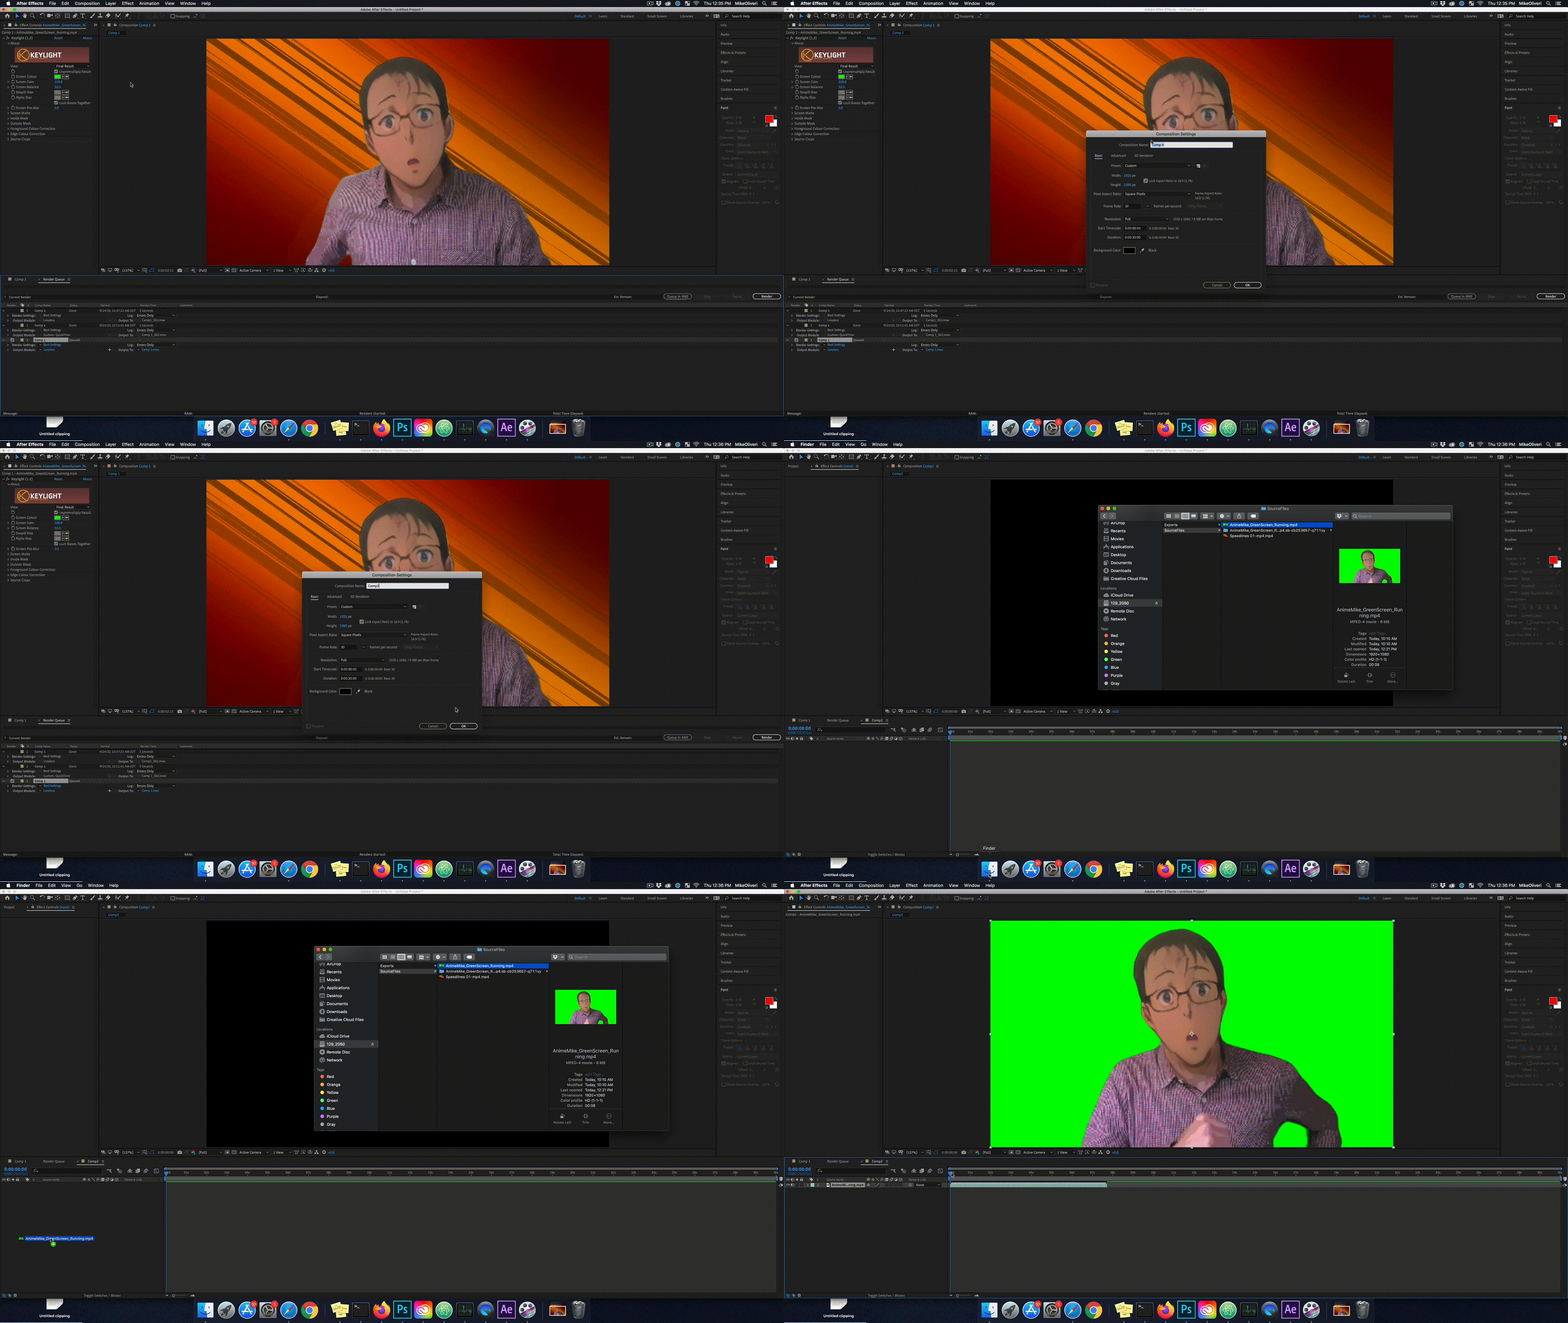
- On the right of the screen, and at the top of the timeline, click and drag the "Work Area End" slider to the left to match your overall desired length
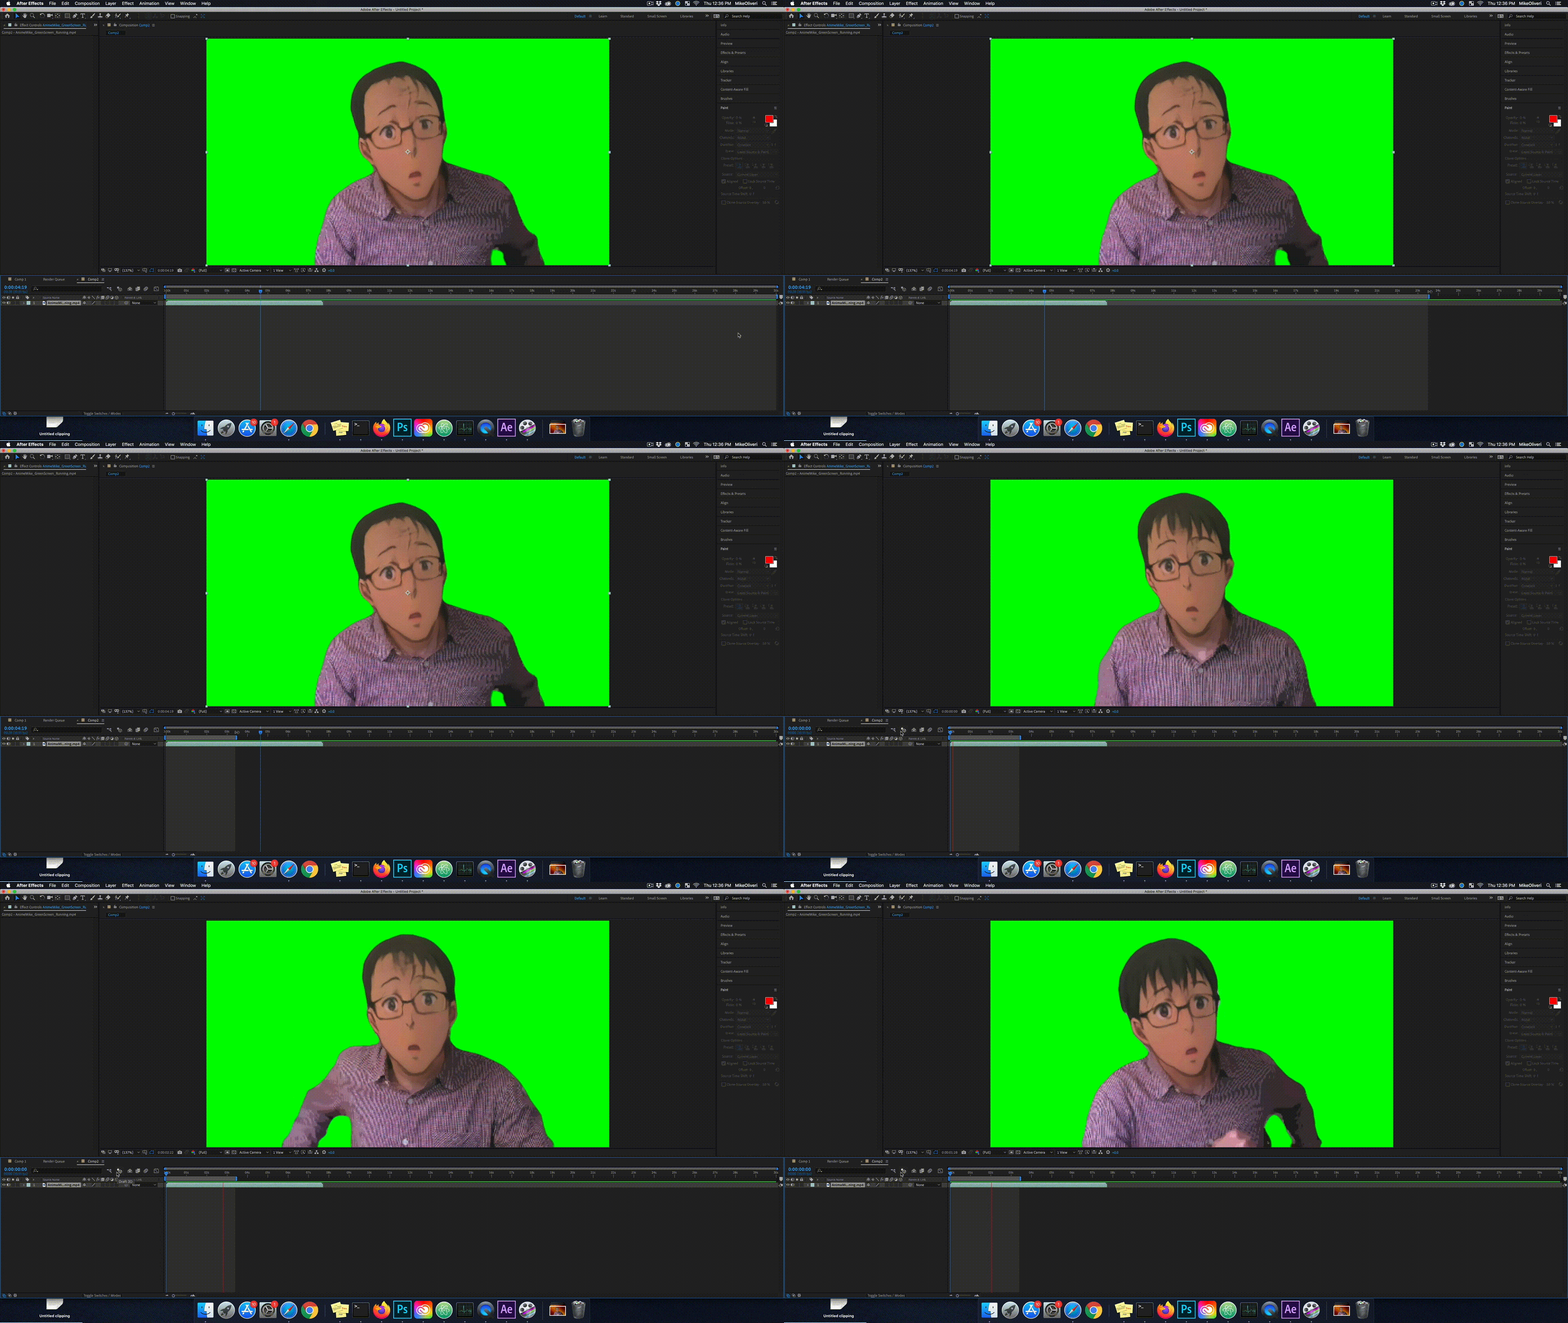
- If you want to achieve a sped-up effect, do the following (if not, skip to the next step!)
- With the clip selected, click:
- Layer > Time > Enable Time Remapping
- In the timeline, drag the diamond keyframe to your desired length
- With the clip selected, click:
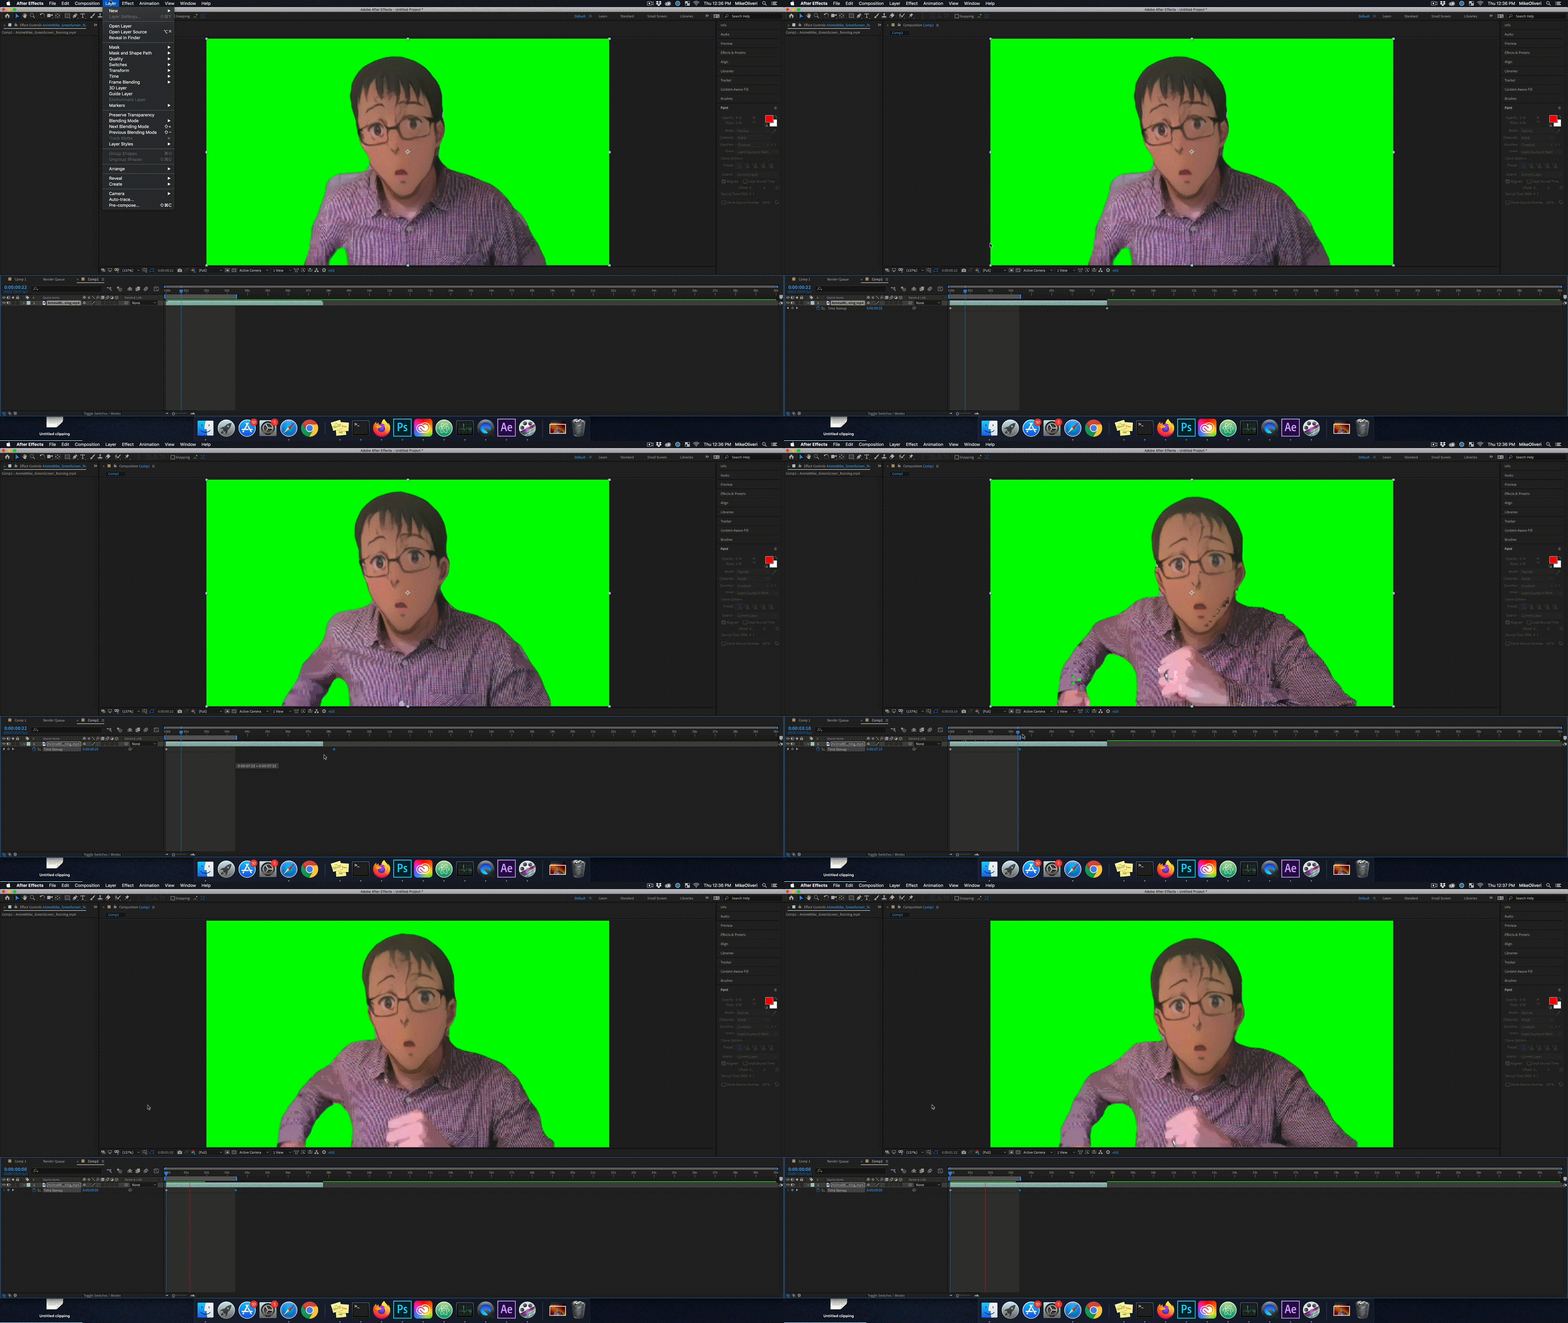
Now that we have our clip's overall duration set, as well as our retimed footage, we can now go about keying out that green footage!
- With your clip selected, go to the top menu bar and click:
- Effect > Keying > Keylight (1.2)
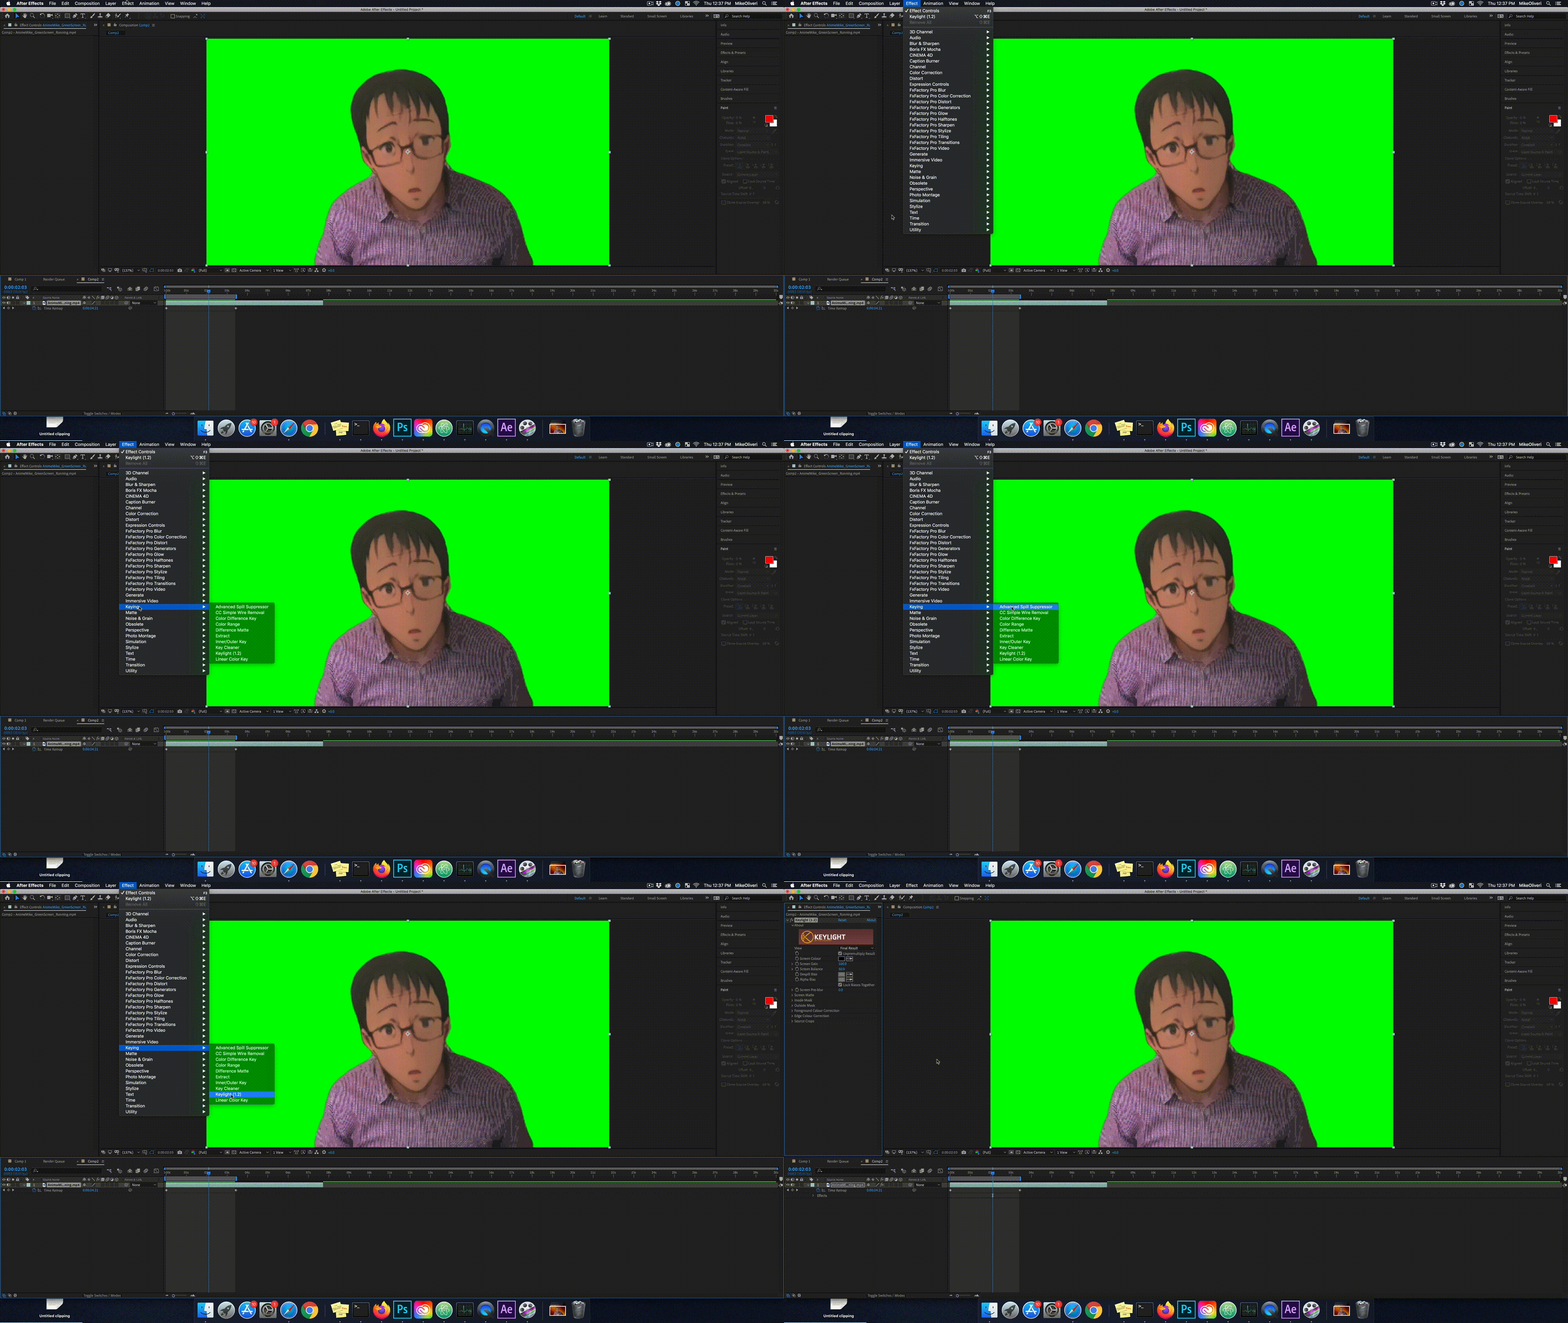
Click on the Screen Colour eyedropper in the Effects Control panel, and click on a consistent area of green in your composition viewer
Adjust your Screen Gain & Screen Balance sliders until you achieve a balance of removed-green, while maintaining the detail in the foreground image
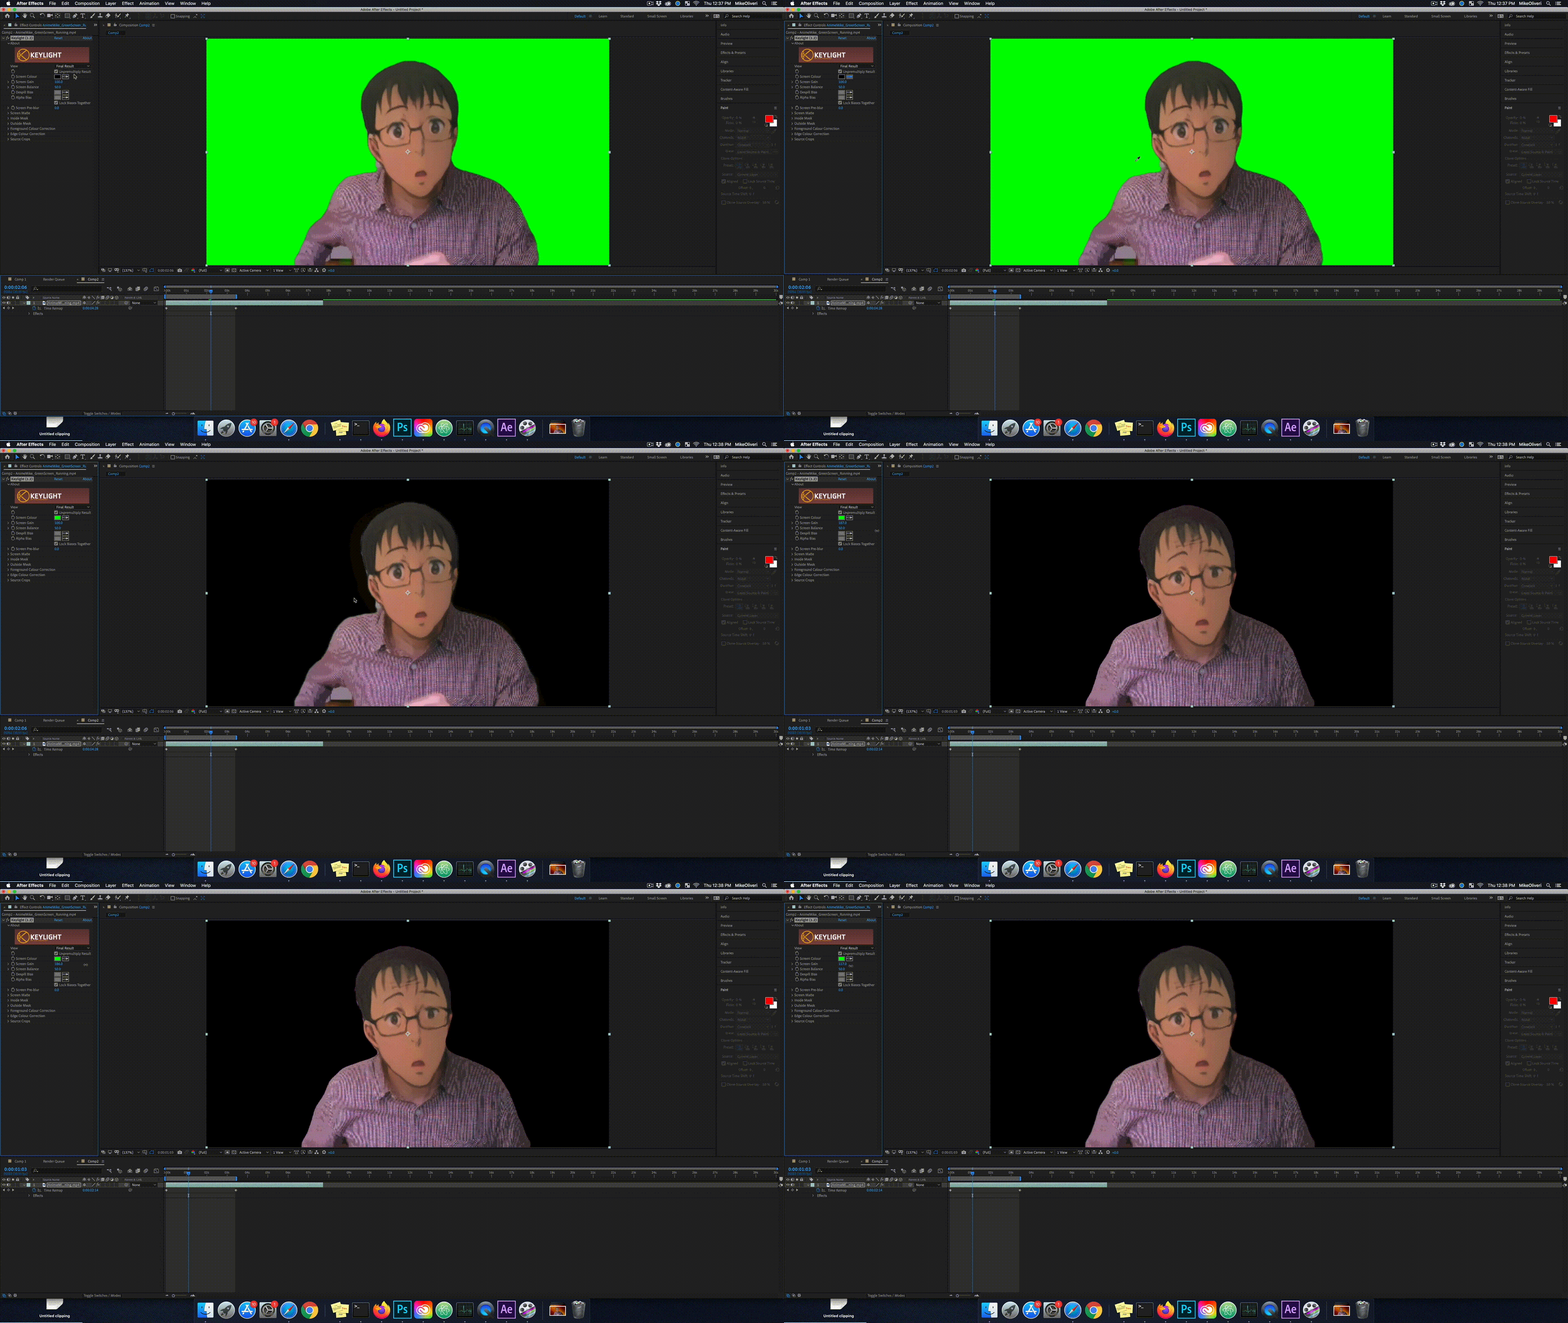
- This is looking pretty decent, so now let's add the background footage
- Locate your background video file, drag it into clip layer menu, and place it as the bottom layer.
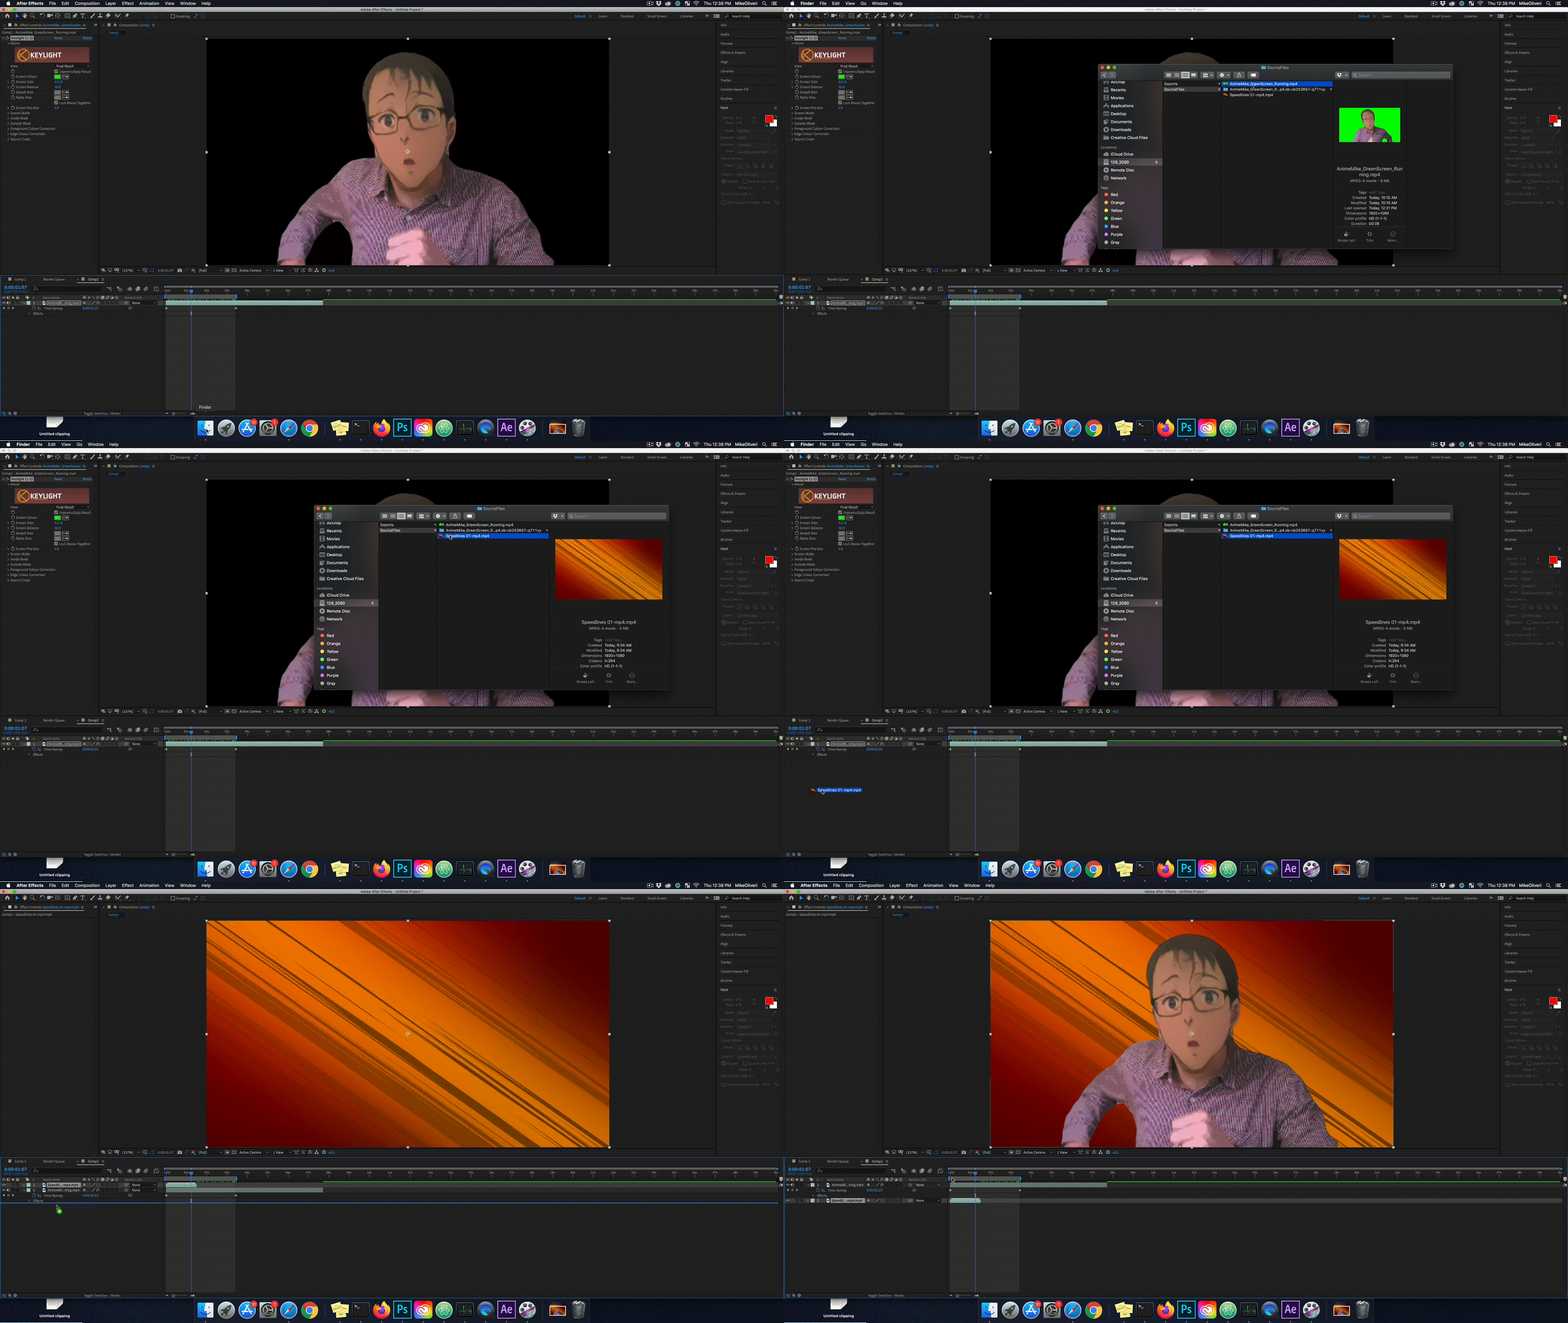
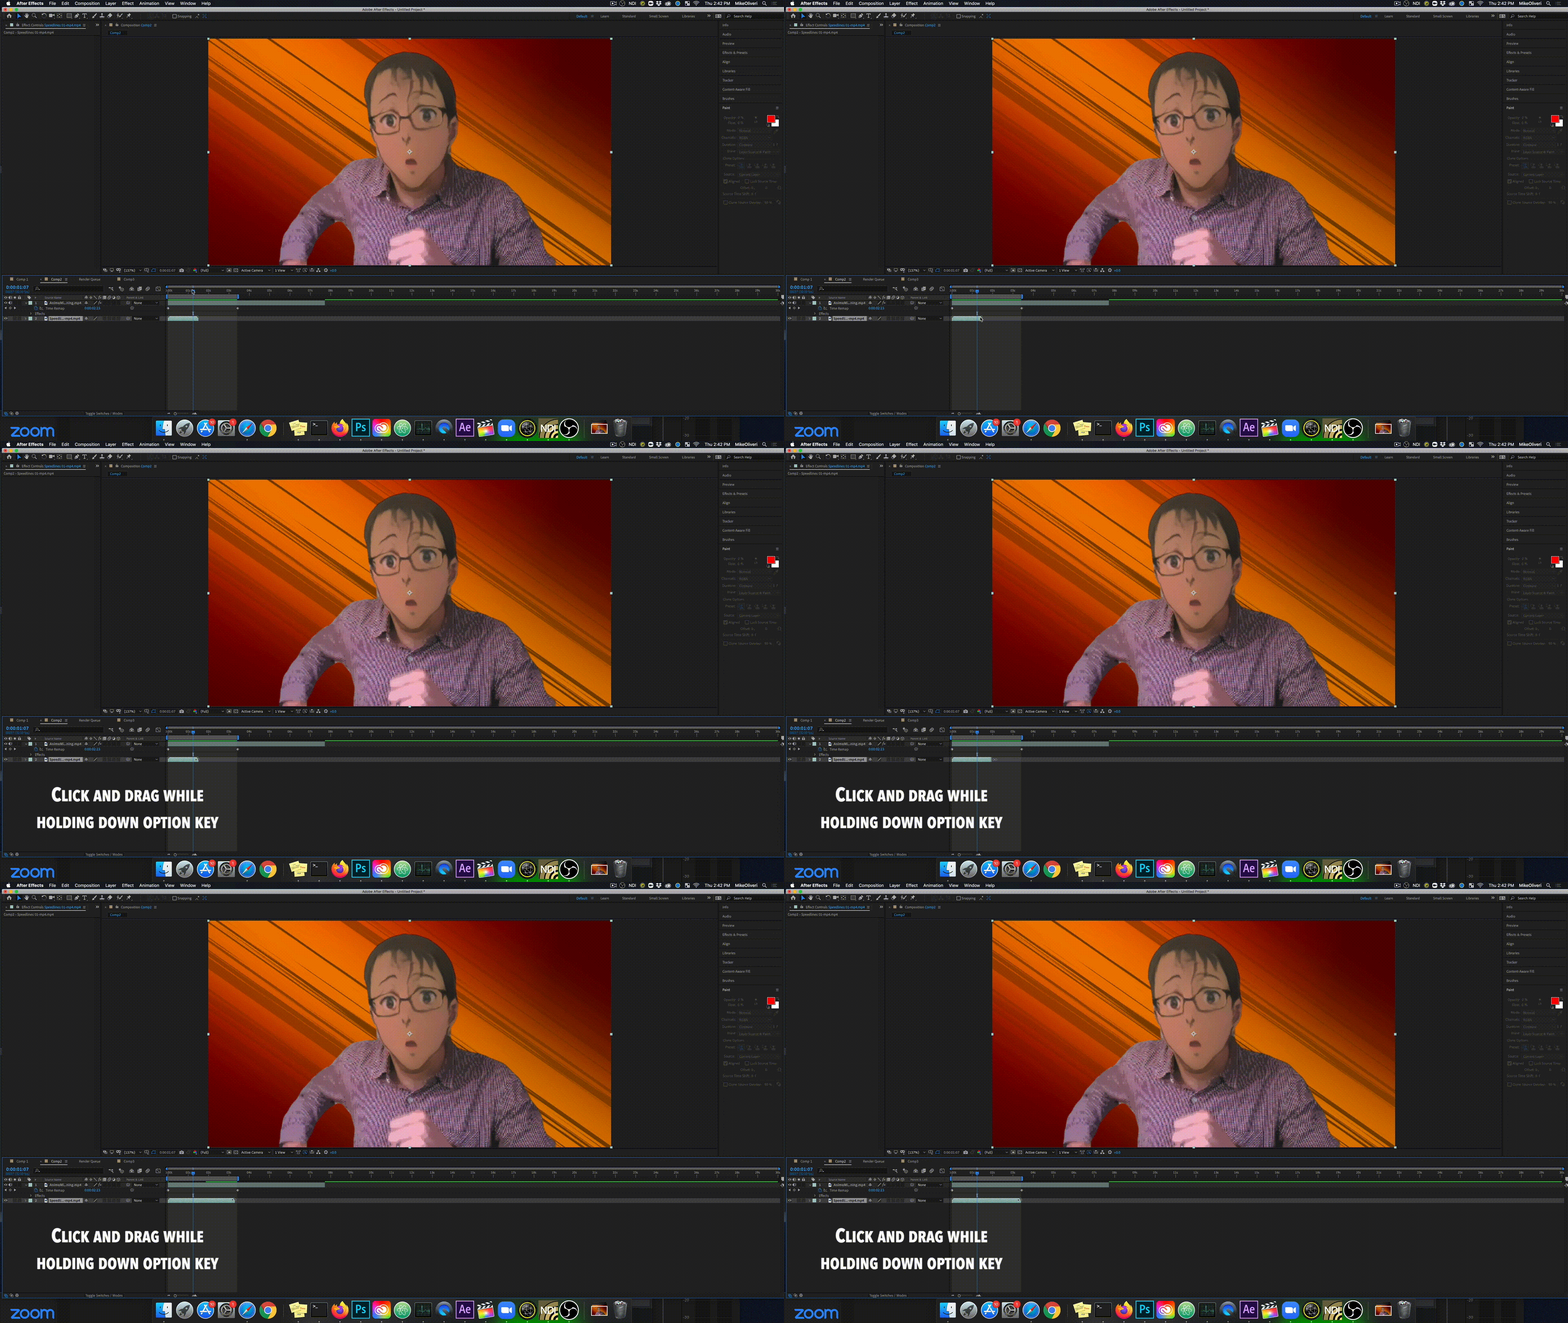
- With your background clip selected, hold down the "option" key while clicking on the right tail of your clip in the timeline, and extend it to the right to last for the duration of your top clip
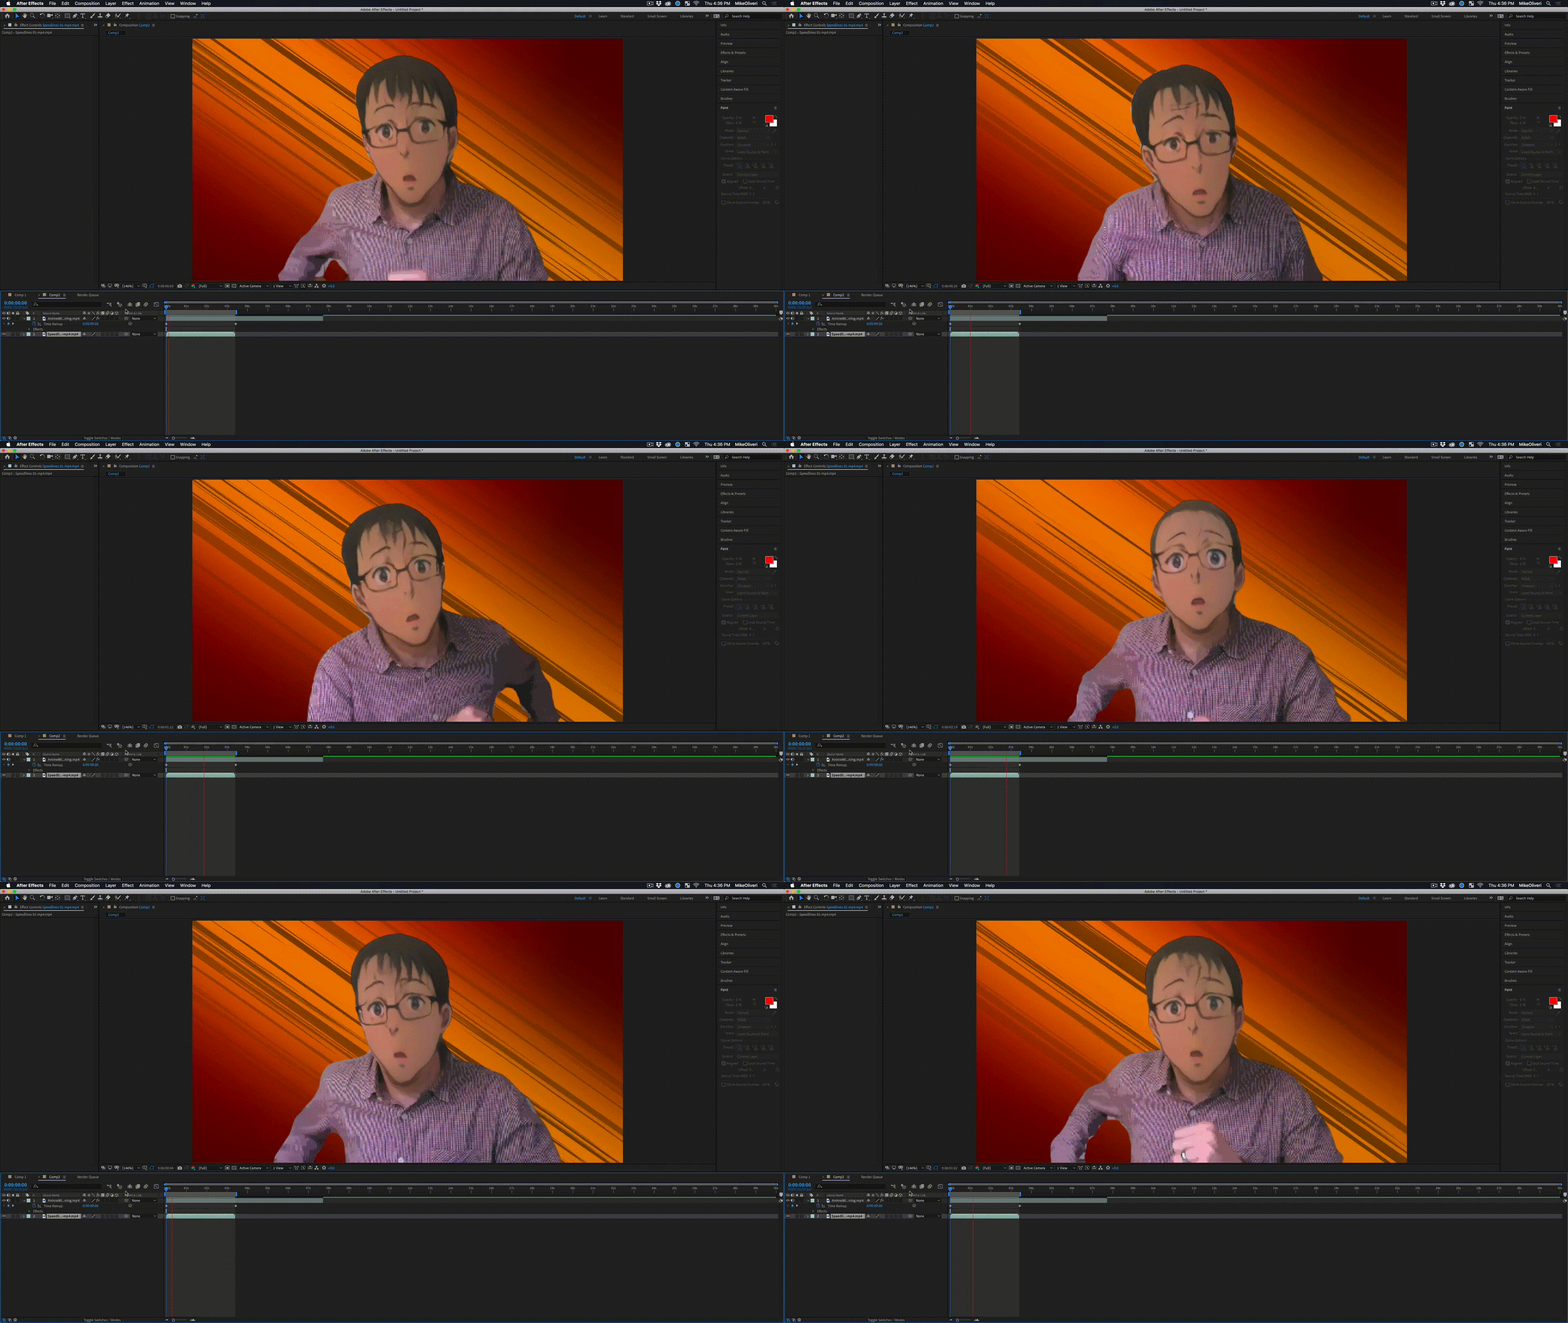
Make sure your composition plays effectively in the timeline. If so, you're ready to export!
There are many settings for exporting in After Effects, and the following strikes a balance between having a good quality export, but without the file size becoming too big:
- Click File > Export > Add to Render Queue
- Click on "Lossless" next to "Output Module"
- Click on "Format Options" when the new dialog box opens
- Under the "Video Codec" drop-down in the new dialog box, click on "Apple ProRes 422 LT"

- Click on the blue link next to "Output To"
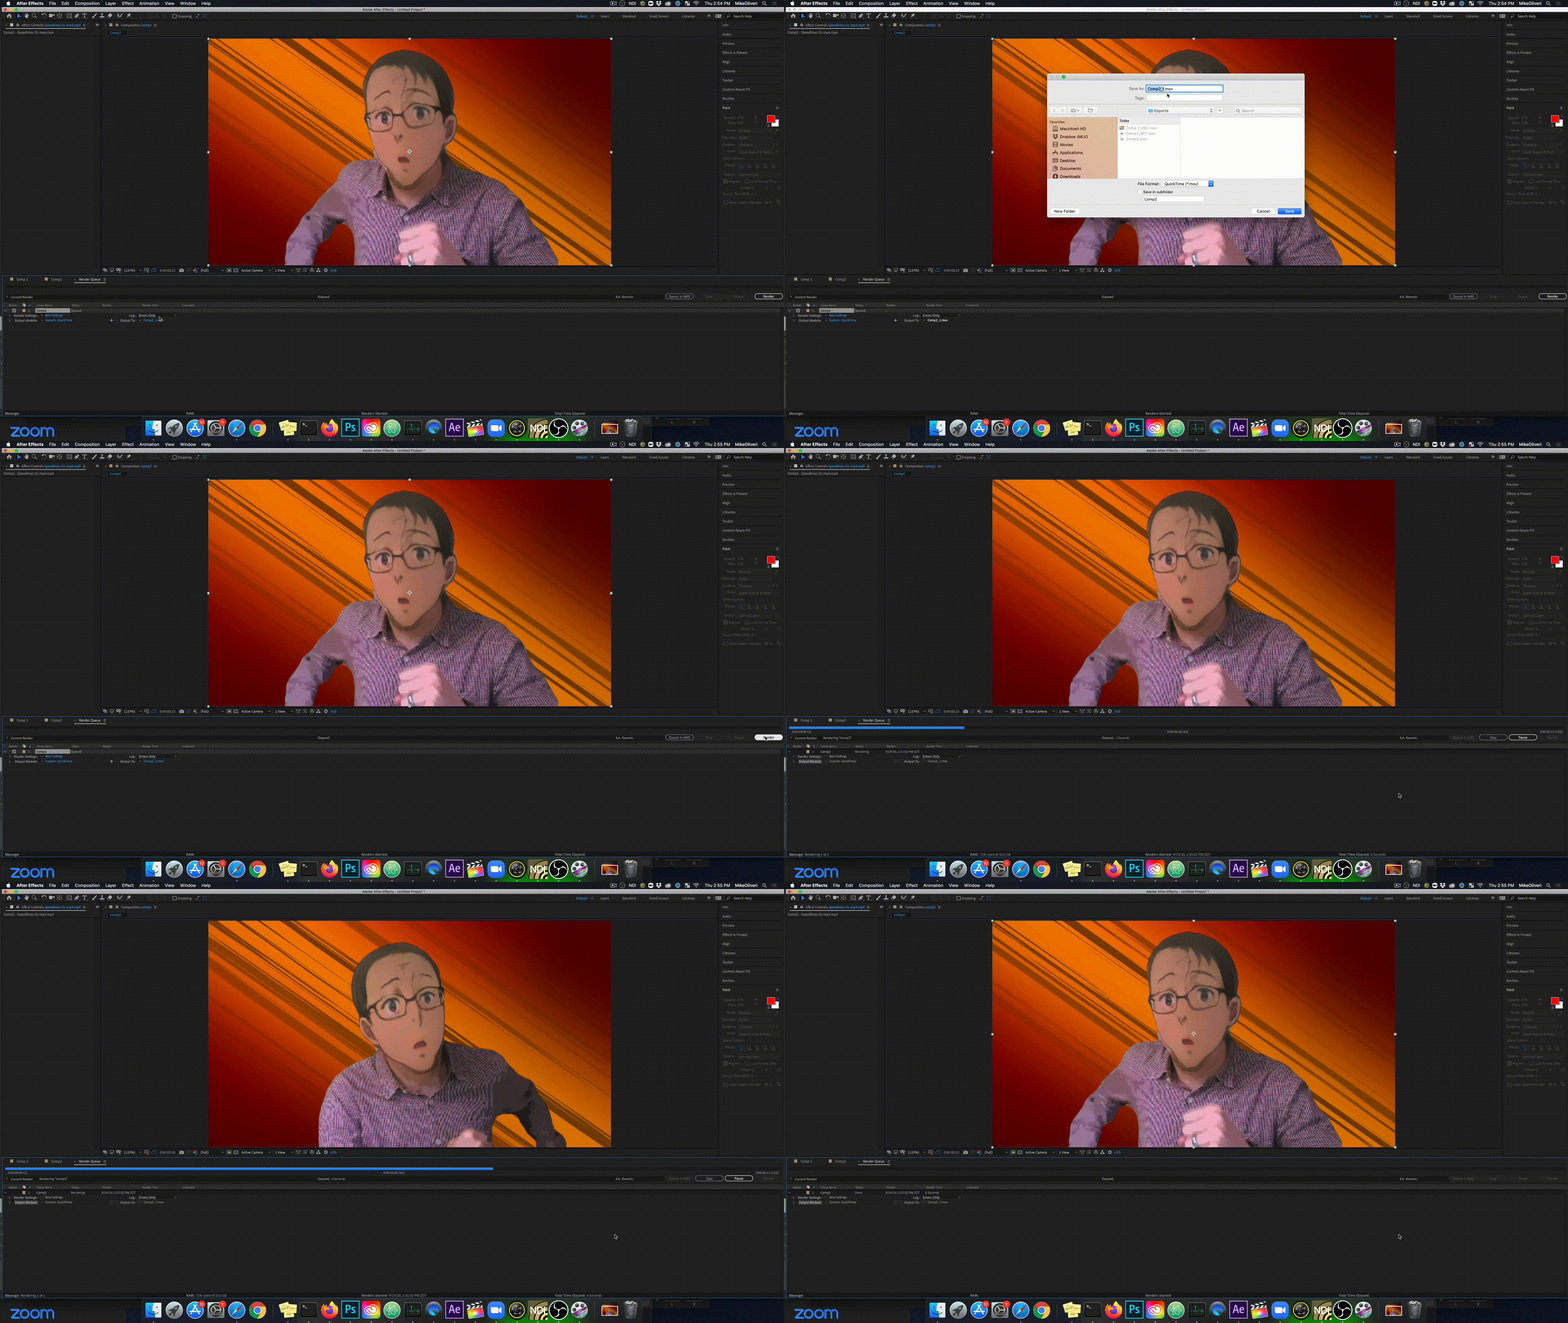
- Establish a filename and choose the destination for your export
- After clicking "Save", navigate to the far right of your screen in After Effects and click "Render"
Hip Hip you're done!!