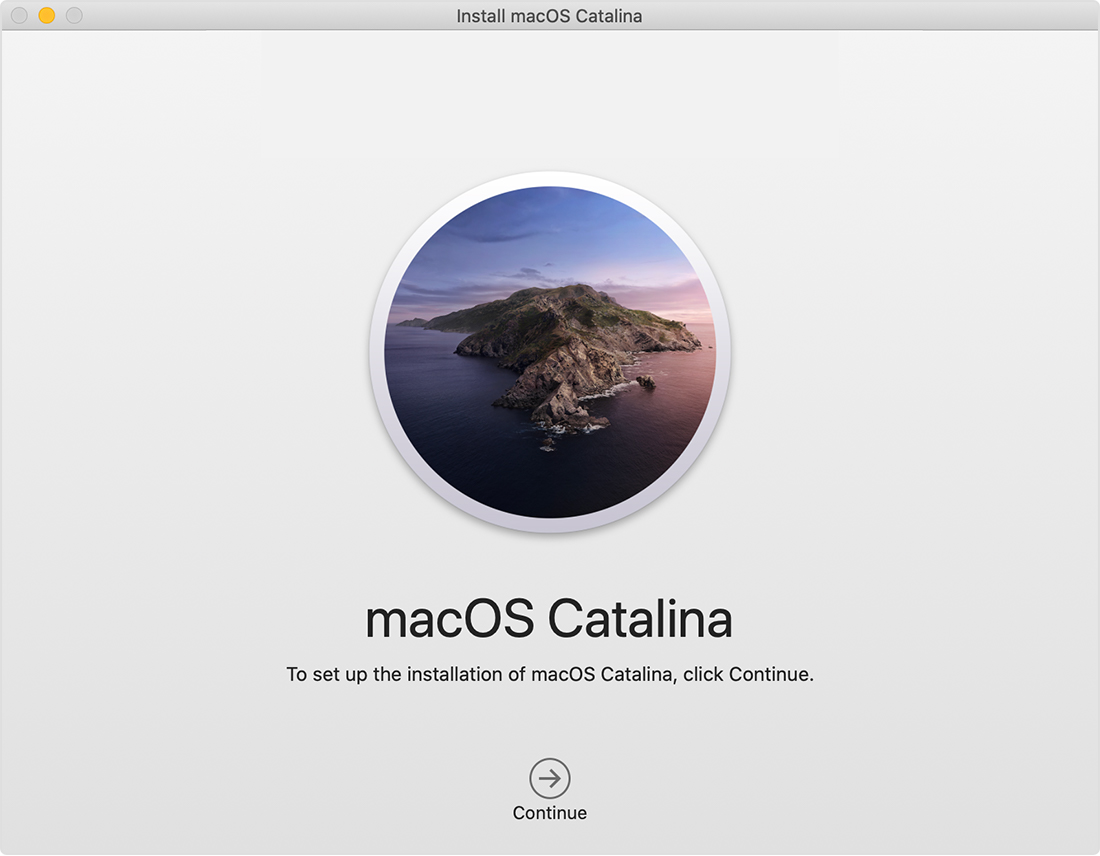
Installing Catalina
This next part should be really simple, anything that tends to go awry is well documented, at the bottom of this, there will be some documentation on any predictable snafus that tend to pop up in this process.

Start by plugging the Install USB in
These next few steps are going to be to erase your hard drive so that we then have a clean slate to install the new version of Catalina.
Restart your mac, when the screen turns back on, hold down Cmd + R
Choose Disk Utility when the Recovery window pops up
Select your internal hard drive's volume(it's possible there may be 2 displayed, depending on your current OS, if this is the case, delete the Data volume first).
Select your volume and hit Erase(if this gives you an error, you may need to unmount it and then try erasing again)
Rename it whatever you'd like.
Select APFS and hit Erase.
Quit out of Disk Utility and return to the MacOS Utility screen
:max_bytes(150000):strip_icc():format(webp)/RecoverHD-5a6f94d7642dca0036e2105f.jpg)
At this point, your machine is a very expensive brick. This just feels like good information, these next steps will resolve that problem.
In this Utilities page, if you select the Reinstall macOS button, it will do so by downloading it from the web. I don't recommend it, but if you have ethernet connection, this is a choice. But, we made the install drives for a reason, so let's go over to that!
From here, restart your computer and when it comes back on, hold down Option.
This will open a menu to allow you to run the install from the USB you created earlier. Select it and it should take you through the standard steps.
From here, you'll have to install all the apps you usually use on a day-to-day basis. The easiest way is to download Slack from the App Store and use the /macsetup command to walk you through the LL Setup scripts -- although these will need some customization before running them, just tweak to your preferences.
If you run into issues rebooting into alternate volumes
In 2018, extra security was added to most Macs, called the T2 Security Chip. When this is enabled, it prevents you from booting into alternate volumes, the way you need to in order to do this! Appleinsider has a pretty simple walkthrough on how to disable this function.
Some considerations before you wipe your machine
Naturally, you'll be deleting everything on it, so make sure any important files are moved to the cloud. But additionally, if you have any programs that you needed to authorize licenses by machine(nothing that was free or downloaded from the App Store), be sure to disable the license on your machine so that you can move it to your fresh install once you're done!