Photographing 2D Objects
The nature of the image is usually the first question you might want to ask when you go to take a photo. In this case, when you're photographing a 2D object, you might want to ask if the photo you're taking is the final product, or is a digital representation of the object you're photographing the final product?
If your answer is that your photo is the final product, then you'll have much more freedom in choosing how to frame and which rules to follow and which to break. But, if you're attempting to create an accurate representation of the object, then here is a good jumping off point for you.
Allow some room for error
We're all human and your phone is a relatively tiny screen, there's bound to be some mistakes made. Possibly a little keystoning here, or a bit of misalignment there. The best practice you can pick up is to frame with the intent to edit.

Make sure you're shooting at your largest resolution and give yourself a bit of space that's meant to be cut off in the end.
Preventing keystoning
Whether you're photographing an LP cover that's exactly 12"x12" or an asymmetrical artwork, keeping the camera exactly 90° will be important to prevent keystoning, where one side of an object is farther away than the other, making your perfect square into a rhombus.
A reliable method for ensuring that the surface of your object is truly perpendicular to your camera is to lay the object flat and shoot down at it. While it is possible to shoot at a propped or hung object, it's frequently difficult to ensure your camera is perfectly aligned

If you're using an iPhone, there is a perfectly centered "+" that shows up when the camera is pointed down or up, alongside a second "+" that represents what is exactly 90° from the camera. If you align these two symbols, your camera will be perfectly rectilinear to the object below it.

From here, carefully move the camera back and forth to frame your object however you'd like it to be.
Consider your background
In many cases, you'll want to show the edges of your object, if so, you'll likely be showing the surface it's laying on. While, objectively, that surface is not really important, it is important that surface isn't distracting from the image. An easy way of contending with this is to ensure the background is aligned with the edges of your image.
When they intersect at imprecise angles, it can be visually distracting from the content of the photo.
Lighting
Every artist seems to have a different way of dealing with this. Some just hang it angled to a window on an overcast day, others construct a set of reflectors in order to prevent major shadowing. This is largely dependent on how reflective and how textured your surface is.

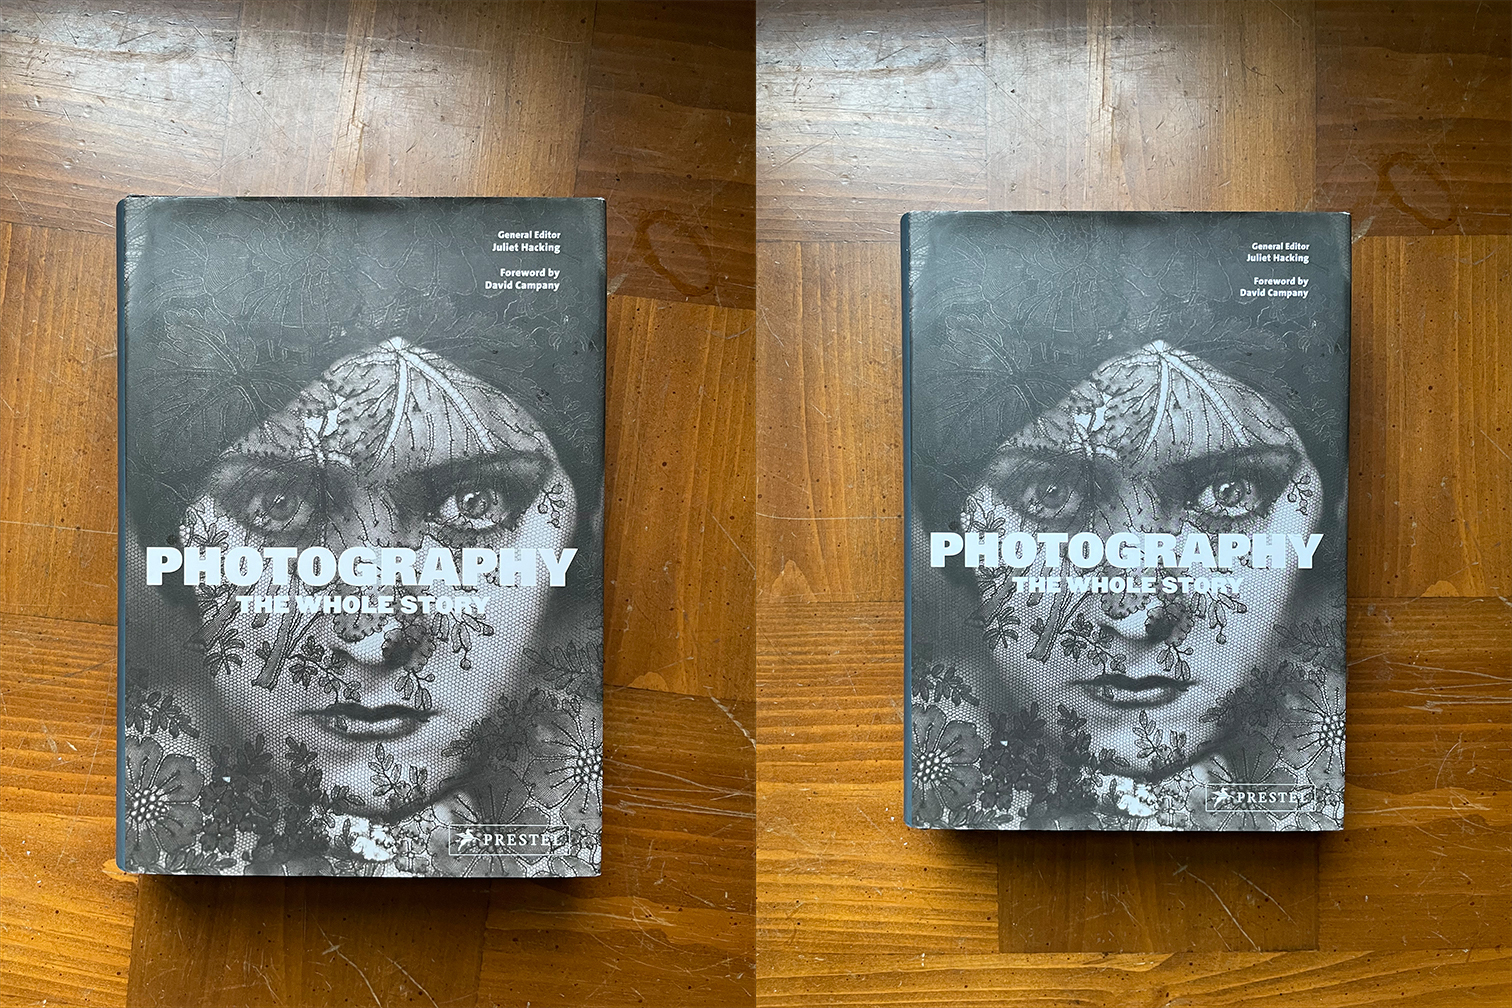
These two are shot on a table immediately under a window on an overcast day. You can see the matte book handles it a little bit better, but even then the reflection off of the table above the book is on the distracting side.

Instead, here is the same book in direct, diffused light and in indirect, diffused light. The indirect light prevents these hot spots and casts a far less intense shadow. This was simply achieved by photographing it on a table away from any windows, on an overcast day.
In an ideal world, you'd be able to photograph these in a light box where the light is bright, omnidirectional, and diffused so the shadows disappear entirely. If a window isn't a reasonable option, and you don't have access to large, heavily diffused lights; then lowering and diffusing your lights will go a long way toward a more accurate representation.