Simple Modeling and Shading in Blender
In Blender, there are many ways to do approach a project. It's a program built for artists by enthusiasts and is my preffered software because of the community that supports it. The tools are out there if you want to learn just about anything, and most of those tools exist for free, either on the blender website, forums and, of course, youtube. I'll have a few videos and channels listed at the end of this tutorial.
I'll go over the steps I took to make this final image, but I won't be meticulous about it, only because there are better resources for learning the tools I'll be using.
- Delete the default cube, camera and light
- Click and drag over the cube, light and camera to box select all three. Then hit x on your keyboard to delete them. Now you have a clean slate to start working on your project.
- Import your reference image
- To import a reference image, make sure you're in Object Mode and press Shift + a to Add something to your scene (you do this to add not only an object but other things you'll want in your scene like a light or a camera)
- From the menu that appears, choose Image --> Reference Image and then choose the image from your files.
- Note: Make sure that when you do this you are in the orthographic, front facing view. This will square your image with the grid and it will make life easier.
- Choose a basic mesh as a starting point
- Once you have your reference image in place, you can hit Shift + a to add a Mesh.
- This mesh will be the starting point for your model so choose the mesh that will make life the easiest. For example, if you wanted to model a cardboard box, you would start with a cube. For this project, I reccomend you select the UV sphere.
- Once you've added your sphere a menu will appear in the lower left hand corner, it should be called 'Add UV Sphere' (sometimes you need to click it and then it will show you your options). In this menu, it's important to determine how many segments will make up your object. You'll want to keep this number as low as possible. It will make things look blocky at first, but easier to work with down the line.
- For my sphere, I chose a segment count of 16 and a ring count of 16. Once you decide this you can't change it from that menu again. That menu will only appear after you have added an object.
- In this case, the sphere most resembles the top of what I'll call the 'head' of the model, so I'll move and scale the sphere to match up with the image.
- With the object selected as indicated by the yellow outline, hit g on the keyboard to move the object. As soon as you hit g the object will move with your mouse, left-click to place the object. If you want to move an object along a particular axis, hit g and then the letter of that coressponding axis (x,y,z)
- Scaling is similar to moving, just hit s on the keyboard to scale along each axis at once, and if you want to scale along a particular axis, hit s and then the letter of the axis (x,y,z)
- Edit the basic mesh to conform to the reference image
- With your basic mesh in place, it's time to sculpt the shape. First, switch to Edit Mode.
- There are three ways to edit a mesh, by verticies, lines and faces. You can toggle between the three next to the drop down menu for switching between modes.
- Following your refence image, select lines, veritices and faces and move and scale them. Moving and scaling lines, verticies and faces is the same as moving and scaling an object in object mode.
- How you go about reshaping your mesh is mostly up to you, just make sure there are no overlapping verticies and all rings and segments are relatively equadistant.
- If you want to add another ring or segment, hover your cursor over where you want the new line to be and hit Command + r. Left click to place the line and then left click again to set it.
- Add modifiers to smooth
- Once you have your model, switch back to Object Mode.
- Right click on your object to select Shade Smooth to make the mesh not blocky, but smooth
- On panel on the lower right hand side of the screen select the tab that looks like a little blue wrench. This will open up your Modifier window.
- Click add modifier and select Subdivision Surface. Adding this will further smooth your mesh.
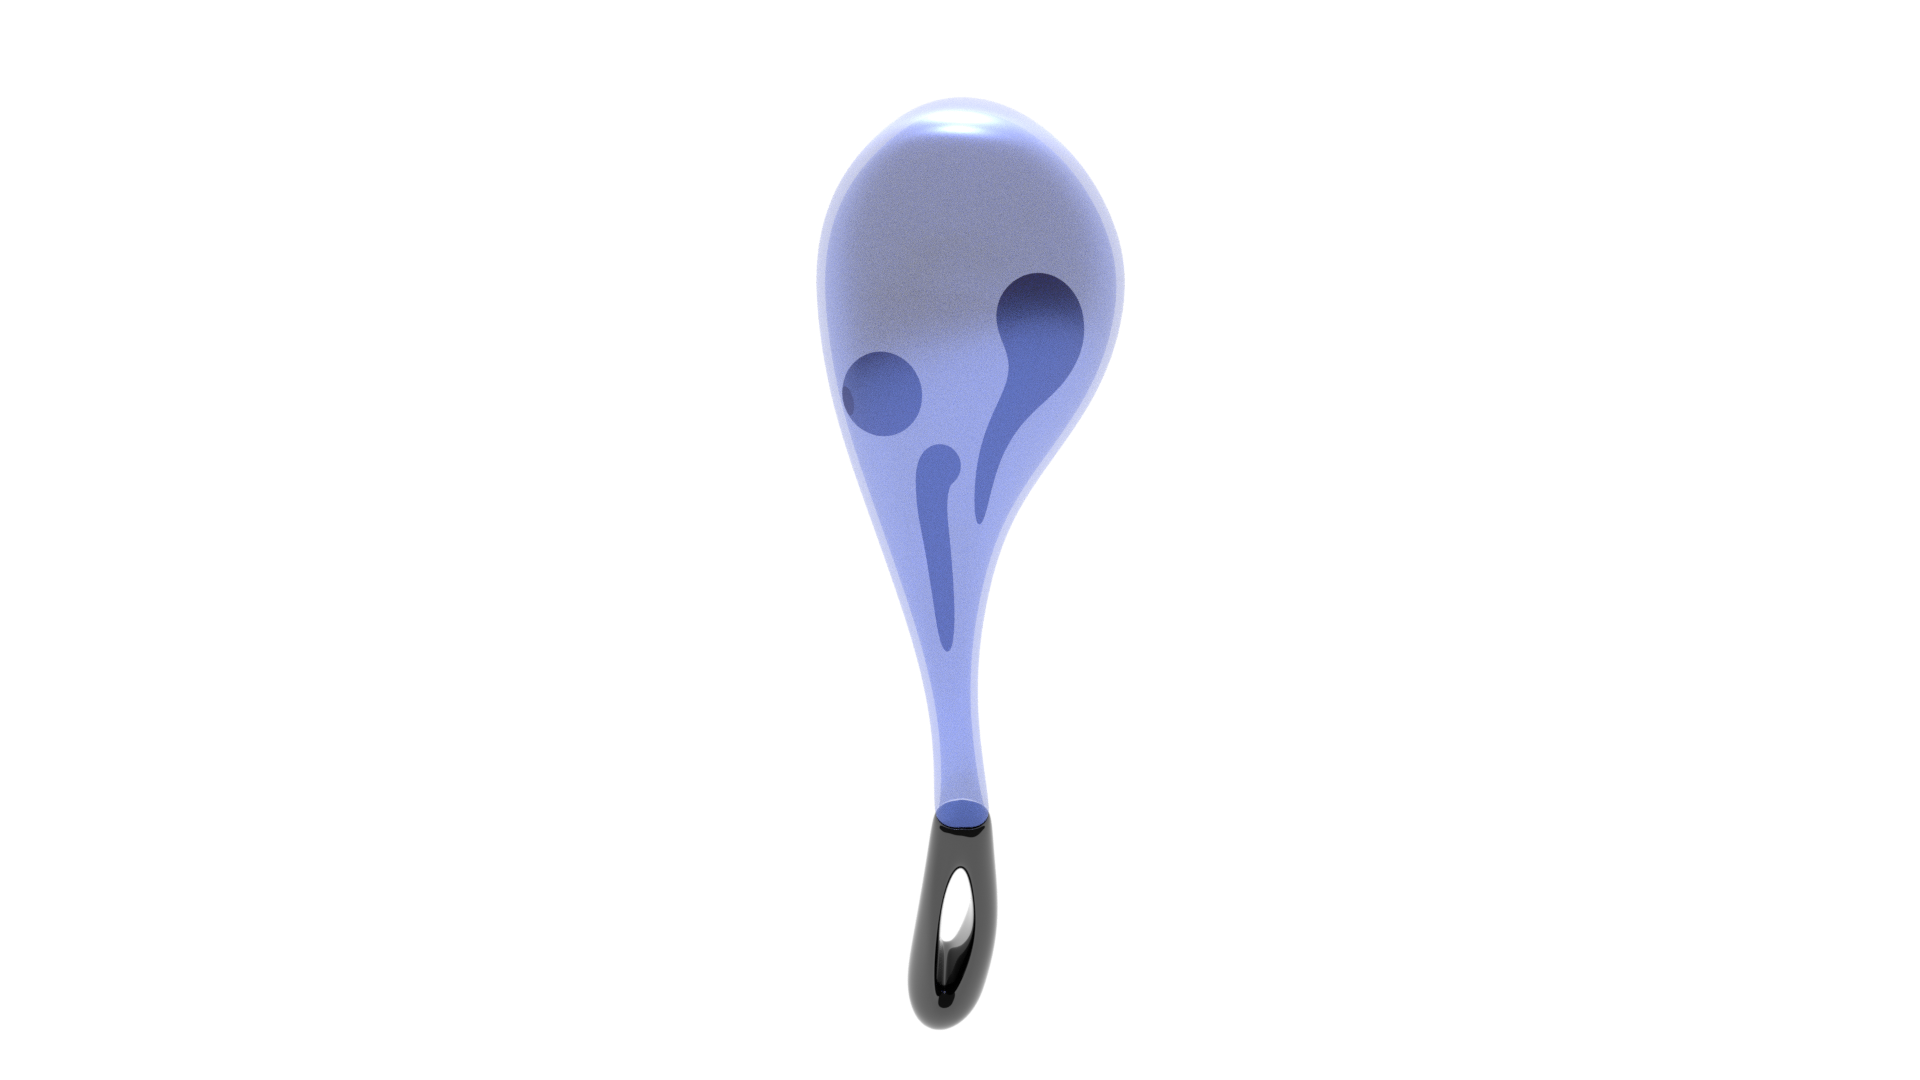
- Add the shapes inside the main mesh using three more UV Spheres and the same method we used to model the body.
- Add a background, light and camera
- For a background, I reccomend adding two simple planes that meet at a right angle. This will sit behind your object.
- Add a light from the add menu, I choose 'sun' and position it accordingly. I placed my light directly above the model, pointing down at the model.
- Add a camera and position it so that it's facing your model. To render an image to check how it looks hit F12 on your keyboard.
- It's important to note that I'm using Cycles as my rendering engine. There are more complicated explainations of why you might want to use Cycles over Eevee, but basically Cycles looks better but is more taxing on your hardware and Eevee is easier on your hardware, but takes a lot more work to make it look good. To change from Eevee, which is the default, to Cycles, click the tab on the right hand panel that looks like the back of a DSLR. Under render engine, switch to Cycles.
- Shading the mesh
- Once your scene is set up, your model is complete, your camera is facing the scene, and you've added a light or two, you can click the Shading tab on the very top of the screen.
- This will open up your rendered view as well as your Node editor.
- To assign a material to your object, select the object and choose the tab on the right hand side panel that looks like a beach ball.
- Click New and you will see two nodes appear in yournode editor. I won't go into detail about how the principled BSDF shader works, instead, I'll provide a link to a really helpful video.
Helpful Videos
Youtube Creators to check out
- Blender Guru
- This guy is great if you're just starting out. He has more of a focus on rendering inanimate objects as well as photo-realistic architectural work.
- Dikko
- Dikko is more focused on character animation, but if you follow along with his 'modeling for animation' tutorials, you'll learn a lot about modeling and texturing in general. Some great do's and don't's!
- CG Geek
- Great if you want to learn about environment modeling and building things like forrests with particle systems.
- Default Cube
- He's kind of crazy, but if you're really into nodes (who isn't?) this channel is the one for you. He makes some really in-depth tutorials about procedural textures.