Getting Started in Premiere
Each Adobe product is installed through a program called the Creative Cloud, it's pretty light and quick to install. You can find it here. Download and double click the installer file.
Once you have this installed, it will open up a desktop app with options to install any of the Suite - whatever your subscription has access to. Each individual program will be a little on the larger than the CC app, so keep this in mind when you install them. Premiere is up to 1.2GB.
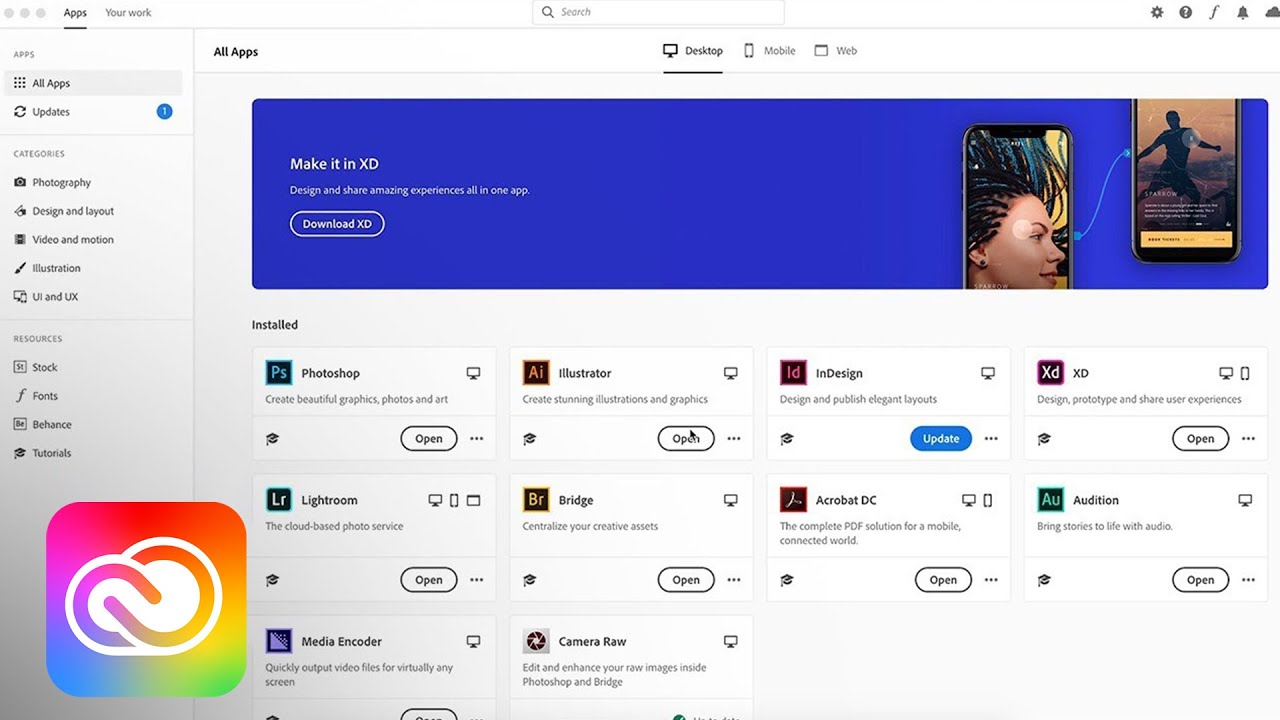
From here, all you need to do is hit Install.
Importing Footage
The first step you'll take to do much of anything is simply getting the footage from your camera into the editing program. There's a number of ways to do this(as you'll find with many things in the Adobe suite of tools), but this one's pretty easy to remember.
Start off by clicking File > Import
This will open up a file system browser, where you can navigate to your footage. Just select everything you want and hit Import.
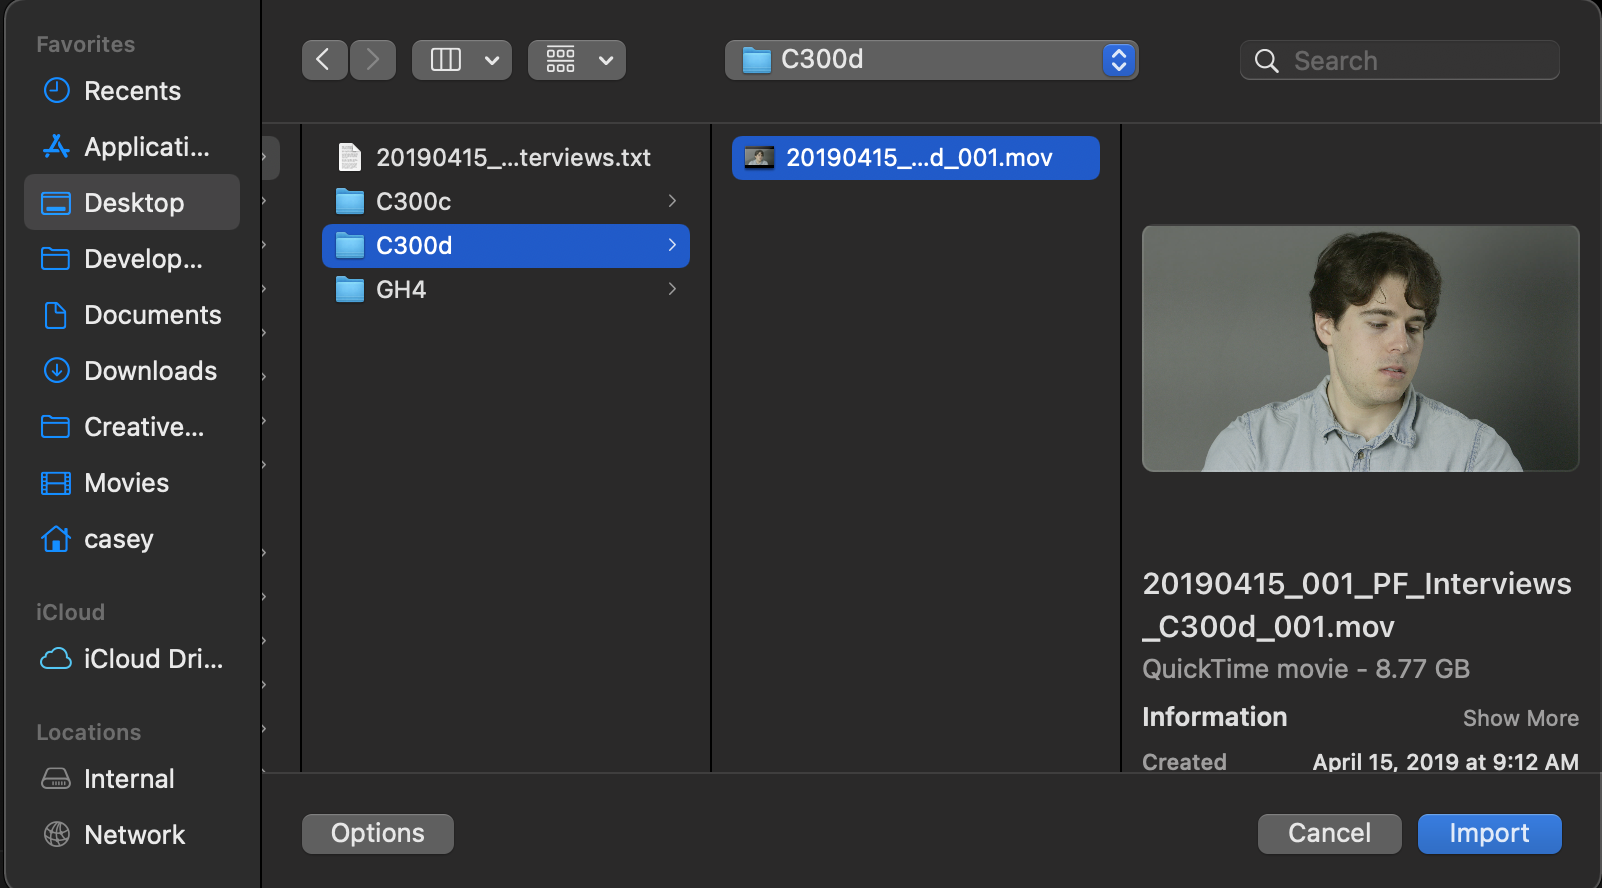
This will give you access to all your selected footage in your Projects panel(if you don't see this, drop down Window > Projects and select your project).
Double click on any of your footage to play it back in your Source panel.
For bonus points, you can create Bins(File > New > Bin) and rename them to further organize your footage and sequences.
Creating a Timeline
Finally, there are two methods to create a timeline, both have their own utility. But first, you'll want to know how you're delivering your video -- Most specifically, what frame rate and resolution your final video will be.
In most cases, it will be the same as the camera you shot the most footage on.
If this is the case, simply drag a video clip from that camera into your Sequence panel. It will prompt you to Keep or
Change your Sequence Settings, choose to change it and you're ready to edit.If you're sourcing videos from a number of locations, you'll want to make a decision on what resolution your end video will be. You can do so by hitting
File>New>Sequence.- This will give you a slightly dizzying array of presets. Navigate over to
Settingsand you'll have some more targeted selections.
- This will give you a slightly dizzying array of presets. Navigate over to

Choose a Custom
Editing ModeAnd from here, you'll have the freedom to select your
Timebase(Frame rate) and yourFrame Size(Resolution).Obviously, there are a number of other settings here, as you work more with video, you may develop preferences for one over another(or occasionally you'll find that changing one may give a better performance).
Finally, name your Sequence and you're ready to edit!